Over two decades in the shop, rear main seal leaks have been one of those jobs that look simple on paper but can quickly become a deep dive—especially when you’re under the vehicle and realize how much has to come apart. I’ve seen DIYers walk away after pulling the starter bolt, only to come back with a rental transmission jack. I’ve also seen shops quote $900 only to end up with a 14-hour job on a transverse V6. Let’s break down what this repair really costs and why.
Average Total Cost Range
Most rear main seal replacements I’ve priced or performed fall between $800 and $2,500. That’s a broad range, but it reflects real-world variables like transmission type, engine layout, and labor rates. In my experience, the lower end usually applies to older RWD vehicles with manual transmissions and good access. The upper end? That’s where you find modern AWD crossovers with cradles, shielded undertrays, and torque-to-yield fasteners that don’t forgive mistakes.
On certain European or exotic models—think mid-mounted engines or dry-sump systems—I’ve seen estimates climb past $4,000. It’s not the seal that’s expensive; it’s the 18 hours of labor it takes to get to it.
Cost Breakdown: Parts and Labor
The total cost splits into two main components: parts and labor. While the seal itself is inexpensive, labor dominates due to the extensive disassembly required. Below is a detailed breakdown.
Parts Costs
The rear main seal and related components are relatively affordable. However, skipping quality here can lead to repeat work.
| Part | Cost Range | Notes |
|---|---|---|
| Rear main seal (single-piece PTFE/Viton) | $20–$100 | Modern standard; better sealing but fragile during install |
| Rope or two-piece rubber seal | $10–$50 | Common on older V8s; must be lubricated and seated properly |
| Seal with integrated housing | $50–$300 | Frequent on FWD transverse engines; simplifies install |
| Oil pan gasket | $20–$150 | Replace it—disturbing the pan breaks the seal |
| Flywheel bolts (TTY) | $10–$50 | Always replace if specified; reuse risks failure |
| Transmission fluid, filter, gasket (auto) | $50–$300 | Required if pan is dropped; use correct fluid spec |
For OEM vs. aftermarket: I use OEM on German and Japanese models with tight tolerances. Otherwise, SKF or Elring offer excellent reliability at half the price. I’ve run side-by-side comparisons on BMWs and Toyotas with no long-term difference.
Labor Costs and Time
Labor is 70–90% of the total bill. Most shops bill 6 to 15 hours, depending on vehicle complexity.
| Vehicle Type | Typical Labor Hours | Avg. Labor Cost ($120/hr) | Notes |
|---|---|---|---|
| RWD, manual, older design (e.g., Ford Mustang) | 6–8 hrs | $720–$960 | Transmission removal only; decent access |
| RWD, automatic (e.g., GM truck) | 7–9 hrs | $840–$1,080 | Torque converter removal adds time |
| FWD, transverse engine (e.g., Honda Accord) | 10–12 hrs | $1,200–$1,440 | Subframe drop, exhaust, shields |
| AWD, longitudinal (e.g., Audi A4 Quattro) | 12–15 hrs | $1,440–$1,800 | Cradle removal, adaptive transmission learning |
Shop rates vary: independents charge $90–$140/hour; dealerships $150–$220. I’ve had customers save $600+ by choosing a qualified independent with factory tools.
How to Confirm the Leak Source
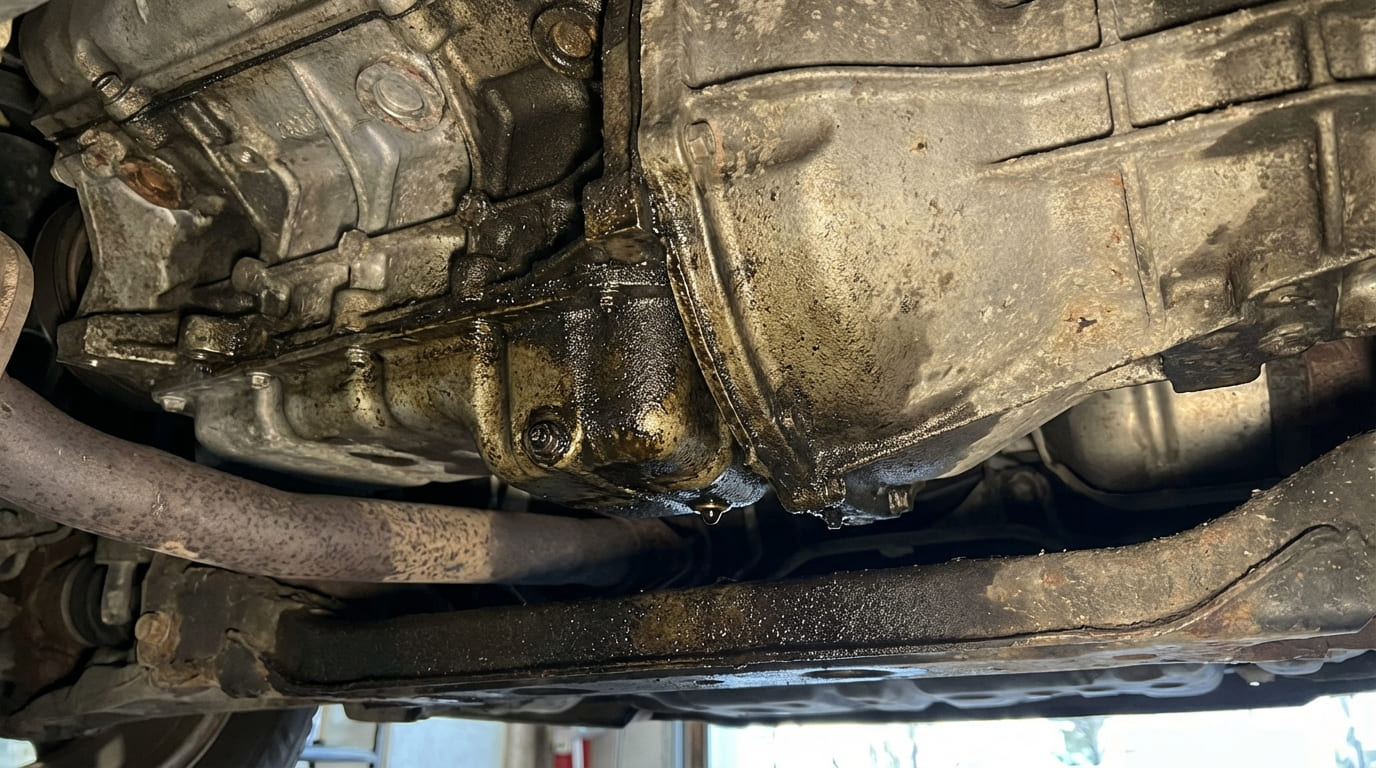
Never assume it’s the rear main seal. Oil at the bellhousing can originate from multiple sources. Misdiagnosis leads to wasted time and money.
Step-by-Step Diagnostic Process
- Clean the entire rear engine and transmission area thoroughly.
- Add UV dye to the engine oil (follow product instructions).
- Drive the vehicle for 15–30 minutes to circulate oil.
- Inspect under UV light (365–395 nm) with safety glasses.
- Trace the fluorescence: if it leads directly from the crankshaft rear flange, it’s the seal.
Differential Diagnosis: Common Confusions
Many leaks mimic a rear main failure. Use this guide to rule out alternatives.
| Symptom / Location | Possible Source | Probability | Diagnostic Tip |
|---|---|---|---|
| Oil at bellhousing bottom | Rear main seal | ~45% | UV dye test; check for even seepage around crank |
| Oil running down rear engine block | Valve cover gasket | ~30% | Inspect rear of valve cover and PCV hose connections |
| Oil pooling on oil pan rail | Oil pan gasket | ~15% | Clean and re-inspect after driving; trace upward |
| Red fluid near input shaft | Transmission input seal | ~7% | Check fluid type—transmission vs. engine oil |
| Oil near sensor boss | Oil pressure sensor | ~3% | Remove and inspect O-ring; common on older GM/Ford |
When to Replace vs. Repair
If the vehicle has over 80,000 miles, consider replacing related components while the transmission is out. The labor is already incurred—this is the most cost-effective time.
- Clutch assembly (manual): Replace pressure plate, disc, throw-out bearing, and pilot bearing if worn.
- Flywheel: Resurface if heat-checked. Dual-mass flywheels often require replacement.
- Torque converter seal (auto): Replace if converter is out—it’s a 10-minute job.
- Transmission input shaft seal: Cheap insurance against future leaks.
- Oil pan gasket: Always replace—old gaskets rarely reseal after removal.
Situation: A 2005 Mustang GT came in with oil pooling at the bellhousing. Owner had already replaced the oil pan gasket twice.
Initial Assumption: Classic rear main seal failure—common on high-mileage 4.6L V8s.
Deep Dive: After dropping the transmission, the seal looked fine. But cleaning the block revealed hairline cracks in the rear main cap. Torque specs had been exceeded during a prior rebuild.
Nuanced Lesson Learned: Not every rear seal leak is the seal. Always inspect cap integrity and main bearing bore alignment—especially if the engine has been apart before.
Situation: A 2012 Honda Accord FWD with a slow seep. Shop quoted $1,800 due to subframe removal.
Initial Assumption: Standard rear main job—high labor due to design.
Discovery: UV dye showed the leak was actually from the timing cover weep hole, migrating back along the block.
Nuanced Lesson Learned: Front and rear seal leaks can mimic each other on transverse engines. Always trace the path, not just the endpoint.
DIY Feasibility and Risks
This is not a beginner job. Even experienced DIYers can fail due to lack of tools or missteps.
Essential Tools
- Transmission jack: Required for safe removal and alignment.
- Engine support bar: Critical if subframe is dropped—prevents engine sag.
- Clutch alignment tool: Prevents misalignment during install on manuals.
- Torque wrenches (inch- and foot-pound): Aluminum components require precise torque.
- Seal installer tools: Rope seals need a guide; PTFE seals require finger pressure only.
Safety and Installation Pitfalls
Transmissions weigh 100–300+ lbs. Always use jack stands, wheel chocks, and a spotter. Never work under a vehicle supported only by a jack.
Common installation errors:
- Pitched or twisted rope seals—leads to immediate leak.
- Inverted PTFE seal lips—destroys sealing action.
- Dirt or debris in the seal groove—causes premature failure.
- Over-torquing bellhousing bolts—warps the case or strips threads.
Situation: A diesel pickup with a rope seal leak. Owner installed a new seal himself using silicone instead of sealant on the cap.
Initial Assumption: Just a bad install.
Discovery: The silicone had cured too thick, lifting the cap slightly. Main bearing wear followed due to loss of preload.
Nuanced Lesson Learned: Fastener sealing methods matter. RTV has a place, but thickness and application pattern are critical—especially on main caps.
Best Practices: Do’s and Don’ts
- ✅ Use a factory service manual: Torque specs and sequences vary by model year. Generic specs can cause engine damage.
- ✅ Clean bolt threads with a bottoming tap: Oil in blind holes can cause hydraulic lock and cracked blocks.
- ✅ Replace the oil pan gasket: Even if it looks good—disturbing the pan breaks the seal.
- ⚠️ Avoid reusing torque-to-yield (TTY) bolts: They stretch. Reuse can lead to bolt failure and bearing damage.
- ⚠️ Don’t skip transmission fluid refill specs: Overfilling an automatic causes aeration and shifting problems.
- ⚠️ Never install a rope seal dry: Lubricate both lips with assembly lube or engine oil to prevent tearing.
Consequences of Delaying the Repair
Small seeps can be monitored short-term, but ignoring them risks major damage.
- Progressive oil loss can lead to low oil levels, risking engine failure.
- Oil contamination can ruin a clutch—adding $800–$1,200 to future repairs.
- In some states, visible leaks can fail safety or emissions inspections.
- Severe oil loss leads to bearing wear. Once you hear rod knock, the engine is likely beyond economical repair.
Every repair should start with the right data. Pull the service manual. Check the labor time estimate, seal type, and required special tools. In my experience, the ones who do their homework walk out with fewer surprises.