In my shop, timing belt failures don’t usually come out of nowhere. More often than not, there are signs—some subtle, some loud—if you know where and how to look. I’ve seen belts last well beyond their recommended interval, and I’ve also seen them fail early due to environmental factors or manufacturing variances. What follows is a practical diagnostic guide built on two decades of turning wrenches and pulling broken engines apart. If your goal is to catch failure before it leaves you stranded—or worse, destroys your engine—this is how we do it.
How to Check for Impending Timing Belt Failure
The best way to diagnose a failing timing belt is a hands-on inspection. That means removing the timing cover, which can take 1–3 hours depending on the vehicle. Before you start, disable the ignition or fuel system and remove the spark plugs. This reduces compression, making it easier to rotate the engine by hand and spot belt slippage or resistance.
Visual Inspection: What to Look For
Once the cover is off, inspect the entire belt surface under good lighting. Rotate the engine slowly by hand using a socket on the crankshaft pulley bolt. Check every inch of the belt for these key signs:
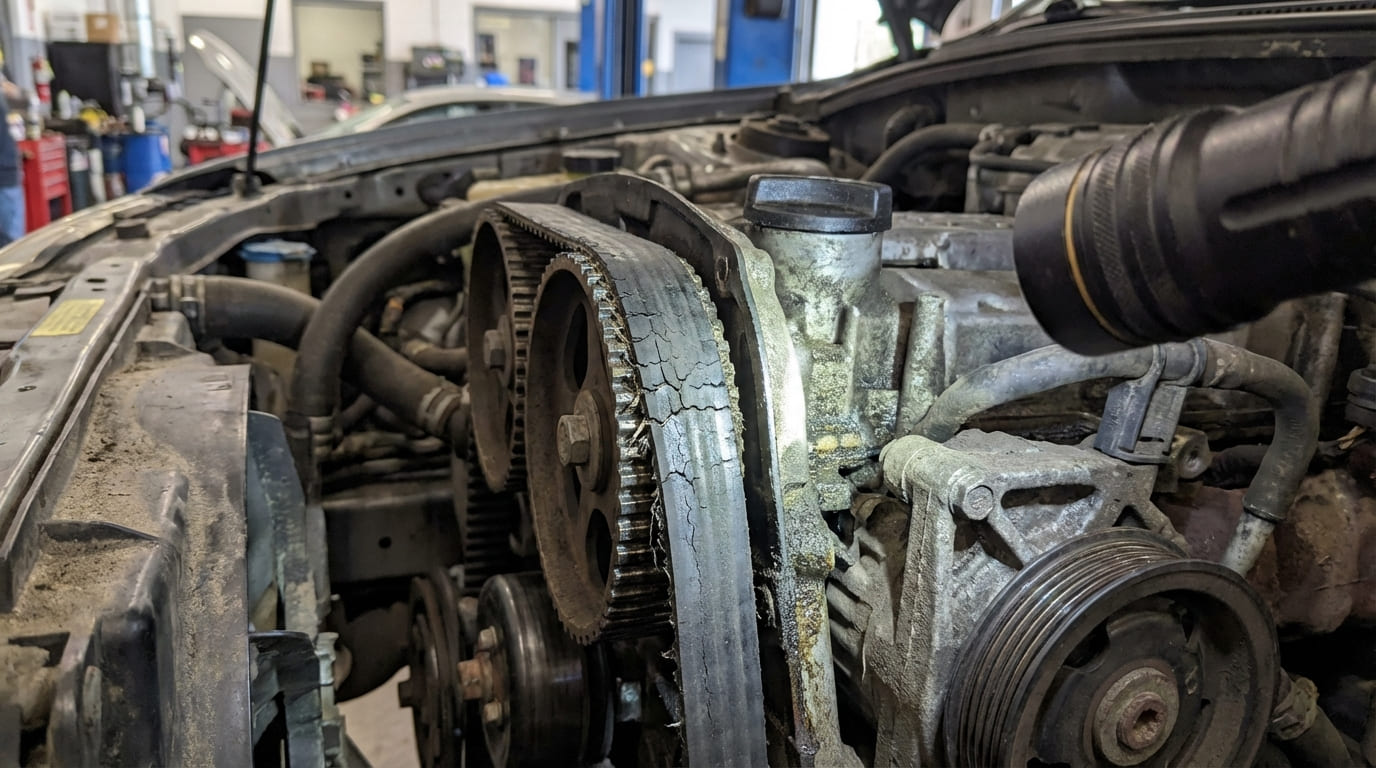
- Cracking or dry rot on belt ribs or backing: This is the most common sign of aging. Cracks often start at the edges and spread inward. Any visible cracking means the rubber has lost elasticity. I won’t trust a cracked belt past the next few hundred miles—even if the car runs fine.
- Fraying or material loss along belt edges: This usually means misalignment. Check for bent pulleys, a shifted cam gear, or a timing cover rubbing the belt. Fraying can also come from a worn idler pulley allowing side-to-side movement.
- Missing or damaged teeth: One missing tooth is a hard stop. On interference engines (most modern engines), this can lead to bent valves on the next startup. I’ve seen belts with three missing teeth still turning—don’t be fooled.
- Glazing (shiny ribs): A polished look on the belt’s ribs means slippage. This is often due to a weak tensioner. Check tensioner function before assuming the belt is the root cause.
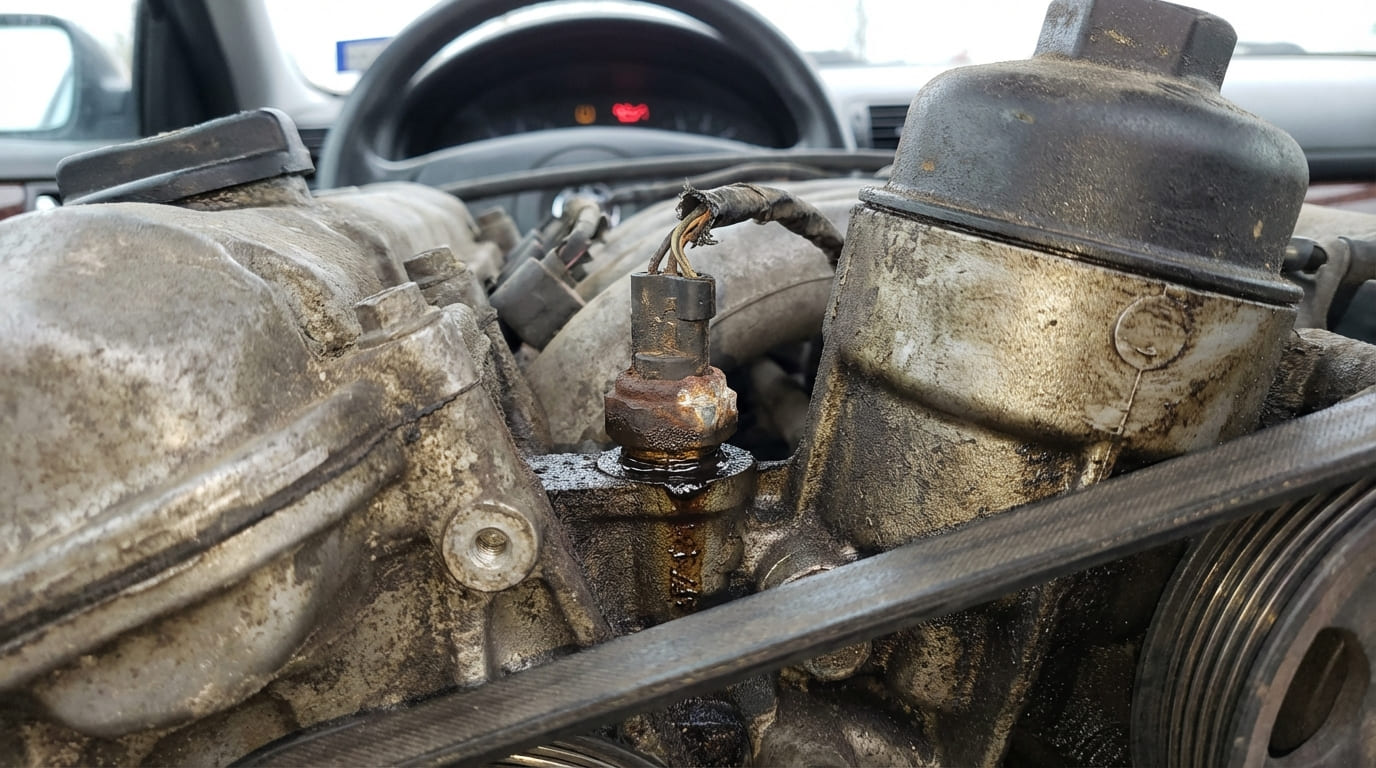
- Oil or coolant contamination: Oil usually comes from a leaking front crankshaft or cam seal. Coolant means the water pump seal is failing. Either contaminant degrades the belt material fast. Replace the source, not just the belt.
In my shop, we always inspect the belt any time the cover is off—even if the car is under the recommended mileage. I’ve replaced belts at 50,000 miles because they were dry and cracked from short-trip driving. Time matters as much as mileage.
Checking Belt Tension and Mechanical Components
Tension should be checked with a proper gauge—don’t rely on finger pressure alone. Most manufacturers specify tension in Newton-meters (Nm) or deflection (mm). For example, Honda and Toyota belts often require 25–35 Nm. If you don’t have a gauge, a “spongy” feel when pressing the belt suggests a failed hydraulic tensioner or seized idler.
Check these components while you’re in there:
- Tensioner: Should hold firm pressure. If it’s hydraulic, ensure it’s bled and primed during reassembly. A collapsed tensioner is a leading cause of belt jump.
- Idler pulleys: Spin them by hand. Any grinding, roughness, or wobble means replacement. These are cheap and wear out with the belt.
- Water pump: If belt-driven, check for play or leakage from the weep hole. A failing pump can destroy a new belt.
I’ve seen more comebacks from reused idlers than from any other part. The labor to access them is 90% of the job—replace them while you’re in there. A $15 pulley isn’t worth a second teardown.
Auditory and Performance Symptoms
Noises and drivability issues are secondary indicators. Always rule out the serpentine belt and accessories first—they’re far more common sources of noise.
- Squealing or chirping at startup: Could be a glazed belt or failing idler. Use a mechanic’s stethoscope to pinpoint the source. Don’t assume it’s the timing belt.
- Ticking or slapping noise: A rhythmic slap every few seconds often means belt slack. Could be a failed tensioner or improper installation. I once found a tensioner that wasn’t bled—silent until the engine warmed up.
- Grinding or rumbling: Likely a failing idler bearing or water pump. Listen closely at each pulley with a stethoscope.
- Engine misfires, rough idle, or P0016/P0017 codes: These suggest cam/crank timing correlation issues. But don’t assume it’s the belt—faulty sensors or VVT solenoids can trigger the same codes. Always verify by checking physical timing marks with the crank at TDC.
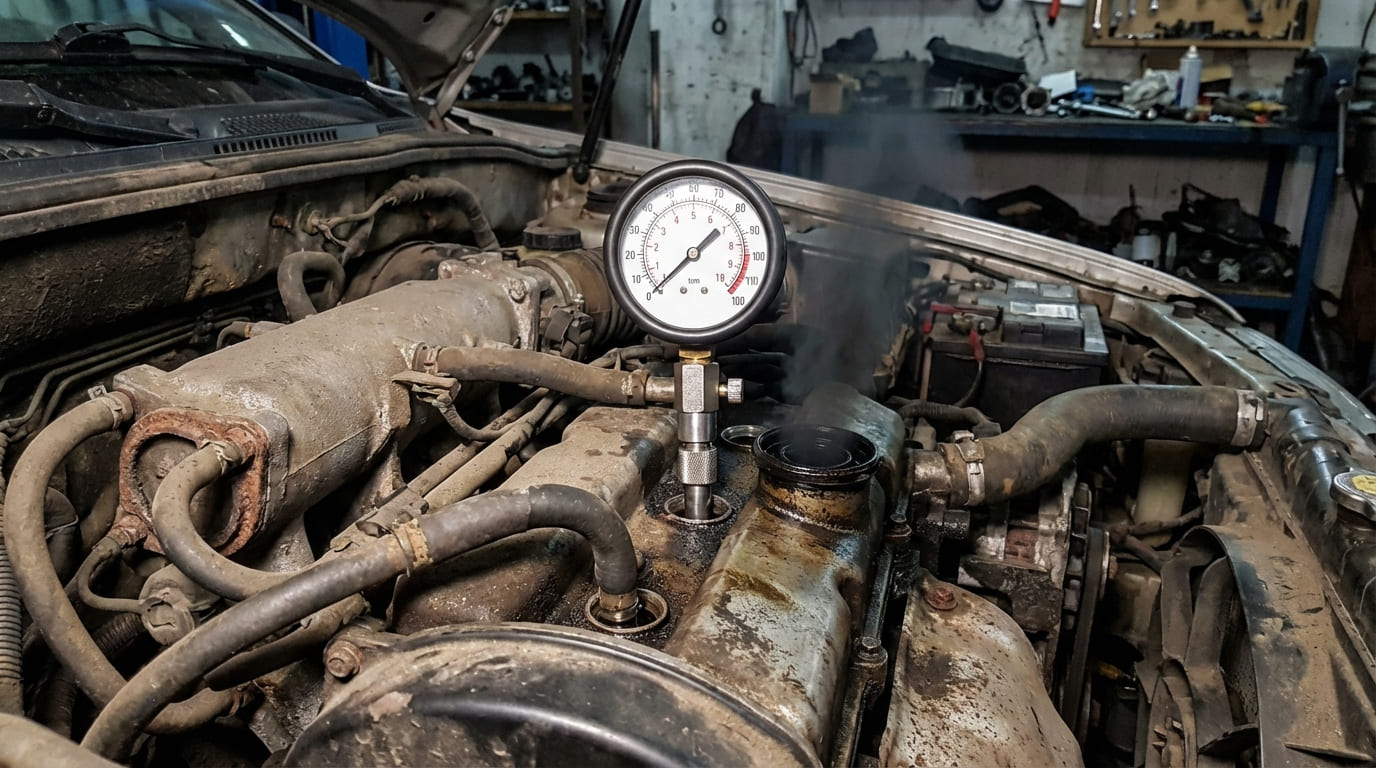
- Hard start or no-start with low compression: If the engine turns fast but won’t fire, and compression is near zero, the belt likely jumped or broke. On interference engines, internal damage is probable.
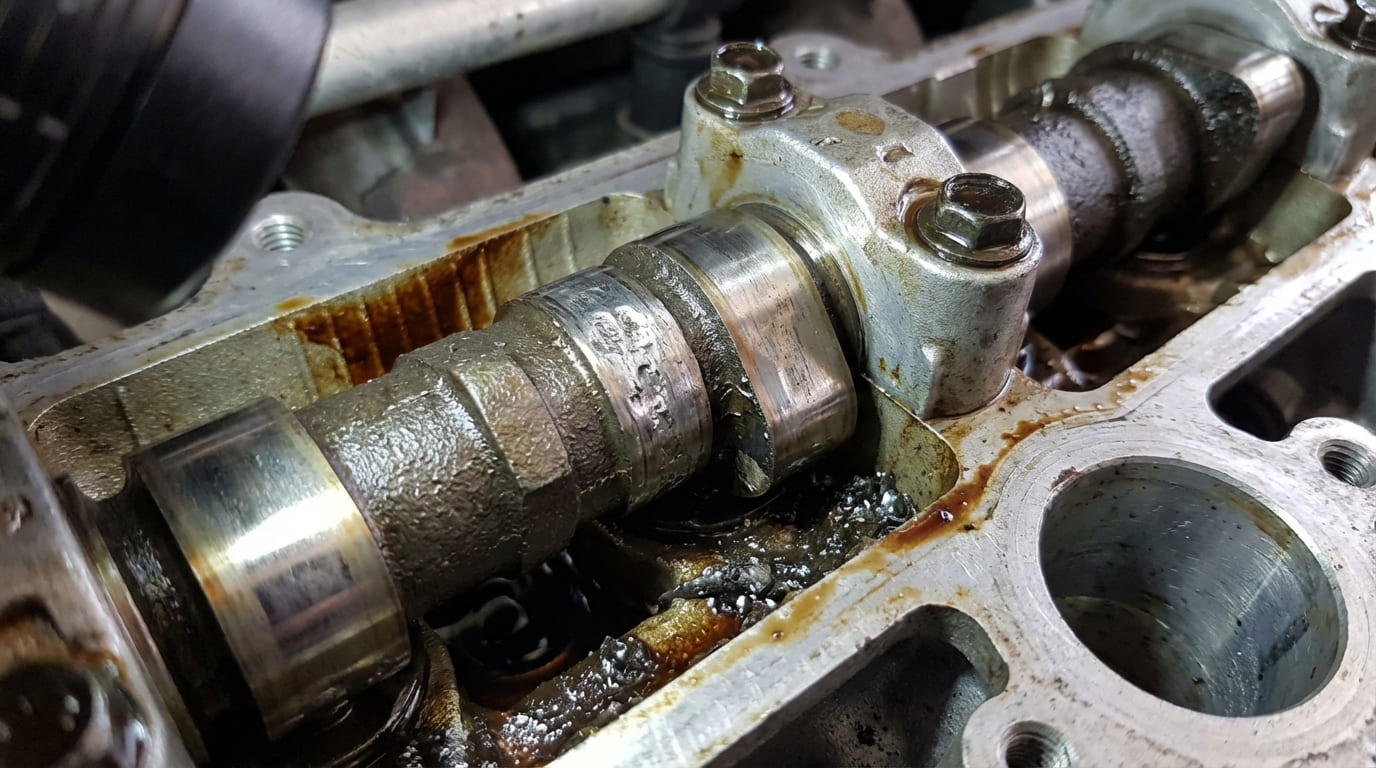
Never ignore a no-start with fast cranking. Pull the oil cap and have someone crank the engine. If the camshaft isn’t turning, the belt is broken. Don’t keep trying to start it—more damage could occur.
When to Replace: Cost and Viability
Timing belt replacement typically costs $400–$800 at a shop, depending on engine complexity. DIY can save labor but requires precision. If your belt shows any of the visual signs above, replacement is not optional—it’s urgent.
On interference engines (most Honda, Toyota, Subaru, and import models), a failed belt can cause $3,000–$5,000 in internal engine damage. The risk far outweighs the cost of preventive replacement.
| Symptom | Most Likely Cause | Less Common But Possible Causes | Urgency Level |
|---|---|---|---|
| Visible cracks on belt | Aging, heat exposure | Contamination (oil/coolant), improper storage before install | High – replace soon |
| Frayed edges | Pulley misalignment | Bent cover, aftermarket pulley, manufacturing defect | High – risk of sudden failure |
| Missing teeth | Impact from debris, tension loss | Manufacturing flaw, incorrect belt type | Critical – do not operate |
| Squealing at startup | Failing idler or tensioner | Accessory belt noise, damp belt from condensation | Medium – monitor, diagnose carefully |
| Engine misfires + P0016 | Timing belt slippage | Faulty sensor, reluctor wheel issue, VVT solenoid problem | High – verify with physical timing check |
Best Practices for Replacement
When replacing the timing belt, don’t just swap the belt. The labor is the same—replace these components too:
- Timing belt tensioner
- Idler pulleys
- Water pump (if belt-driven)
- Camshaft and crankshaft seals
These parts wear on similar timelines. Replacing them together prevents a second teardown within 30,000 miles.
In my shop, we always use OEM or top-tier aftermarket belts (like Gates or Aisin). I’ve tested no-name belts—they stretch faster and crack sooner. On a critical engine, that’s not a risk worth taking.
Critical Tips for a Successful Job
- ✅ Clean crankshaft and cam gear bolt threads with a thread chaser. Dirty threads cause false torque readings and can lead to pulley slippage.
- ✅ Mark the belt’s original routing and direction of rotation before removal. It helps during reassembly, especially if you’re interrupted.
- ✅ Replace tensioner bolts—even if they aren’t torque-to-yield. These bolts go through aluminum and are prone to galling.
- ⚠️ Never reuse torque-to-yield (stretch) bolts unless the manufacturer explicitly allows it. They often fail to maintain clamping force.
- ⚠️ Always bleed hydraulic tensioners per manufacturer specs. Skipping this causes noise and premature failure.
- ⚠️ Avoid non-OEM or no-name belts on interference engines. Inferior cord material can stretch or break under load.
Real-World Lessons from the Shop
Situation: A 2012 Honda Accord came in with a chirping noise at startup. The owner had just replaced the serpentine belt, but the sound persisted.
Initial Assumption: We thought it might be a tensioner or idler on the accessory drive.
Deep Dive/Discovery: After ruling out the front belts, we pulled the timing cover. The timing belt was glazed and slightly frayed on the inner edge. Closer inspection revealed the camshaft sprocket was slightly misaligned due to a worn keyway.
The Nuanced Lesson Learned: Noise isn’t always from the component making it. The belt was reacting to a mechanical misalignment that had gone unnoticed for thousands of miles.
Situation: A 2008 Subaru Outback towed in with a no-start. The engine turned over fast, no compression.
Initial Assumption: Classic timing belt breakage—common on older Subarus.
Deep Dive/Discovery: We found the belt intact but had jumped 7 teeth. The hydraulic tensioner had failed internally—no external leaks, but it lost pressure overnight.
The Nuanced Lesson Learned: A belt doesn’t have to break to cause engine damage. Silent tensioner failure can be just as destructive, and it won’t show up on a visual inspection until it’s too late.
Situation: A 2015 Toyota Camry with 68,000 miles had a slight ticking from the front end. No codes, no performance issues.
Initial Assumption: Maybe a lifter tick or exhaust manifold leak.
Deep Dive/Discovery: We pulled the cover on a hunch. The belt was dry and had fine surface cracks. The water pump weep hole was damp—early sign of seal failure.
The Nuanced Lesson Learned: Sometimes, preventive disassembly is justified. That belt wasn’t due for another 20,000 miles, but environmental factors had aged it prematurely.
Always consult the specific service manual for torque specs, belt type, tension procedure, and interference status. What works on a Toyota may not apply to a VW or a GM engine. The details matter—sometimes, they’re the only thing standing between a $500 repair and a $4,000 engine rebuild.