In my shop, spark plug wires come across the bench regularly—not just during tune-ups, but when customers start feeling something off in engine performance. Over two decades, I’ve learned that while ignition wires seem simple, their failure modes can be subtle, and replacement timing isn’t always by the book. Let’s walk through what I’ve found works best when deciding whether to replace them, based on real-world conditions and diagnostic nuance.
Scheduled Maintenance Intervals
OEM recommendations for spark plug wire replacement vary more than people expect. On many vehicles I see, the interval ranges from 60,000 to 100,000 miles or roughly five to seven years. However, I typically recommend considering earlier replacement under certain operating conditions.
- High engine compartment temperatures: Especially in performance or turbocharged applications, sustained heat accelerates insulation breakdown.
- Frequent short-trip driving: Doesn’t allow underhood moisture to fully evaporate, increasing the chance of corrosion at terminals.
- Exposure to contaminants: Oil leaks, fuel drips, or coolant seepage can degrade silicone jackets over time.
- High humidity or corrosive environments: Coastal areas or winter road-salt regions tend to see more boot corrosion and carbon tracking.
On vehicles with known weak points—like older Hondas with distributor caps near exhaust manifolds—I’ve replaced wires at 40,000 miles just due to thermal stress, even without symptoms.
Diagnostic Indicators for Replacement
Engine Performance Degradation and How to Check
More often than not, a failing wire shows up as drivability issues. These include:
- Intermittent or steady misfires, often logged as DTCs like P0301 through P0308 (indicating which cylinder is affected).
- A rough idle, sometimes with noticeable vibration through the steering wheel or floor.
- Hesitation during acceleration, especially under load or uphill.
- A drop in fuel economy that can’t be explained by driving habits.
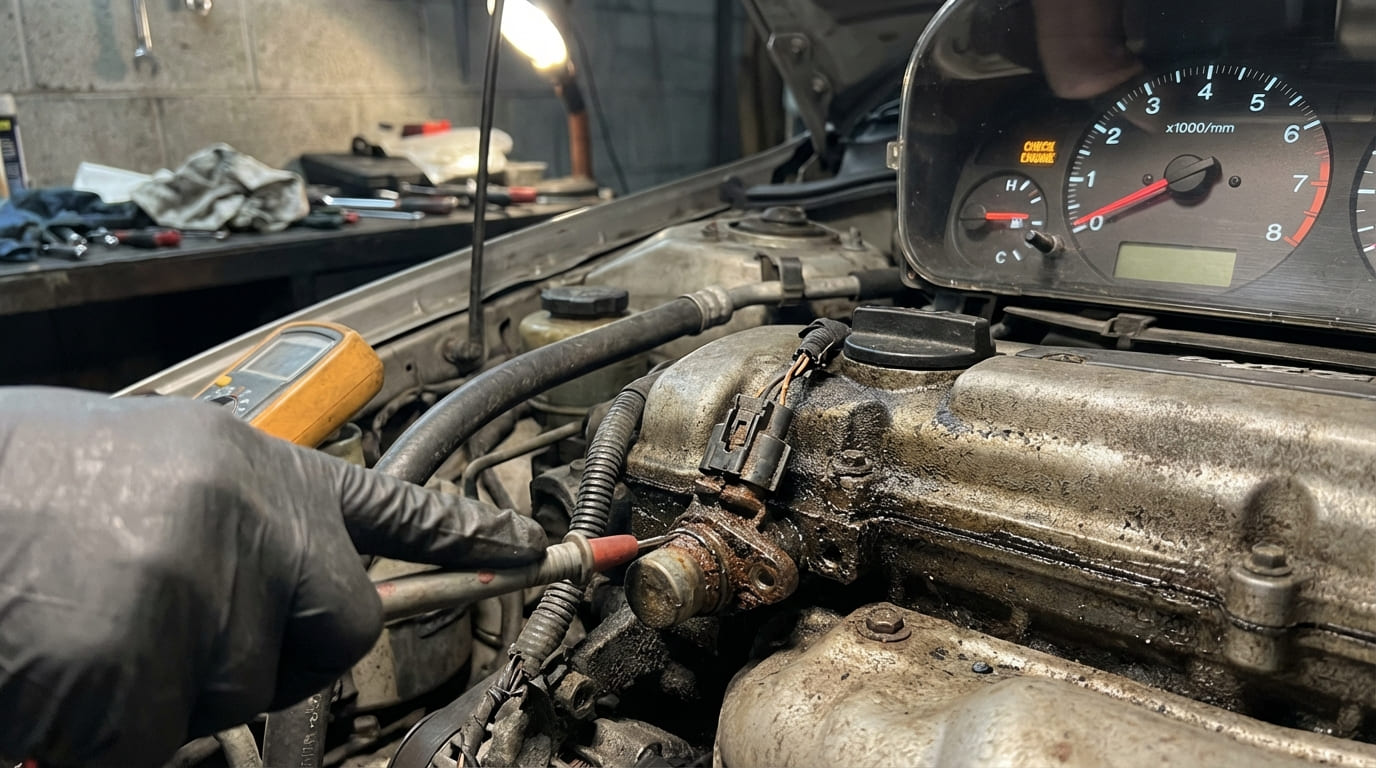
- The check engine light coming on, sometimes blinking during active misfires.
To check: Use an OBD2 scanner to pull codes. If you see a cylinder-specific misfire, swap the suspect wire with another and see if the misfire follows. If it does, the wire is likely the culprit. Always rule out spark plugs and coils first—especially on coil-on-plug systems.
Visual and Audible Signs: How to Inspect
Some of the clearest signs come from a thorough visual and auditory inspection:
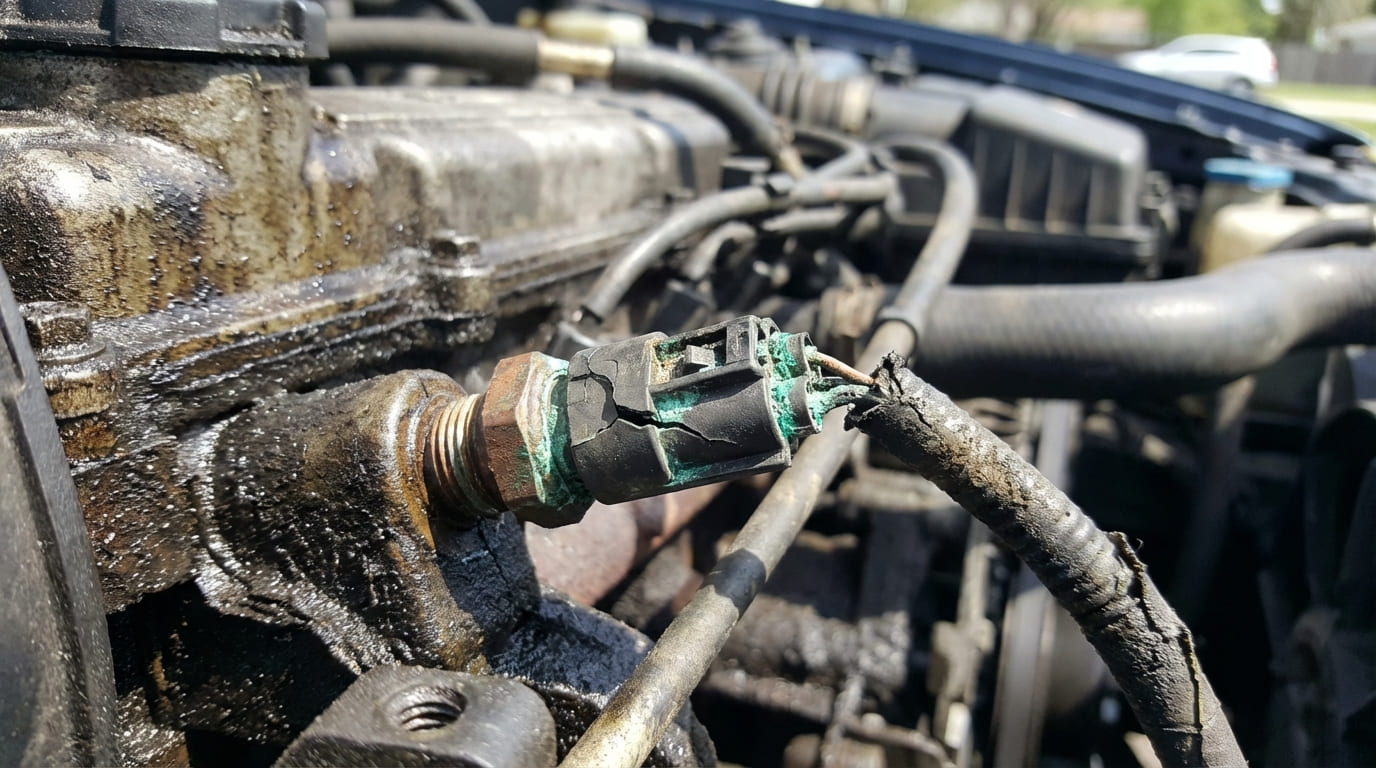
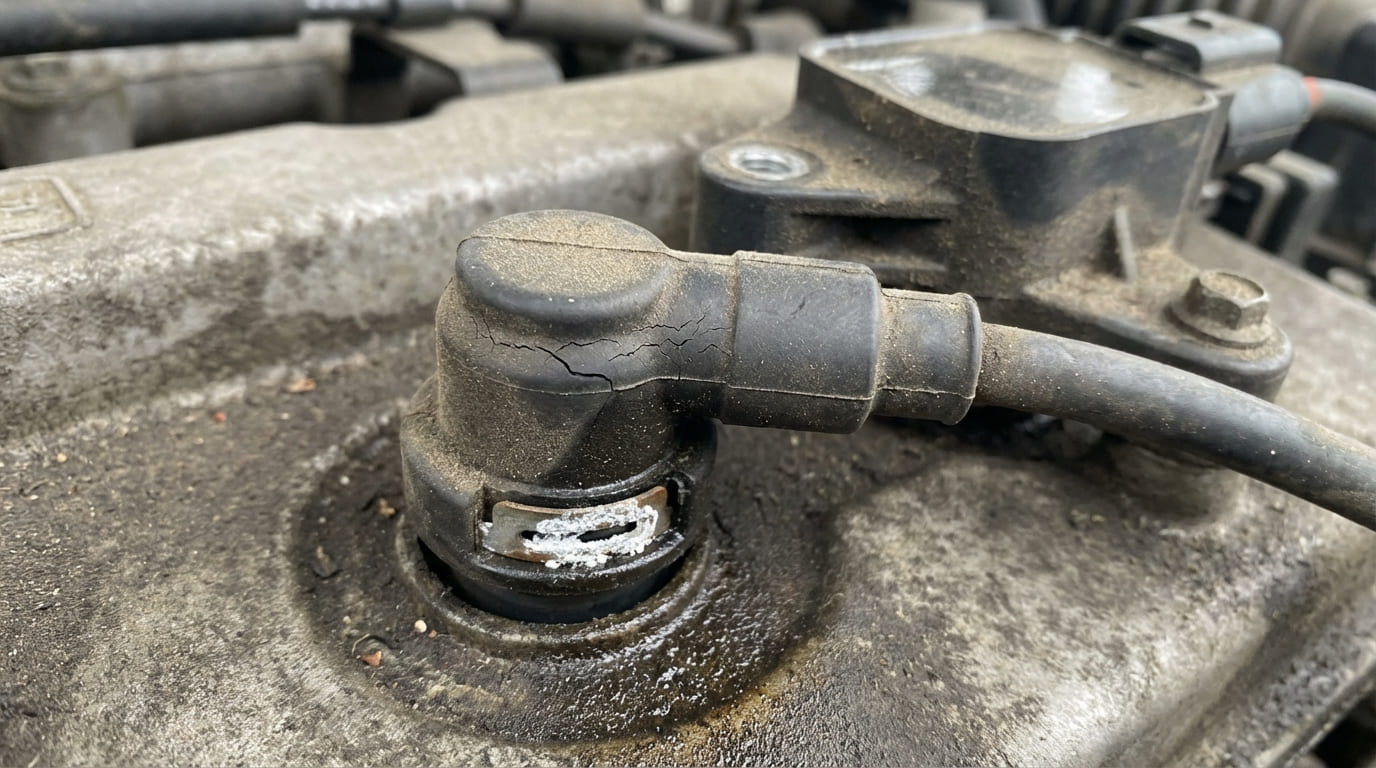
- Cracked, brittle, or swollen insulation—especially near boots or bends.
- Fraying or abrasion where wires rub against brackets or hoses.
- White, powdery deposits or black carbon trails on boots, suggesting moisture ingress or arcing.
- Melted or discolored areas, often near exhaust manifolds or turbocharger housings.
- Boots that don’t snap on securely or feel loose at the plug or coil end.
- Snapping or popping noises from the engine bay—especially at idle in damp conditions.
To check: Perform a darkness test. Start the engine in a dark garage or at night. Look for any visible blue or white sparks along the wires or at the boots. Even a faint arc means the insulation is compromised. Also, gently wiggle each wire while the engine is running—if the idle stumbles, you’ve found a weak spot.
In my shop, we always do a darkness test on any vehicle with unexplained misfires. It’s fast, free, and catches issues no multimeter can. I’ve seen wires pass resistance tests but fail this one—because real-world voltage stress exposes what bench tests miss.
Diagnostic Procedures to Confirm Wire Integrity
Resistance Measurement (Ohm Test) – Step-by-Step
Using a digital multimeter, measure resistance end-to-end after disconnecting both ends of the wire. Here’s how:
- Remove the wire from both the spark plug and ignition coil or distributor.
- Set your multimeter to ohms (Ω).
- Touch one probe to each metal terminal.
- Record the reading.
Compare readings between all wires. A difference of more than 25% between cylinders, or an open circuit (“OL”), indicates a problem. But don’t rely solely on this—some wires fail under load despite normal resistance.
Typical resistance values:
| Wire Type | Resistance Range (per foot) | Total (3-ft wire) |
|---|---|---|
| Carbon-core | 8,000–12,000 Ω | 24,000–36,000 Ω |
| Spiral-core (low-resistance) | 300–1,000 Ω | 900–3,000 Ω |
Always consult your vehicle’s service manual—specs vary widely.
Secondary Ignition Spark Test – How to Perform
For a real-world stress test, use an adjustable gap spark tester:
- Disconnect the suspect wire from the spark plug.
- Connect the spark tester between the wire and a good ground (e.g., engine block).
- Have an assistant crank the engine while you observe the spark.
A healthy system produces a strong, crisp blue spark across a 10–12 mm gap. A weak, orange, or sputtering spark suggests voltage loss—possibly due to high resistance in the wire or poor connections.
This test simulates actual operating voltage. I’ve used it to confirm failing wires that passed resistance tests. It’s especially useful on older distributors or wasted-spark systems where coil output is shared.
Factors Accelerating Degradation
Even quality wires don’t last forever, especially when exposed to:
- Thermal cycling from daily heat/cool cycles, particularly near exhaust components.
- Physical abrasion from contact with sharp brackets or clamps.
- Contamination from oil, fuel, or cleaning solvents—some aftermarket cleaners can eat through silicone over time.
- Improper handling during past services, like pulling on the wire instead of the boot, which can break internal strands.
- Engine vibration, especially in high-RPM or diesel applications, leading to terminal fatigue.
I’ve pulled wires apart in the shop and found the conductor broken internally while the boot looked fine. That’s why resistance testing matters.
Consequences of Delayed Replacement
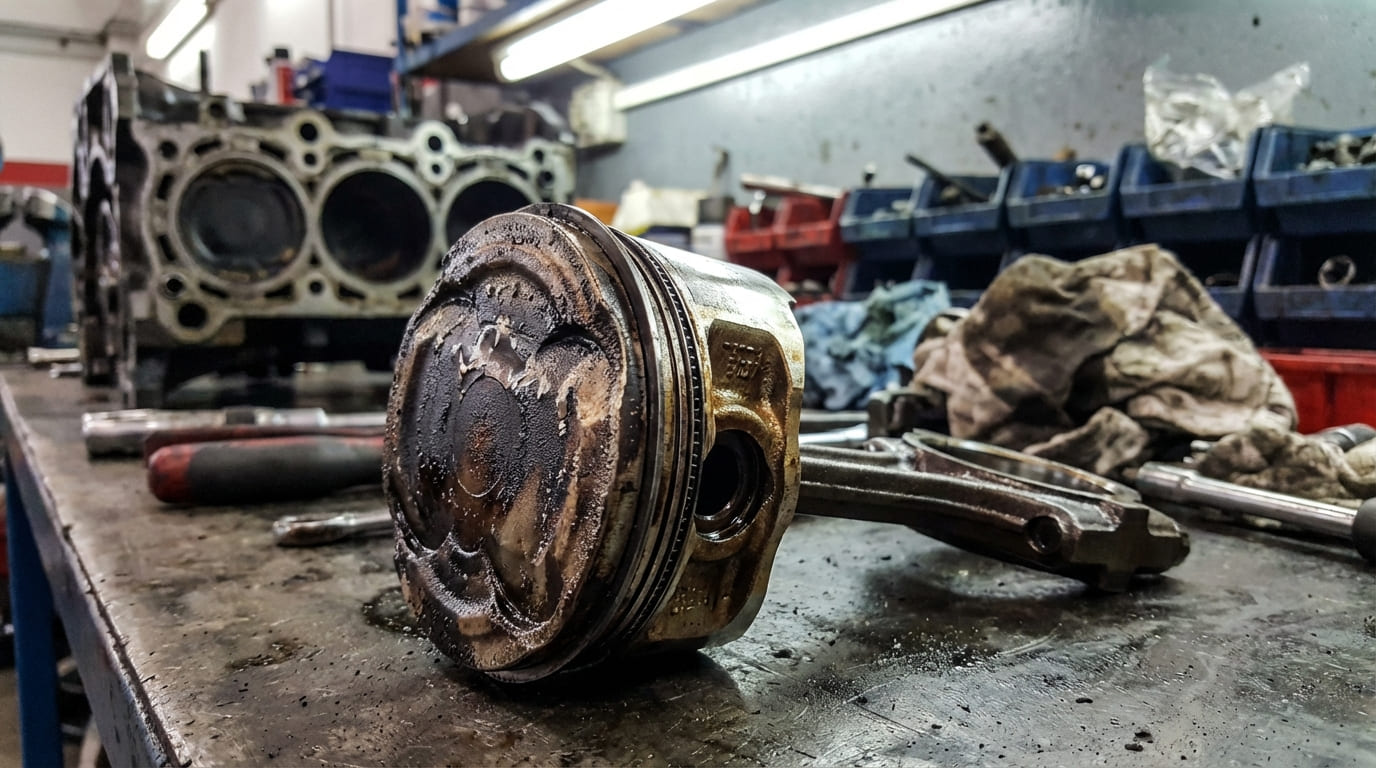
Ignoring failing wires can lead to more than just poor performance. In my experience, prolonged misfires due to arcing or weak spark can:
- Overheat and damage the catalytic converter from unburned fuel entering the exhaust. Repair cost: $700–$2,500.
- Increase hydrocarbon emissions, potentially causing a failed emissions test.
- Strain ignition coils, leading to premature coil failure—especially in coil-on-plug systems. Coils cost $80–$200 each.
- Worsen fuel economy and drivability, making the vehicle unpleasant to drive.
Replacing a $50 set of wires early can save you a $1,000 catalytic converter or multiple failed coils. It’s one of the best ROI preventive jobs you can do.
Replacement Recommendations
When replacement is needed, consistency and quality matter. Here’s how to approach common scenarios:
| Scenario | Probable Cause | Diagnostic Priority | Repair Approach |
|---|---|---|---|
| Misfire on one cylinder, visible arc at boot in dark | Insulation breakdown, contamination | High – visual and darkness test confirm | Replace full set, inspect routing and boot fit |
| High resistance in one wire, others normal | Internal conductor failure | High – supports symptom correlation | Replace full set, verify with post-test |
| Intermittent misfire, no visual or resistance issues | Could be wires, but also coil, plug, or ECU | Medium – requires system-wide diagnosis | Test under load; consider wire swap test before replacement |
| Vehicle in humid climate, 7 years old, no symptoms | Preventive timing | Low to medium – depends on usage | Inspect thoroughly; replace if signs of aging |
Recommended / Avoid List
- ✅ Recommended: Replace wires as a complete set—even if only one appears faulty. This ensures uniform resistance and aging across cylinders. Cost: $40–$120 for a quality set.
- ✅ Recommended: Use OEM or high-quality equivalent wires. I’ve seen cheap aftermarket sets fail within 12 months due to poor core materials.
- ✅ Recommended: Route new wires exactly as original, using all clips and separators. Misrouting can lead to inductive crossfire or heat exposure.
- ✅ Recommended: Apply dielectric grease inside boots. It prevents moisture intrusion and makes future removal easier without tearing.
- ⚠️ Avoid: Pulling on the wire body during removal. Always twist and pull the boot to prevent internal conductor damage.
- ⚠️ Avoid: Mixing old and new wires. Differences in resistance can cause uneven spark delivery.
- ⚠️ Avoid: Using petroleum-based lubricants on boots—some can degrade silicone insulation over time.
Situation: A 2008 Camry came in with a P0302 code and rough idle. The owner had already replaced the coil and plug.
Initial Assumption: I figured it was either a bad plug or a mechanical issue.
Deep Dive: After swapping coils and plugs with no change, I did a darkness test. Found a faint arc from cylinder 2’s wire near the exhaust manifold. Resistance test showed only a slight deviation—within 15% of others.
Nuanced Lesson Learned: Visual and operational tests can catch issues that resistance alone misses. Even “within spec” doesn’t mean “functioning properly” under real conditions.
Situation: A 1999 Ford Ranger had chronic misfires after a tune-up. New plugs and wires installed six months prior.
Initial Assumption: Faulty new parts.
Deep Dive: Upon inspection, the wires were routed over a sharp bracket near the valve cover. All showed abrasion, and one had a pinhole arc path. The installer skipped the retaining clips.
Nuanced Lesson Learned: Proper routing and use of clips aren’t just suggestions—they’re critical to longevity. A quality wire set won’t last long if it’s chafing on metal.
Situation: An older Subaru with 110,000 miles had no symptoms but was due for plugs. Owner asked if wires should be done too.
Initial Assumption: “If it ain’t broke…”
Deep Dive: I inspected boots and found fine cracking inside the distributor end. Resistance was still normal, but the rubber was hardening. Given the age and climate (northern winters), I suggested replacement.
Nuanced Lesson Learned: Preventive replacement based on condition and environment can avoid roadside breakdowns. Age and material fatigue matter, even without current symptoms.
In my experience, spark plug wires don’t always fail catastrophically—they degrade gradually, and symptoms can be misleading. Testing should combine resistance checks, visual inspection, and operational validation. And while service intervals give a baseline, real-world conditions often dictate the true replacement window. Always consult the specific vehicle’s service manual for resistance specs and procedures—what’s normal for one engine might be a failure on another.