In my 20 years as a shop foreman, few jobs generate as much sticker shock—or confusion—as a timing chain replacement. I’ve seen customers flinch at quotes north of $3,000, only to later regret cutting corners when the engine fails months later. This isn’t just about replacing a chain. It’s a deep-dive engine service that demands precision, time, and the right parts. Let me walk you through what drives the cost, what you should (and shouldn’t) replace, and how to avoid costly missteps.
Timing Chain Replacement Cost Range
On most vehicles I see, the total cost to replace a timing chain system ranges between $1,500 and $4,500. That’s a broad spread, but it reflects real-world variability in labor, parts, and engine design. Breaking it down helps make sense of the number.
Labor Cost Component
Labor typically makes up 60–75% of the total. Accessing the timing cover often means removing the radiator, cooling fans, engine mounts, and in some transverse V6/V8 setups, even unbolting the engine and transmission to gain clearance. It’s not just bolt-on/bolt-off work—it’s a choreographed disassembly.
- Inline 4-cylinder (transverse): 8–12 hours. Usually more direct access, but cramped engine bays on modern cars can still slow things down.
- V6/V8 (transverse): 12–18 hours. More components in the way, and often requires pulling the subframe or engine cradle.
- V6/V8 (longitudinal): 10–16 hours. Better access from the front, but complexity increases with dual overhead cams and VVT.
- Complex DOHC V-engines with multiple chains and VVT: 15–20+ hours. Think modern GM LT engines, Ford EcoBoost V6s, or BMW N54/N55. These aren’t just time-consuming—they demand meticulous attention to timing alignment.
Shop labor rates vary widely. Around here, we run $135/hour, but I’ve seen shops as low as $90 and dealerships charging $175+. That alone can swing the final bill by over $1,000.
Parts Cost Component
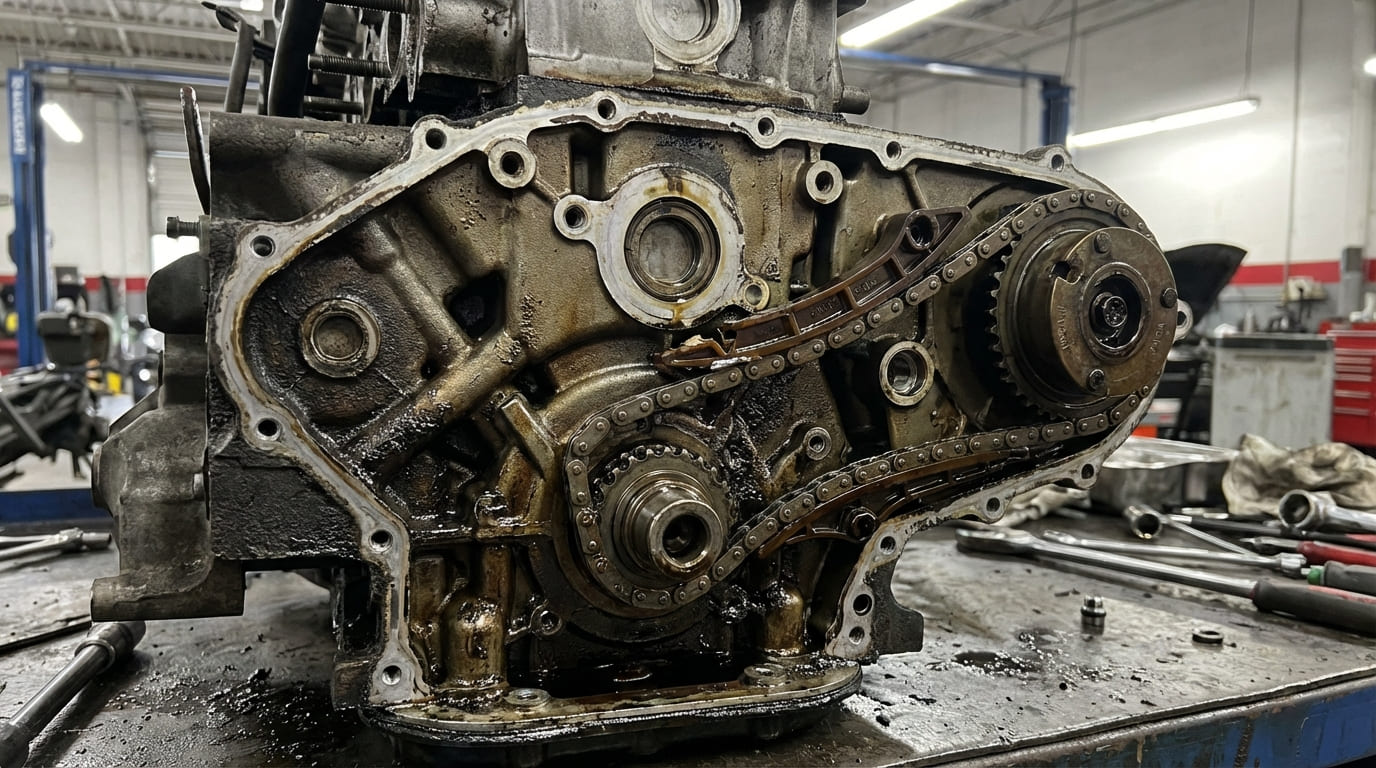
A quality timing chain kit isn’t something you want to cheap out on. These aren’t just chains—they include tensioners, guides, sprockets, and often VVT actuators.
- OEM kits: $400 to $1,200+, depending on the engine. I’ve used OEM kits on BMW and Lexus engines where the phaser design is notoriously sensitive to tolerances.
- Quality aftermarket kits (e.g., Aisin, Gates, INA): $200 to $800. Some brands are reliable; others I wouldn’t trust past 30k miles. In my experience, Aisin and Gates tend to hold up well on Toyota and Honda applications.
The kit usually includes the chain(s), tensioners, guides, cam sprockets, and crank sprocket. But always double-check—some kits skip the front crank seal or VVT solenoids, which can lead to unexpected add-ons.
Factors Influencing Total Cost
It’s tempting to look up “average cost” online, but real-world pricing depends heavily on context.
Vehicle Make, Model, and Engine Configuration
Engine layout plays a big role. Transverse V6s in minivans or crossovers often require the most labor due to tight clearances. DOHC designs with dual chains and variable valve timing multiply the number of components and alignment steps. On some engines, like certain Ford 3.5L V6s, you’re dealing with a front cover that’s nearly impossible to reseal without warping—so many shops now recommend replacing it outright.
And accessibility? A Subaru boxer engine might seem complex, but the front cover is relatively easy to reach. Meanwhile, some German sedans require pulling the entire front clip just to get the radiator out of the way.
Geographic Location and Market Dynamics
In rural areas, labor rates may be lower, but access to specialty tools or OEM parts can be limited. Urban markets have more competition, but higher overhead. I’ve seen the same job quoted at $1,800 in one city and $3,200 in another—same vehicle, same shop type.
Shop Type and Expertise Level
Dealerships charge more, but they have OEM tools and software updates that can be critical for resetting VVT systems. Independent shops with ASE-certified techs can often match that expertise at a lower rate, but you have to vet them carefully. I always recommend asking: “Do you have the locking tools for this engine?” If they hesitate, walk away.
Comprehensive Component Replacement Scope
In my shop, we treat a timing chain job as a system overhaul—not just a fix. Here’s what we consider.
Core Timing System Components (Mandatory Replacement)
- Timing chain(s): Even if the chain hasn’t broken, stretch over 0.5% can throw off timing. I’ve measured chains on 100k-mile engines that looked fine but were out of spec.
- Tensioners: Hydraulic units can lose pressure over time. If one collapses on startup, that slack can ruin the chain alignment in seconds.
- Guide rails/slippers: These wear silently. I’ve pulled apart engines where the chain was still intact, but the guides had disintegrated, leaving metal fragments in the oil pan.
- Camshaft sprockets and VVT actuators: On many modern engines, these are wear items. Reusing them risks early failure—especially if the engine had timing-related codes.
- Crankshaft sprocket: Some are press-fit, others bolt-on. Either way, worn teeth or a cracked sprocket can cause erratic CKP readings.
Associated Components (Highly Recommended Replacement)
Since you’re already 80% into the engine, it makes sense to address related seals and wear items.
- Front engine cover gasket and seals: Oil leaks are common after reassembly if the old gasket is reused or improperly sealed.
- Oil pan gasket: Often removed during front cover access. While it’s out, inspect for debris and replace the gasket.
- Water pump: If it’s chain-driven or blocked by the timing cover, replace it. On some engines, like the Honda K-series, it’s right behind the cover—might as well do it now.
- Oil pump: If it’s driven off the timing chain or shares a seal with the front cover, it’s worth checking. Some GM LS engines have oil pump drives that wear and cause low pressure.
- Serpentine belt, tensioner, and idler pulleys: These get removed anyway. At 100k miles, they’re nearing end-of-life.
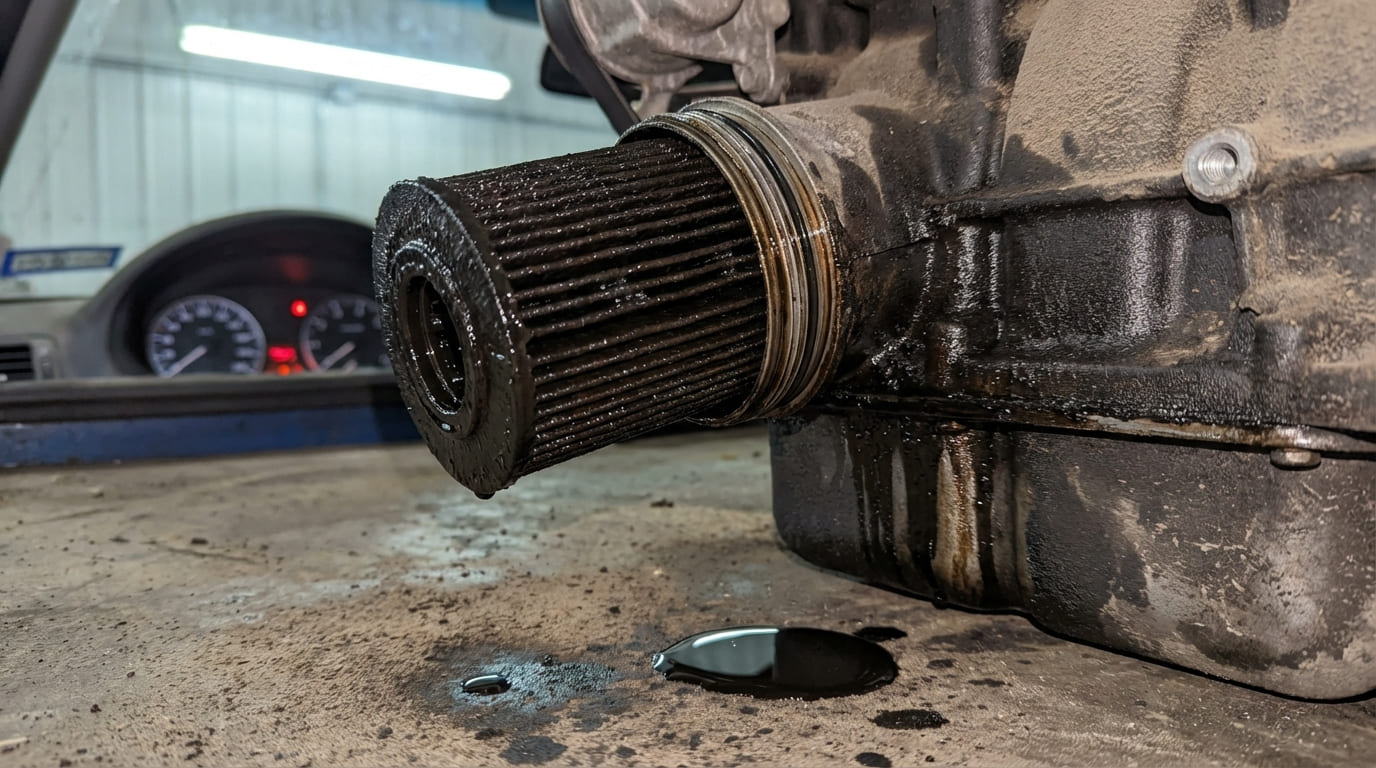
- Engine oil and filter: Always change after the job. You’re likely to have metal debris from guide wear.
- Engine coolant: If the water pump or thermostat housing was disturbed, refill with the correct type and bleed properly.
Components NOT Typically Included
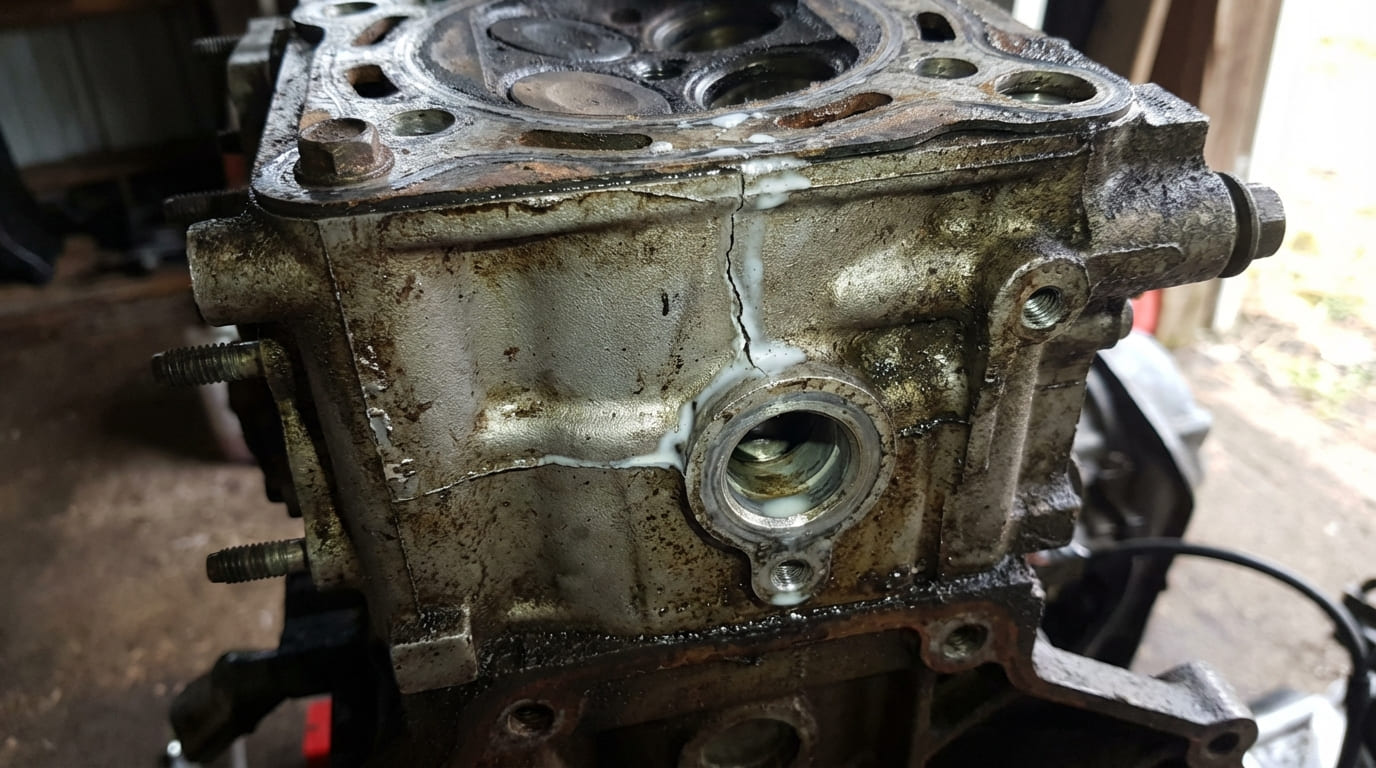
Some shops may suggest replacing cylinder head gaskets or valvetrain parts, but unless there’s evidence of failure, I don’t recommend it. Head gaskets aren’t part of the timing system unless the engine overheated. Lifters and rocker arms usually outlast the chain—unless you’re dealing with a known design flaw, like certain Ford 4.6L engines with lifter tick.
Diagnostic Procedures for Timing Chain System Failure
Before tearing into the engine, you need confirmation. Not every rattle is a bad chain.
Symptom Identification and How to Check
Use this checklist to narrow down whether the issue is timing-related:
- Cold-start rattle that fades: Start the engine cold and listen near the timing cover. If it sounds like marbles in a can and fades within 10–15 seconds, suspect a weak tensioner or stretched chain.
- Check Engine Light with P0016, P0017, P0340, or P0341: Use an OBD2 scanner to check camshaft position deviation. Compare Bank 1 and Bank 2 readings—more than 5° difference suggests timing issues.
- Performance loss or misfires: Rule out spark plugs, coils, and fuel injectors first. If those test fine, suspect cam timing drift.
Diagnostic Tools and Methods
These are the tools we use to confirm chain wear without full teardown:
- OBD2 scanner with live data: Monitor camshaft advance/retard. If one cam is consistently out of range, suspect chain stretch or VVT failure.
- Engine stethoscope: Place near timing cover, cam caps, and oil filter housing. A metallic rattle at the front points to tensioner or chain slap.
- Borescope inspection: Feed through cam sensor hole or oil filler. Look for chain slack, guide wear, or debris. On some engines, you can see 60–70% of the chain path.
- CKP/CMP correlation test with oscilloscope: The gold standard. Compare crank and cam signals. More than 3–5° variance means timing is off—chain system likely failing.
Repair Feasibility and Skill Level
This is a [PRO-ONLY] job for good reason.
Required Specialized Tools
- Timing chain locking tools: These hold the cams and crank in exact position. On an interference engine, being one tooth off can bend valves.
- Crankshaft holding tools: Prevent the engine from rotating during bolt removal.
- Torque angle wrench: Many cam bolts require torque-to-yield specs. You can’t just crank them down with a standard wrench.
Without these, you’re guessing. And guessing on timing is how engines get destroyed.
Risks of Improper Installation
- Catastrophic engine damage: If the cam timing is off and the engine fires, pistons can hit valves. I’ve seen a technician skip the locking tools on a Hyundai Theta engine—cost the shop $6,000 in a new short block.
- Persistent performance issues: Even if it runs, incorrect timing can cause misfires, poor fuel economy, and recurring codes.
In my shop, we always replace the entire timing system—even if only one component looks bad. The labor is 90% of the job. Reusing old tensioners or guides is a gamble not worth taking.
Consequences of Neglecting Timing Chain Replacement
I’ve had customers try to “drive it carefully” after a chain rattle started. More often than not, it ends badly.
- Progressive damage: Increased slack wears guides faster, which increases noise and reduces oil pressure.
- Chain breakage: On an interference engine, this usually means bent valves, damaged pistons, and a repair cost that exceeds the car’s value.
- Complete engine seizure: I once pulled apart a Toyota 2.7L that had a broken chain—three cylinders had zero compression, and the camshafts were chewed up.
Post-Repair Verification
Just because it starts doesn’t mean it’s right.
- Engine start-up: Listen for abnormal noises. A ticking sound could mean low oil prime or a dry tensioner.
- OBD2 scan: Clear codes, then recheck after a drive cycle. Watch for P0016 or P0340 returning.
- Noise evaluation: Confirm the rattle is gone. Some tensioners take a few minutes to build pressure—normal.
- CKP/CMP correlation test: Re-run the oscilloscope test. If the waveforms are clean and in phase, you’ve nailed the timing.
Recommended / Avoid
- ✅ Recommended: Use OEM or high-tier aftermarket kits. The extra $150 upfront can save thousands in comebacks.
- ✅ Recommended: Replace the front cover gasket and seals. Oil leaks after this job are the #1 customer complaint.
- ✅ Recommended: Clean threads with a tap before installing bolts. A seized bolt during reassembly can add hours.
- ⚠️ Avoid: Reusing torque-to-yield bolts unless the service manual explicitly allows it. Most cam bolts are one-time-use.
- ⚠️ Avoid: Skipping the locking tools. I don’t care how experienced you are—cam timing isn’t a freehand job.
- ⚠️ Avoid: Assuming the chain is the only issue. If the engine overheated, check deck flatness before reassembling.
Diagnostic Decision Table
| Symptom | Possible Causes (Likelihood) | Next Diagnostic Step |
|---|---|---|
| Cold-start rattle, goes away after idle | Worn tensioner (High), stretched chain (Medium), low oil pressure (Medium) | Borescope inspection, check oil pressure, verify tensioner function |
| P0016/P0017 codes | Timing chain stretch (High), failed VVT actuator (Medium), cam sensor issue (Medium) | Oscilloscope test, inspect VVT oil control valve, check sensor wiring |
| Engine misfire + rattle | Severe chain slack affecting timing (High), bent valves (if recent breakage), lifter failure (Low) | Compression test, borescope, CKP/CMP correlation |
| No start after timing work | Incorrect cam timing (Very High), damaged valves (High), skipped tooth (Very High) | Verify timing marks, perform compression test, inspect for mechanical damage |
Situation: A 2014 Honda Accord with 112k miles came in with a cold-start rattle and P0016 code. Owner was told at another shop it needed a new engine.
Discovery: After a borescope inspection, I saw moderate chain slack but intact guides. Oscilloscope test showed 4.2° of cam retard—out of spec, but not catastrophic. Pulled the timing cover: chain was stretched, tensioner weak, but no valve damage.
Nuanced Lesson Learned: Not every rattle means engine death. Diagnose the system, not just the symptom. A $900 chain job saved the customer from a $5k engine replacement.
Situation: 2010 Ford Taurus 3.5L DOHC with timing rattle. Previous shop replaced the chain but didn’t replace the VVT actuators. Rattle returned in 8 months.
Discovery: Upon teardown, the new chain was already showing uneven wear. The old actuators had internal leakage, causing erratic cam movement that mimicked chain slap.
Nuanced Lesson Learned: On engines with VVT, the actuators are part of the timing system. Replacing only the chain without addressing known wear items leads to repeat failures.
Situation: 2012 BMW 328i with P0017 and rough idle. Owner tried cleaning the VVT solenoids and resetting adaptations—no fix.
Discovery: Oscilloscope showed erratic cam signal. Removed valve cover: timing chain guides were shattered, allowing chain whip. The solenoids were fine—the root cause was mechanical wear, not electrical.
Nuanced Lesson Learned: Modern diagnostics require both electronic and mechanical investigation. Codes point to symptoms, not always the source.
In my experience, the best outcomes come from shops that treat the timing chain as a system—not just a part. Always consult the factory service manual for torque specs, sequence, and special procedures. What works on a Toyota may not apply to a GM engine. The details matter.