In my shop, this question comes up regularly—especially as vehicles push past 150,000 miles. While timing belts have clear service intervals, timing chains occupy a gray area. I’ve seen engines with 200,000 miles and quiet, tight chains, and others at 80,000 miles needing a complete timing set replacement. The answer isn’t simple. Let me walk you through the real-world picture.
Do You Need to Replace a Timing Chain on a Schedule?
No, timing chains are not considered routine maintenance items like timing belts. Manufacturers design most modern chains to last the life of the engine under proper conditions. However, “last the life” assumes regular oil changes, correct oil viscosity, and no extreme operating stress. In practice, some chains fail early—others exceed 200,000 miles. The key is monitoring for symptoms, not mileage-based replacement.
How Timing Chains Actually Fail
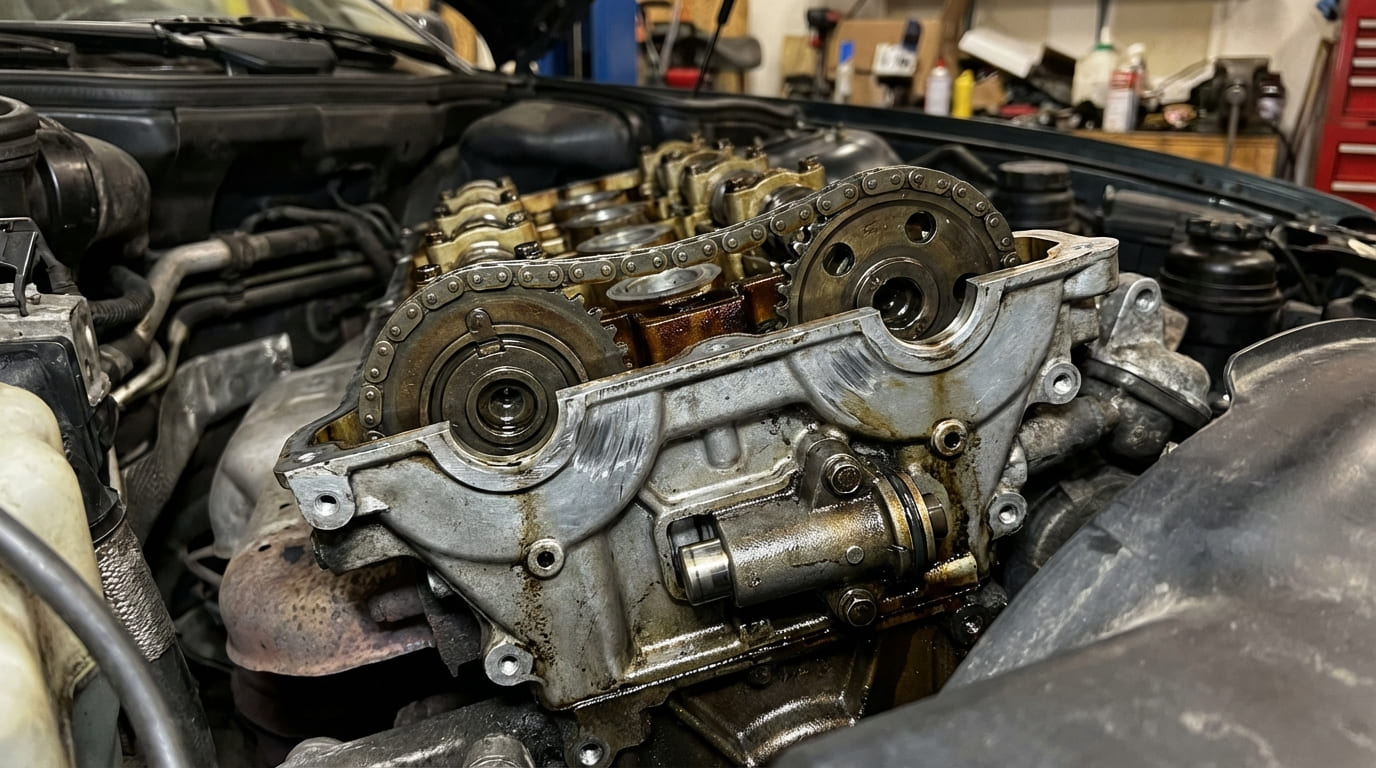
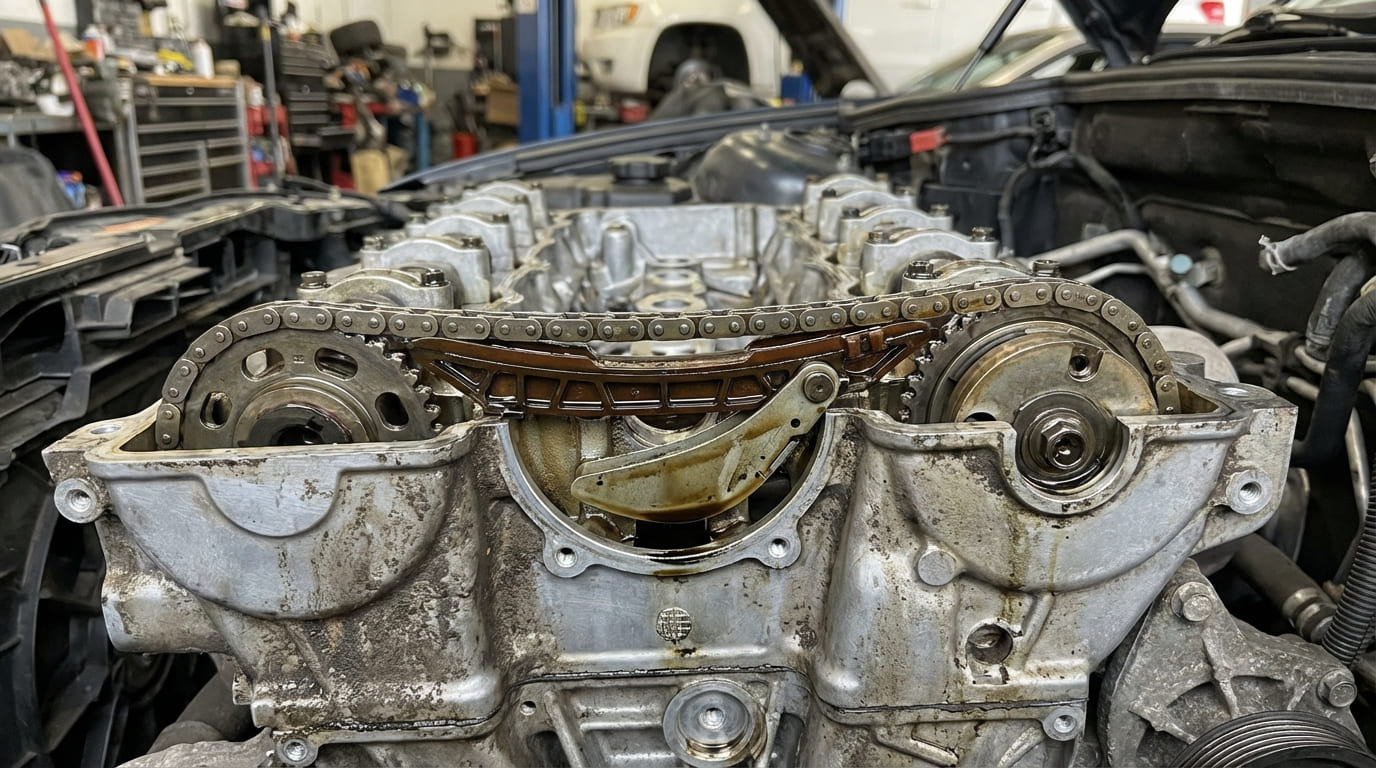
Chain failure is rarely sudden. It’s a wear process involving multiple components. Here are the real failure modes I see in teardowns:
- Chain elongation: Wear at the pin-and-bushing joints increases the chain’s pitch. Even 0.5% stretch can throw off valve timing on modern engines with tight tolerances.
- Guide deterioration: Plastic or nylon guides wear down or crack. Once they lose material, the chain flaps, causing noise and accelerated wear.
- Tensioner collapse: Hydraulic tensioners rely on oil pressure. Sludge, low pressure, or internal valve failure lets the chain go slack.
- Sprocket wear: Cam and crank sprockets wear unevenly, especially if the engine runs with a loose chain for extended periods.
How to Check for Timing Chain Wear
Don’t guess—test. Here’s how I diagnose chain health in the shop:
- Listen for noise: A brief rattle at cold start (2–5 seconds) is normal on many engines. But a rattle that lasts beyond 10 seconds, or a constant whine or tick at operating temperature, is a red flag.
- Use a stethoscope: Place it near the timing cover. A metallic rattle points to chain slap. Rule out accessory drive noise by removing the serpentine belt and retesting.
- Check oil pressure: Connect a mechanical gauge. Low pressure at idle or 2,000 RPM can starve the tensioner. Never rely solely on the dashboard warning light or scanner readings.
- Scan for cam-to-crank correlation: Use a factory-level scanner to monitor camshaft position vs. crankshaft. More than 5 degrees of deviation (check service manual for your engine) often means chain stretch or VVT issues.
- Borescope inspection: On some engines, you can insert a scope through the cam sensor hole to view the chain and guides. It’s not foolproof, but I’ve caught broken guide fragments this way without removing the cover.
- Inspect oil for metal: Cut open the oil filter and check for brass or steel flakes. A magnetic drain plug with metal chunks? That’s a sign of advanced wear.
In my shop, we always test oil pressure with a mechanical gauge before replacing a tensioner. More than once, low pressure from a clogged pickup screen or worn pump was the real culprit—not the chain.
When to Replace: Practical Decision Guide
Don’t replace a timing chain just because it’s old. Replace it when there’s evidence of wear or failure risk. Here’s my decision framework:
| Symptom | Most Likely Cause(s) | Less Common But Possible Causes | Diagnostic Next Step |
|---|---|---|---|
| Cold-start rattle (5 sec) | Worn tensioner, low oil pressure at startup | Normal on some engines, delayed oil flow due to viscosity | Check oil pressure; verify with warm-engine test |
| Persistent metallic whine | Chain slap due to worn guides or tensioner | Accessory drive noise, water pump bearing | Stethoscope check; belt removal test |
| P0016/P0017 codes | Chain stretch, faulty VVT actuator | Timing jumped during service, sensor misalignment | Check correlation with scanner; verify timing marks |
| Visible metal flakes in oil | Advanced chain or sprocket wear | Oil pump failure, bearing debris | Inspect oil filter; magnetic drain plug check |
Replacement: What to Include and What to Avoid
If you’re opening the timing cover, replace the whole system. Labor is 80% of the cost. Here’s what I recommend—and what to skip:
- ✅ Replace all guides: They wear as a system. Even if one looks good, others are near failure.
- ✅ Replace tensioner: Hydraulic units are not rebuildable. Use OEM or top-tier aftermarket.
- ✅ Replace sprockets: Especially if the chain was loose. Worn teeth accelerate new chain wear.
- ✅ Clean oil passages: Use a brush and solvent on VVT and tensioner oil feeds. Sludge here kills new parts fast.
- ⚠️ Never reuse torque-to-yield bolts: Cam sprocket and tensioner bolts stretch. Reusing them risks loosening.
- ⚠️ Replace front crank seal: It’s right there. A $10 part prevents a future leak and another teardown.
- ⚠️ Avoid cheap aftermarket tensioners: I’ve seen them fail in under 30,000 miles. Stick with OEM for critical hydraulic parts.
Situation: A 2012 V6 SUV came in with a P0017 code and rough idle. Owner had replaced the cam sensor twice.
Discovery: Live data showed 7-degree cam retard. I pulled the oil cap and used a borescope—saw a broken guide piece floating near the tensioner. The chain wasn’t stretched, but the guide failure allowed slack.
Nuanced Lesson Learned: Don’t assume a correlation code means chain stretch. Guide integrity is just as critical, and failure can mimic timing error without measurable elongation.
Situation: A 90,000-mile turbo-four had a persistent rattle. Previous shop replaced the tensioner, but noise returned in 6 months.
Discovery: I checked oil pressure—fine. But when I removed the cover, the new aftermarket tensioner had a cracked body. The OEM unit had a reinforced casting. Also, the chain had slight cupping on the links.
Nuanced Lesson Learned: Aftermarket parts aren’t always equal. And chain wear patterns can reveal root causes—cupping often points to misalignment, not just age.
Situation: Customer reported ticking after an oil change. Assumed it was the chain, but the car had only 65,000 miles.
Discovery: The noise disappeared when the serpentine belt was removed. Turns out the tensioner pulley on the accessory drive was binding. We’d almost misdiagnosed a $1,500 job.
Nuanced Lesson Learned: Always rule out accessory drive noise before diving into the timing cover. Noise travels, and assumptions can be costly.
Repair vs. Replace: Cost and Viability
Timing chain replacement is expensive—typically $800 to $1,800 at a shop, depending on engine complexity. DIY can save labor but requires precision. If your engine is in good health otherwise, and you’re seeing early signs of wear, replacement is often worth it. But if the engine is already burning oil or has high mileage with poor maintenance history, weigh the repair cost against vehicle value.
For engines with known timing chain issues (e.g., certain Ford V6s, Audi turbo fours), proactive replacement at 100,000–120,000 miles may be smarter than waiting for failure—especially if you plan to keep the car long-term.
Final Verdict
Timing chains don’t need periodic replacement like belts. But they’re not immortal. The smart approach is condition-based: listen for noise, scan for timing errors, check oil pressure, and inspect when possible. If symptoms point to wear, replace the entire system—chain, guides, tensioner, sprockets—with quality parts. And never skip the service manual: torque specs, alignment marks, and wear limits vary by engine. What’s acceptable on one may be catastrophic on another.