In my two decades as a master mechanic, a cracked cylinder head has been one of the most misdiagnosed engine issues—often mistaken for head gasket failure. The symptoms overlap, but the repair path and cost differ significantly. This guide cuts through the noise with real-world diagnostics, clear testing steps, and practical repair logic. If you’re seeing coolant loss, strange smoke, or oil contamination, here’s how to confirm whether the head itself is cracked—and what to do next.
External Symptoms: What You Can See and Smell
Coolant and Oil Leaks from the Head
External leaks are often the first clue, but don’t jump to conclusions—many are misdiagnosed as head cracks when they stem from gaskets or hoses.
- Check for puddles under the car after shutdown, especially near the exhaust manifold or valve cover.
- A sweet, syrupy smell in the engine bay suggests coolant evaporation—common when a crack leaks intermittently under pressure.
- Oily residue tracking up from the head may mimic a valve cover leak, but if gasket replacement doesn’t fix it, suspect an internal crack feeding oil to the surface.
- Burning oil smell? That’s oil dripping onto hot exhaust—check near the camshaft or rocker arm area.
In my shop, we always pressurize the cooling system before tearing anything down. More than half the “cracked head” cases turn out to be a leaking water pump or loose hose clamp.
Internal Symptoms: Hidden Damage That Kills Engines
Coolant System Contamination
When combustion gases or coolant cross into the wrong system, it’s serious. These signs point to internal breaches.
Combustion Gases in Coolant
This is a red flag for a crack between the combustion chamber and coolant passage.
- Persistent bubbling in the overflow tank—even when engine is at normal temperature.
- Exhaust odor from the coolant reservoir: a sure sign of combustion leakage.
- Overheating despite a working thermostat and fan: trapped gases block coolant flow.
- Pressure buildup in cold hoses: if the upper radiator hose feels rock-hard before the engine warms up, combustion gases are likely entering the system.
Oil in Coolant
Less common with head cracks—more often points to oil cooler or gasket failure.
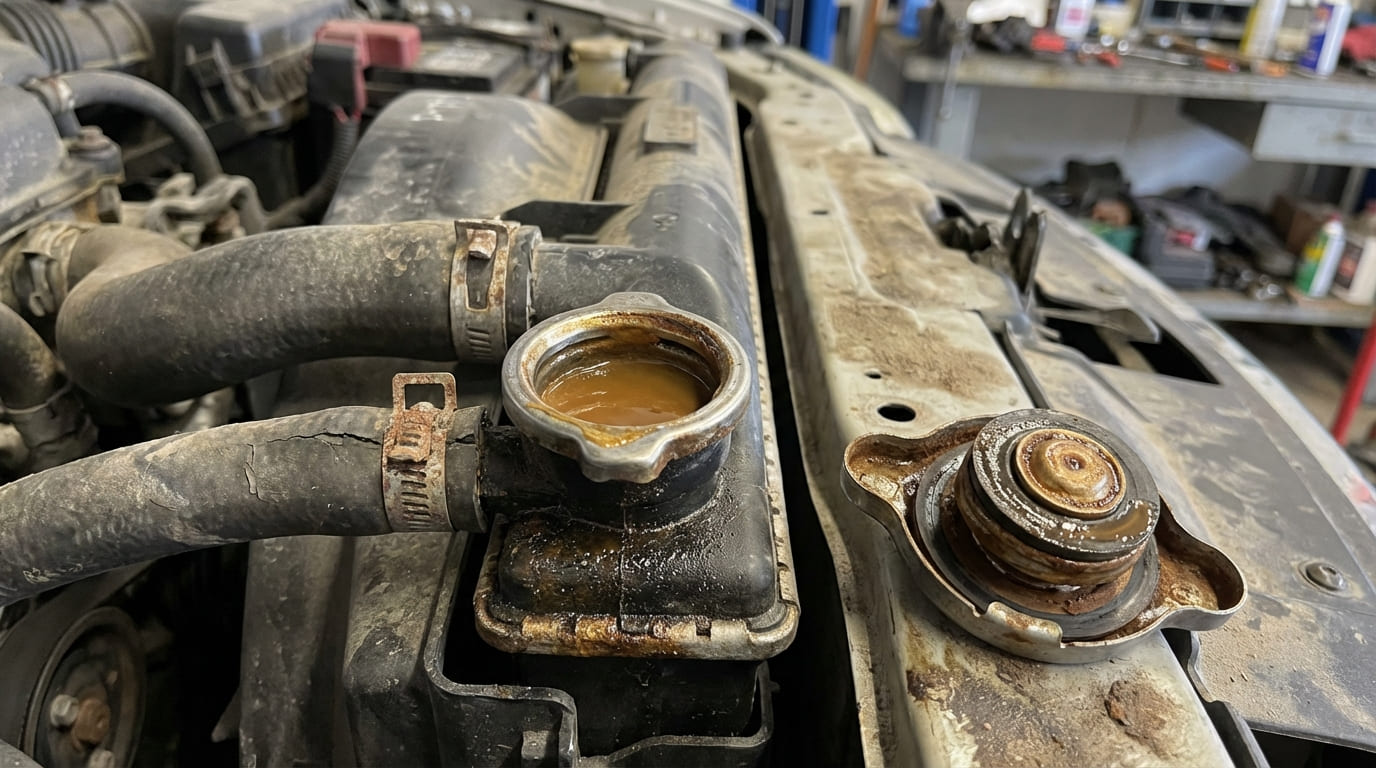
- Milky residue in the radiator or reservoir.
- Visible oil slick floating on coolant surface.
Lubrication System Contamination
Coolant in oil is a fast track to engine failure. Bearings wash out, clearances open up, and metal-on-metal contact follows.
Coolant in Engine Oil
- Check the dipstick: a milky, tan, or frothy appearance means coolant intrusion.
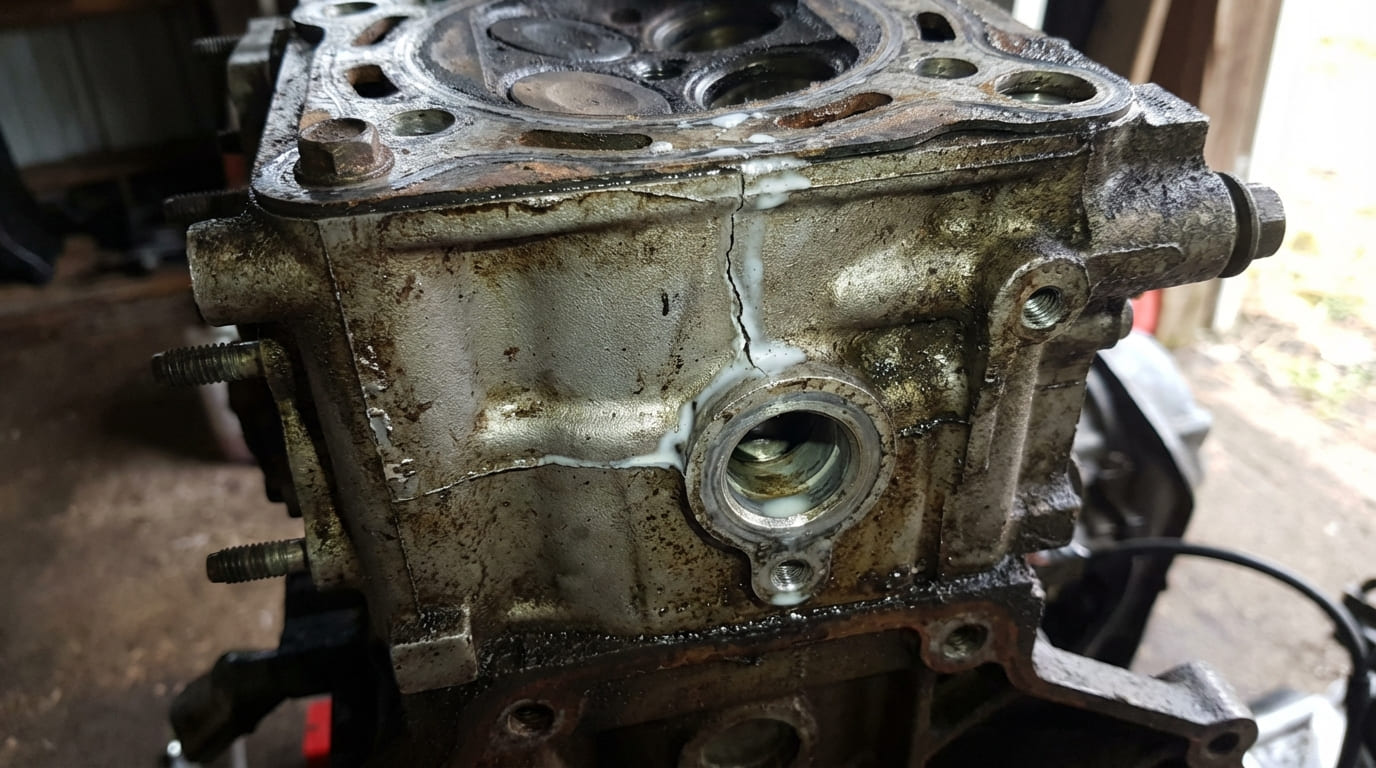
- White, mayonnaise-like sludge under the oil cap—especially after overnight cooling.
- Rising oil level with no fuel dilution: coolant is seeping into the crankcase.
If the oil level creeps up between changes, shut the engine off. Continuing to run it risks hydrolock and spun bearings—both can total the engine.
Fuel in Engine Oil
Rare, but possible if a crack connects a fuel rail or injector bore to an oil gallery.
- Strong gasoline smell on the dipstick.
- Oil feels thin and lacks viscosity—check for rapid wear on main and rod bearings.
Combustion and Performance Issues
When cylinder integrity fails, power drops and misfires appear.
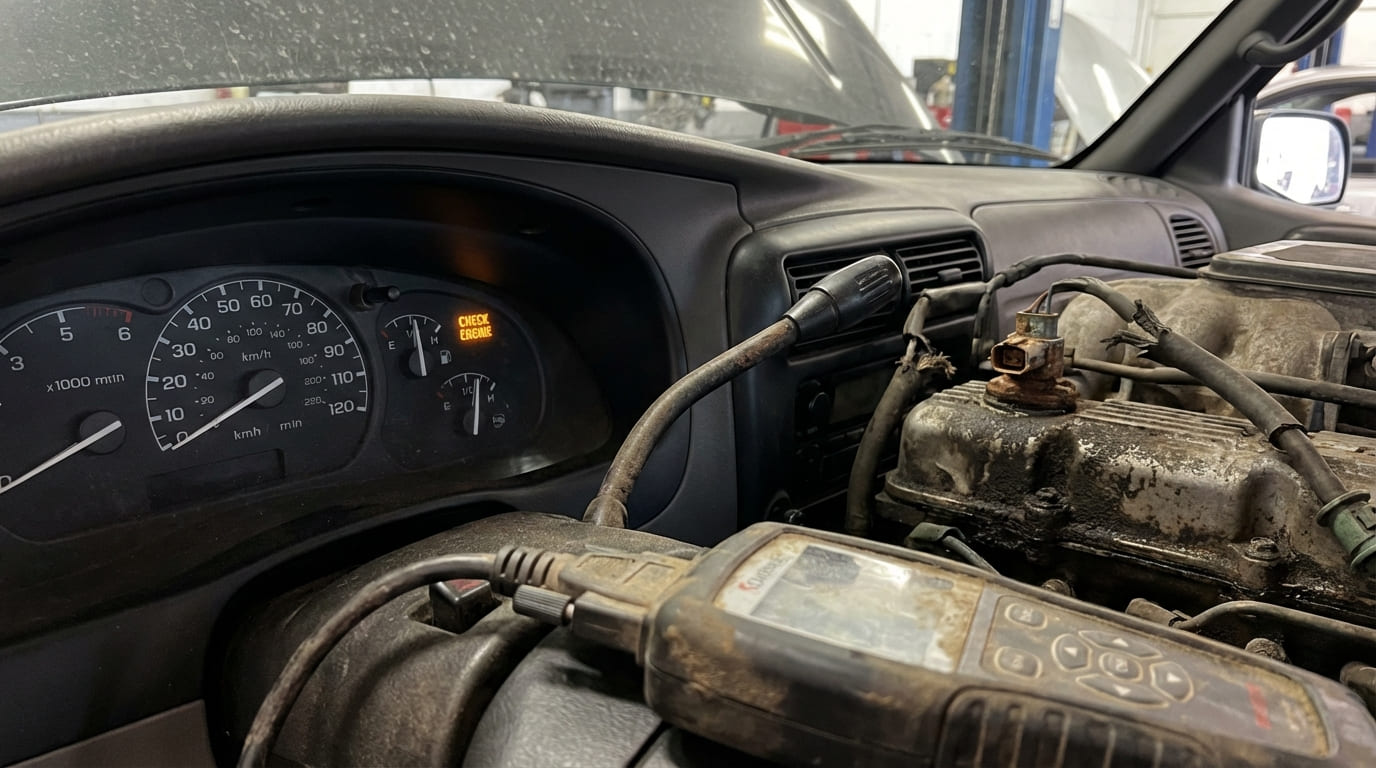
- Engine misfires on one cylinder: check OBD2 for P030x codes and review misfire counters—consistent counts point to mechanical failure.
- Rough idle or hesitation under load: mimic ignition or fuel problems, so don’t assume spark plugs first.
- White smoke from exhaust when engine is warm: coolant burning in the chamber. Cold-start white smoke is usually condensation.
- Blue smoke: suggests oil is also entering the combustion zone—could be valve seals, but combined with coolant loss, suspect a crack near a valve guide.
- Loss of compression: perform a compression test. Readings below 130 psi or more than 15% lower than adjacent cylinders demand follow-up.
- Hydrolock: coolant fills a cylinder and prevents piston movement. Results in a no-crank condition or damaged starter—do not force start.
Differential Diagnosis: Is It the Head, Gasket, or Something Else?
Many symptoms point to multiple failures. Use this table to narrow the cause before disassembly.
| Symptom Pattern | Most Likely Causes | Diagnostic Differentiator |
|---|---|---|
| White smoke + coolant loss + radiator bubbles | Head gasket (common), cracked head (less common), intake manifold leak (on V6 engines) | Block test positive? Intake leaks often only show when cold. Use UV dye to trace. |
| Oil in coolant, no combustion gases | Oil cooler failure, cracked head (oil-to-coolant path), head gasket (rare) | Block test negative? Pressure-test oil cooler lines. Check for external leaks. |
| Coolant in oil, rising oil level | Cracked head, head gasket, cracked block | Leak-down test: air into coolant? Compression test helps isolate cylinder. |
| External coolant leak near head | Water pump, hose, thermostat housing, cracked head (rare) | Pressure test with UV dye. Most are not head cracks—check gaskets and clamps first. |
Diagnostic Procedures: Confirm Before You Tear Down
Never replace a head without confirming the crack. These tests are fast, cheap, and definitive.
Cooling System Pressure Test
Step 1 in any coolant loss diagnosis.
- Pressurize system to 15–20 psi (or OEM spec).
- Wait 15–30 minutes. A drop in pressure with no external leak means internal failure.
- Doesn’t confirm head crack—could be gasket, block, or heater core.
Combustion Leak Detector (Block Test)
Chemical test for exhaust gases in coolant—more reliable than visual bubbling.
- Use a block tester with blue fluid. If it turns yellow, combustion gases are present.
- Positive result = breach between cylinder and coolant system.
- Doesn’t tell you location—could be head, gasket, or block.
Cylinder Leak-Down Test
Pinpoints where the leak is going.
- Set piston at TDC, apply 100 psi air via spark plug hole.
- Bubbles in radiator? Coolant system breach.
- Hissing at oil cap? Oil system leak.
- More than 10–15% leakage is unacceptable.
UV Dye Test
Find external and internal leaks.
- Add UV dye to coolant, run engine 10–15 minutes.
- Scan with black light: glow near head suggests external crack or gasket failure.
- Exhaust glow? Leak is on combustion side.
Visual Inspection After Removal
Final confirmation—clean and inspect the head.
- Use dye penetrant: clean, apply, wait, wipe, apply developer. Cracks appear within minutes.
- Check flatness with straight edge and feeler gauges: more than 0.002″ warpage on aluminum heads often means replacement.
- Inspect between valve seats, spark plug holes, and coolant passages—common crack zones.
I’ve seen hairline cracks vanish under shop lights. Always use dye penetrant—it’s $20 and prevents comebacks.
Crack Locations and What They Mean
Not all cracks are equal. Location determines repairability.
- Between valve seats: thermal stress—common on engines that overheat.
- From spark plug hole to valve seat: aluminum heads with tight clearances.
- From coolant passage to cylinder: causes white smoke and coolant loss.
- From coolant to oil passage: coolant in oil, no combustion gases.
- External casting cracks: often from impact or thermal shock.
What Is Not a Cracked Cylinder Head
- Cylinder block crack—especially in aluminum blocks or older iron engines.
- Head gasket failure—far more common and cheaper to fix.
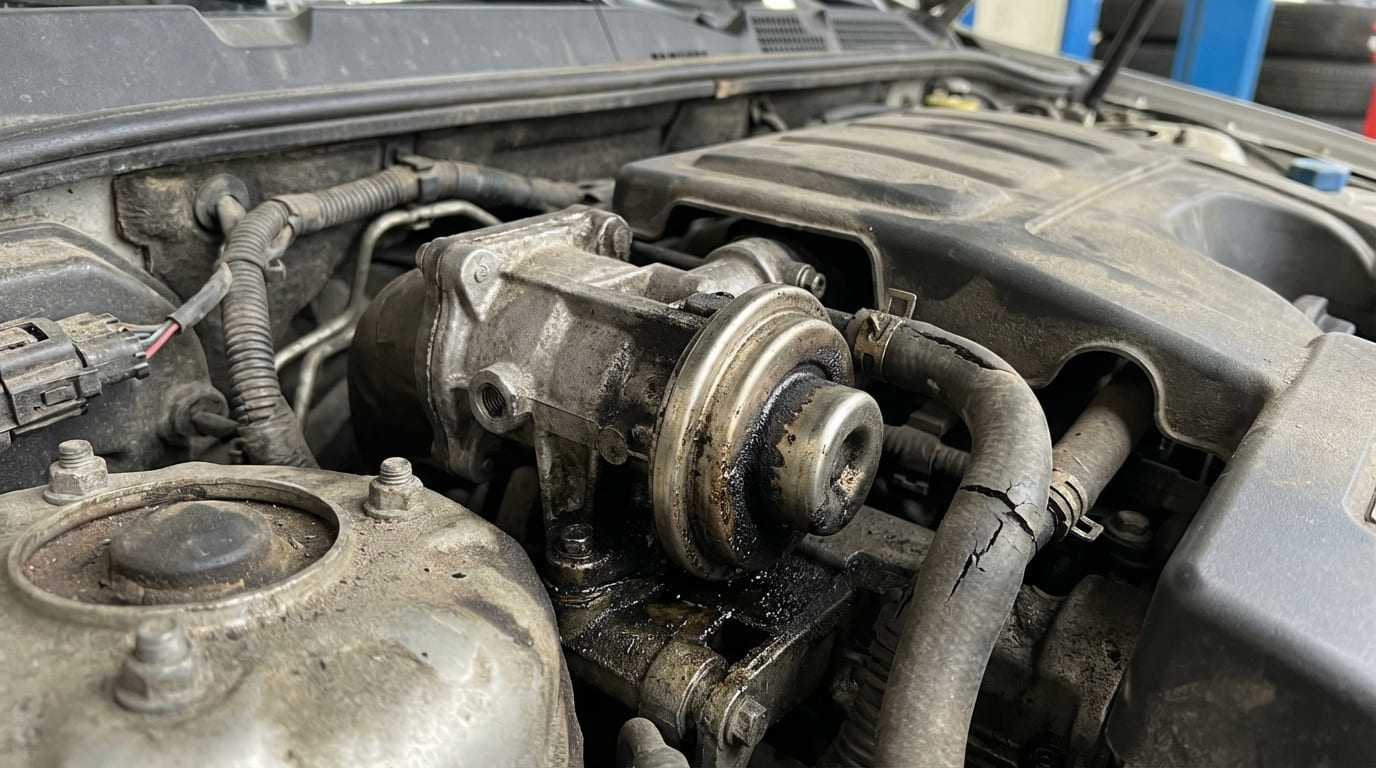
- Intake manifold leak—on engines like GM 3.8L or Ford 4.0L, coolant runs through the intake.
- Exhaust manifold crack—causes ticking or exhaust leaks, not internal mixing.
Repair Options: Fix, Replace, or Walk Away?
Welding
Possible on cast iron with pre-heat and stress relief. Aluminum heads require TIG welding and post-heat treatment.
- Best for small, non-structural cracks away from valve seats.
- After welding: machine flat, pressure test, and check for warpage.
- Cost: $200–$500. Not worth it on high-mileage engines.
In my shop, we only weld heads for classic cars or rare engines. For daily drivers, replacement is safer and faster.
Replacement
Most practical solution for modern engines.
- New head: $300–$800 depending on engine.
- Remanufactured: $200–$500—often a better value.
- Labor: 6–10 hours. Total job: $800–$1,800.
Always inspect the block deck for flatness before installing. A warped block will ruin a new head.
When Not to Repair
Some cracks make repair unsafe.
- Crack through spark plug bore, valve guide, or multiple coolant passages.
- Warpage beyond machining limits (check factory specs).
- Epoxy or pinning repairs—avoid them. They fail under heat and pressure.
Risks of Driving with a Cracked Head
Every mile increases damage.
- Coolant in oil: washes bearings, leads to spun rods.
- Hydrolock: can bend connecting rods or crack the block.
- Overheating: warps other components, damages head gasket further.
Estimated cost escalation: a $1,200 head replacement can become a $4,000 engine swap if ignored.
Final Recommendations
Diagnose methodically. Confirm with tests. Never assume.
- ✅ Always pressure test cooling system first.
- ✅ Use a block test for combustion gases in coolant.
- ✅ Perform leak-down test to locate the breach.
- ✅ Clean and inspect head with dye penetrant after removal.
- ✅ Replace head gasket and bolts—especially torque-to-yield (TTY) fasteners.
- ⚠️ Never reuse TTY bolts—they stretch and lose clamping force.
- ⚠️ Don’t weld aluminum heads unless you have the right equipment and expertise.
- ⚠️ Don’t install a new head without checking block deck flatness.
Every engine tells a story. The factory service manual is your translator—use it. Torque specs, sequence, and flatness tolerances vary by model. What works on a V8 won’t apply to a turbo four-cylinder. When in doubt, look it up.