Yes, a bad oxygen sensor can significantly reduce fuel economy. In my 20 years as a mechanic, I’ve found faulty O2 sensors among the top causes of unexplained fuel trim issues. But replacing the sensor without diagnosis is a costly mistake. This guide gives you the real-world steps to confirm if the O2 sensor is the culprit, how to test it properly, and what else might be stealing your MPG.
How a Failing O2 Sensor Hurts Fuel Economy
The oxygen sensor tells the engine computer how much fuel to deliver. When it fails, the computer guesses—usually by adding too much fuel. Here’s how that happens:
- Reports false lean condition: A sluggish or contaminated sensor reads low voltage, making the PCM think there’s excess oxygen. It compensates by dumping in fuel, creating a rich mixture that wastes gas.
- Slow switching speed: A healthy upstream sensor should cross 0.45V 10–15 times in 10 seconds at idle. Sluggish response means poor fuel control during acceleration and coasting, hurting efficiency.
- Heater circuit failure: If the internal heater burns out, the sensor never reaches operating temperature. The engine stays in open-loop mode, using a rich default fuel map—especially in cold or short-trip driving.
Result? You could lose 10–25% in fuel economy without realizing it until the tank runs dry too soon.
Key Symptoms to Watch For
Poor MPG is a red flag, but don’t rely on it alone. Look for these signs:
- Check Engine Light with codes P0130–P0167 (O2 sensor circuits) or P0420 (catalyst efficiency)
- Rough idle, hesitation, or surging at cruise
- Strong fuel smell from the exhaust
- Failed emissions test—high hydrocarbons (HC) or carbon monoxide (CO)
- Sooty or blackened exhaust tips
In my shop, we never replace an O2 sensor based on MPG alone. We check fuel trims first. If LTFT is +10% or higher consistently, something’s forcing extra fuel. But it might not be the sensor.
Step-by-Step Diagnostic Process
1. Preliminary Checks
Before scanning, do a quick inspection:
- Check for exhaust leaks ahead of the upstream O2 sensor. Even a hairline crack in the manifold or downpipe lets in outside air, fooling the sensor into reading lean.
- Inspect wiring near the catalytic converter. Heat and vibration often damage insulation, causing intermittent signals.
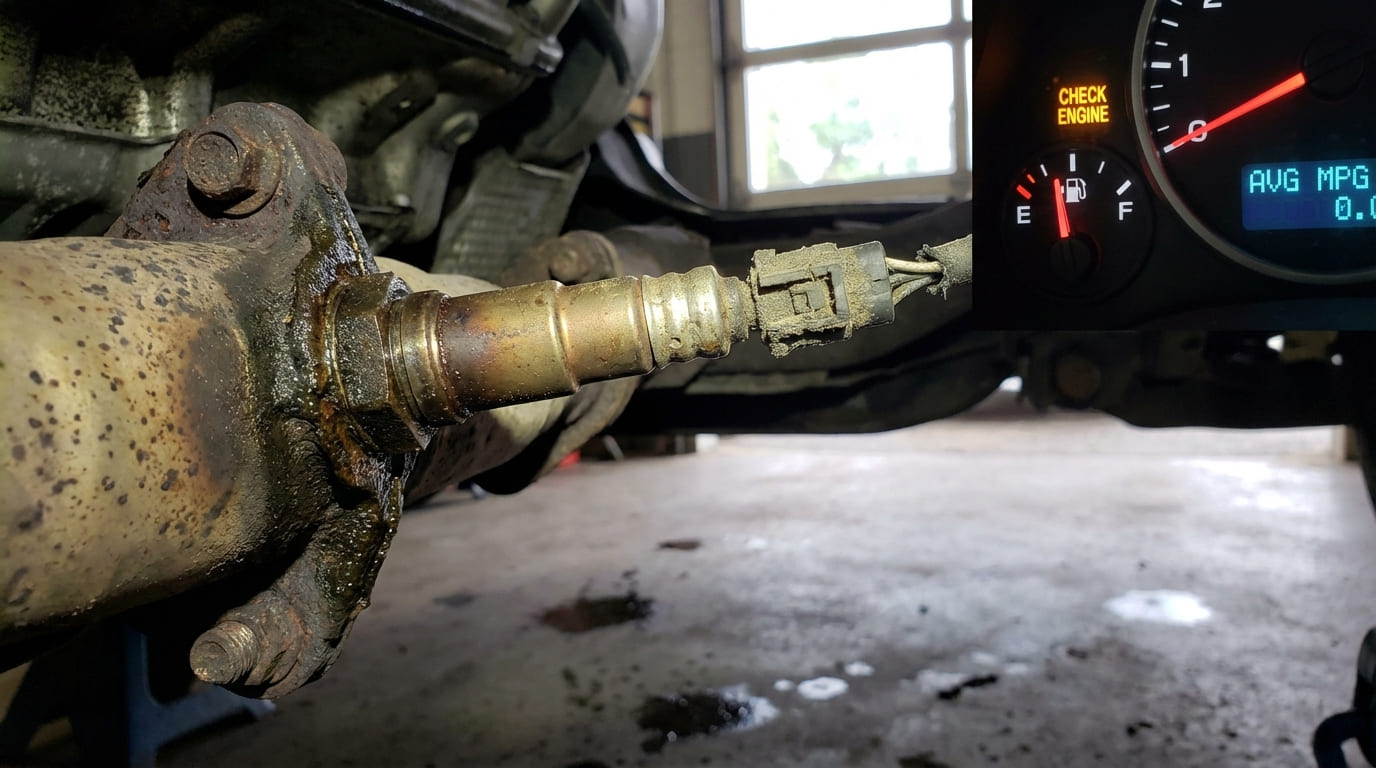
- Look for oil or coolant residue on the sensor tip—signs of internal engine issues poisoning the sensor.
2. Live Data Analysis (Must-Have Tool: Scan Tool with Real-Time Data)
Start the engine and let it reach operating temperature. Then monitor:
- Upstream O2 voltage (narrowband): Should swing smoothly between 0.1V and 0.9V, crossing 0.45V at least 10 times in 10 seconds at idle.
- Fuel trims: Short Term (STFT) should fluctuate. Long Term (LTFT) above +15% or below -10% indicates a chronic issue.
- Downstream O2 sensor: Should be stable (around 0.5–0.7V). If it mirrors the upstream sensor, the catalytic converter may be failing—or the sensor is bad.
- For wideband sensors: Watch AFR or lambda. Should hover near 1.0 and respond instantly to throttle changes. Lag or sticking indicates sensor failure.
I once diagnosed a “bad O2 sensor” that was actually a vacuum leak. The upstream sensor showed lean, fuel trims were +22%, but the voltage pattern was erratic—not slow. A smoke test found a split hose on the PCV line. Fixed the leak, trims dropped to +4%, and MPG jumped 5 MPG overnight.
3. Test the Heater Circuit
Use a digital multimeter:
- Disconnect the sensor and measure resistance across the heater pins. Typical range: 3–30 ohms. Infinite resistance = open heater = replace sensor.
- Reconnect and check for 12V at the heater supply wire with key on.
- Verify ground continuity. A voltage drop test on the ground wire should show less than 0.1V.
No power? Check fuse #17 (common for O2 heaters) or the relay. Bad ground? Trace the harness or clean the grounding point near the frame rail.
Repair vs Replace: Cost and Viability
Replacement is often the fix—but only if the sensor is truly bad. Here’s what you’re up against:
| Component | Part Cost | Labor (if shop) |
|---|---|---|
| OEM Upstream O2 Sensor | $80–$150 | $100–$180 |
| Aftermarket (Denso, Bosch) | $50–$90 | $100–$180 |
| DIY Time | N/A | 30–60 minutes |
I only recommend cheap sensors if you’re on a tight budget and driving short-term. I’ve seen $30 units fail in 6 months. Spend more on Denso or NGK—they match OEM performance and last 100k miles.
Common Mistakes and Best Practices
- ✅ Clean the threads: Use a tap to clean the bung in the exhaust manifold. Debris can cause leaks or improper seating.
- ✅ Use anti-seize—sparingly: Apply only to the threads, never the tip. Prevents galling, especially on aluminum manifolds.
- ✅ Torque to spec: 30–37 ft-lbs is typical. Over-tightening cracks the sensor or strips the bung.
- ⚠️ Never reuse flange gaskets: Crush washers lose compression. Always install new ones to prevent exhaust leaks.
- ⚠️ Don’t ignore fuel trims after install: If LTFT stays above +10%, the root cause isn’t fixed—even with a new sensor.
Differential Diagnosis: What Else Causes Similar Symptoms?
Poor fuel economy is rarely just one part. The table below helps distinguish O2 sensor issues from look-alikes.
| Symptom Pattern | Most Likely Causes | Less Common But Possible |
|---|---|---|
| High positive fuel trims, rich exhaust, poor MPG | Failing upstream O2 sensor, leaking fuel injectors, ECT sensor stuck cold | MAF under-reading, fuel pressure regulator stuck high, PCM calibration issue |
| Fluctuating trims, rough idle, intermittent CEL | Vacuum leak, ignition misfire, contaminated MAF sensor | Intermittent O2 heater fault, chafed wiring harness |
| Slow O2 response, delayed closed-loop, no DTC | Aging O2 sensor, clogged catalytic converter (high backpressure) | Exhaust leak upstream, wrong sensor type installed |
Real-World Case Studies
Situation: 2012 Honda Accord, P0133 (slow O2 response), MPG dropped from 24 to 15 in city. Replaced upstream sensor—no change.
Discovery: Smoke test revealed a cracked intake manifold boot. Air was entering after the MAF but before the cylinders, causing a lean condition. O2 sensor was reporting truthfully.
Lesson: O2 sensor codes can be symptoms. Always rule out vacuum or intake leaks first.
Situation: Customer replaced two upstream O2 sensors in six months. MPG improved briefly, then dropped. No codes.
Discovery: Spark plugs showed heavy oil fouling. Compression test confirmed worn valve seals. Oil was coating the O2 tips, killing the sensors.
Lesson: Repeated sensor failure means contamination. Fix the oil burn first—or you’ll keep replacing sensors.
Situation: Truck with P0172 (system too rich). Upstream O2 stuck at 0.8V. Replaced sensor—no change.
Discovery: Fuel pressure test showed 68 psi (spec: 55–60). Regulator on rail was stuck open. PCM was adding fuel to correct, but the sensor was right—mixture was rich.
Lesson: Sensors don’t lie. If the data seems wrong, test fuel pressure, MAF, and ECT before blaming the O2 sensor.
Final Replacement Tips
When you’re ready to replace:
- Confirm the sensor type—narrowband vs wideband. Swapping them causes drivability issues and codes.
- Use a slotted O2 sensor socket. Prevents damage to the housing and wiring.
- Let the exhaust cool completely. Installing a sensor into a hot bung can cause thermal shock and cracking.
- Torque to spec. Breaker bars cause over-tightening—use a torque wrench.
After install, clear codes and drive through a full drive cycle: idle, accelerate, cruise, decelerate. Watch for closed-loop operation and fuel trims returning to normal (±5%).
Track MPG over 3–4 full tanks. Driving habits and traffic vary—don’t judge success on one fill-up.