Engine overheating is one of the most common and damaging issues a car owner can face. As a master technician with over two decades of experience, I’ve seen every variation—from simple coolant loss to complex mechanical chain reactions. This guide cuts through the noise and delivers what matters: how to diagnose, repair, and avoid overheating with confidence. We’ll cover root causes, step-by-step checks, costs, and the real-world tips that keep engines running cool.
Cooling System Inefficiency
The cooling system’s job is simple: move heat from the engine to the radiator and dissipate it. When it fails, overheating follows. Most failures fall into two categories—insufficient coolant volume or ineffective heat transfer. Let’s break them down with actionable diagnostics.
Insufficient Coolant Volume
Low coolant means less heat capacity and poor circulation. Always check the level first—but don’t stop there. A disappearing coolant level demands investigation.
How to Check for External Leaks
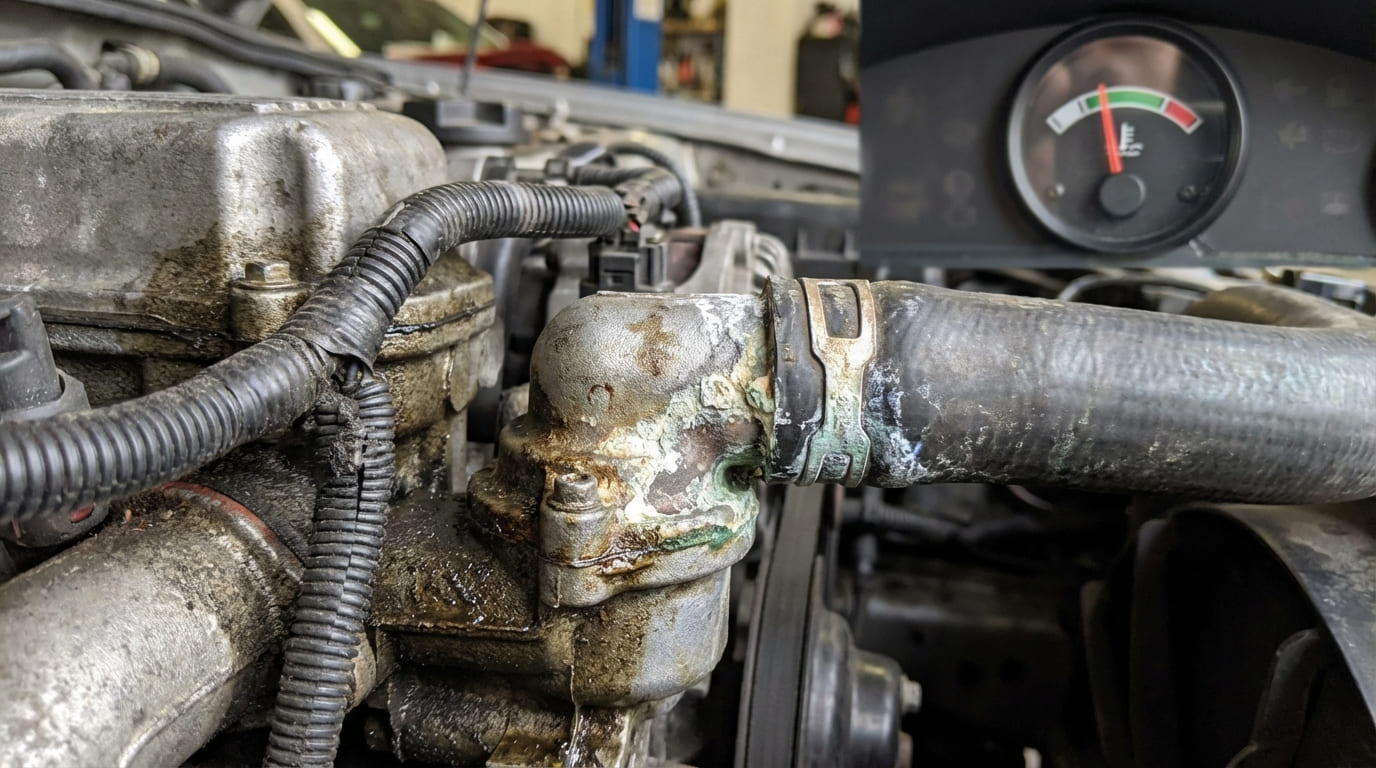
Start with a visual inspection: look for wetness at hose connections, radiator seams, water pump weep hole, thermostat housing, and reservoir tank. Pay attention to rust trails on the water pump—this often signals a failing shaft seal.
Next, perform a pressure test. Use a hand pump with a radiator adapter and pressurize the system to the cap’s rated pressure (typically 13–18 psi). Monitor for 15 minutes. Any pressure drop indicates a leak. For hidden leaks, add UV dye and scan with a black light after running the engine.
- Radiator core or end tank leaks: Common on older aluminum radiators due to vibration and corrosion. Repair is rarely viable—replacement is usually necessary.
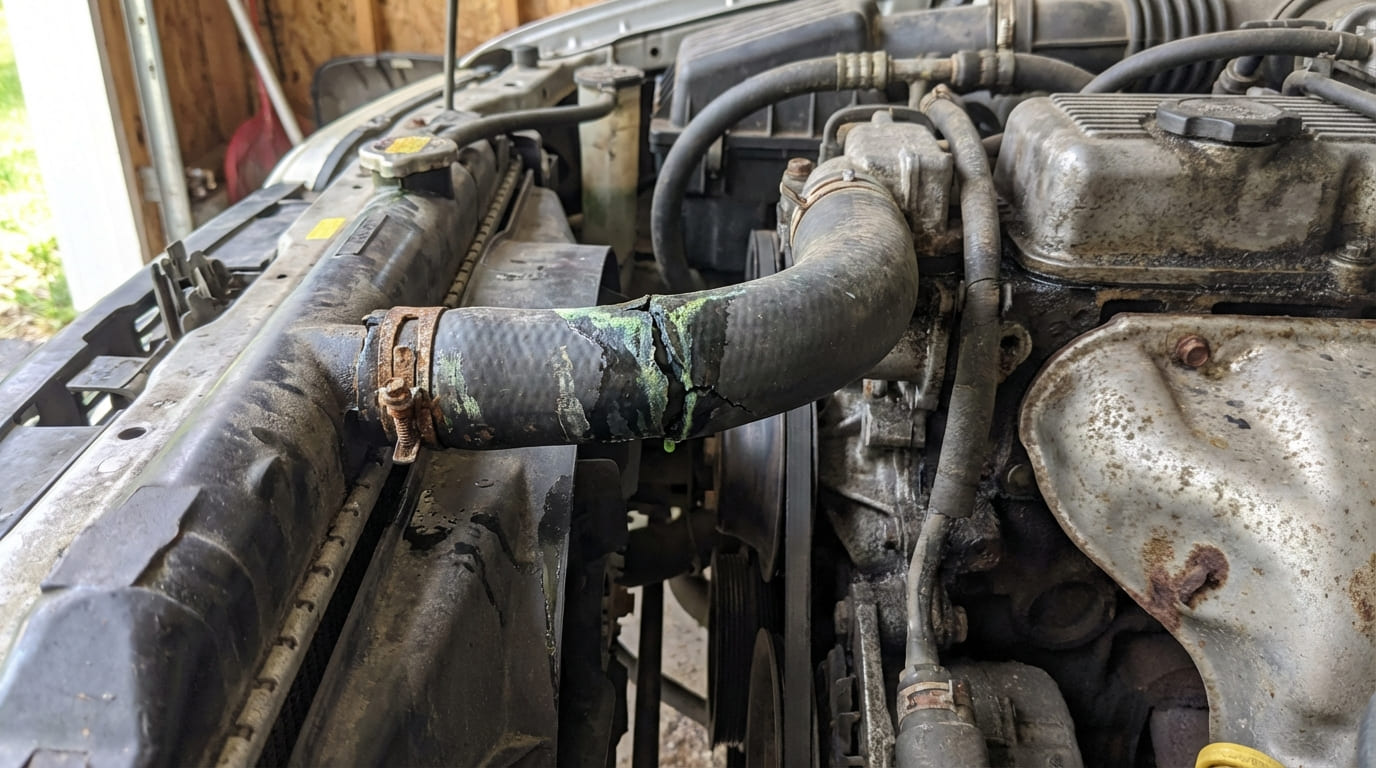
- Coolant hose leaks: Inspect near clamps and bends. Replace any hose with soft spots, cracks, or bulges. Use high-quality OEM-spec hoses—cheap ones fail faster.
- Water pump seal failure: Look for coolant weeping from the vent hole below the pump. Replacement costs $200–$500 depending on accessibility.
- Thermostat housing gasket: Plastic housings warp with heat cycles. Replace the gasket and housing as a set if leaking.
- Oil or EGR cooler leaks: These mix fluids—look for milky oil or bubbling in the coolant reservoir. Diagnose with a block test (see below).
How to Diagnose Internal Leaks
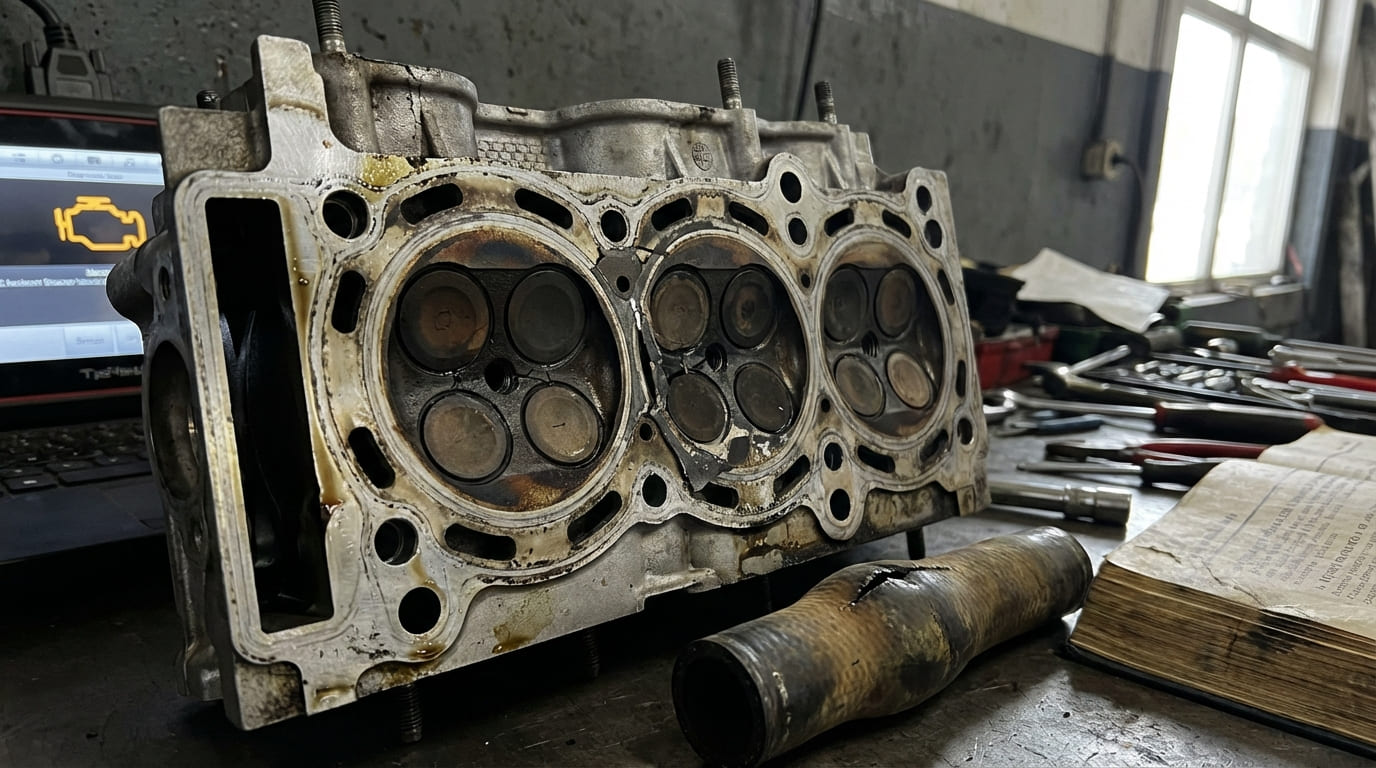
If coolant disappears but no external leak is found, suspect internal leakage. The big three: head gasket, cracked head, or block porosity.
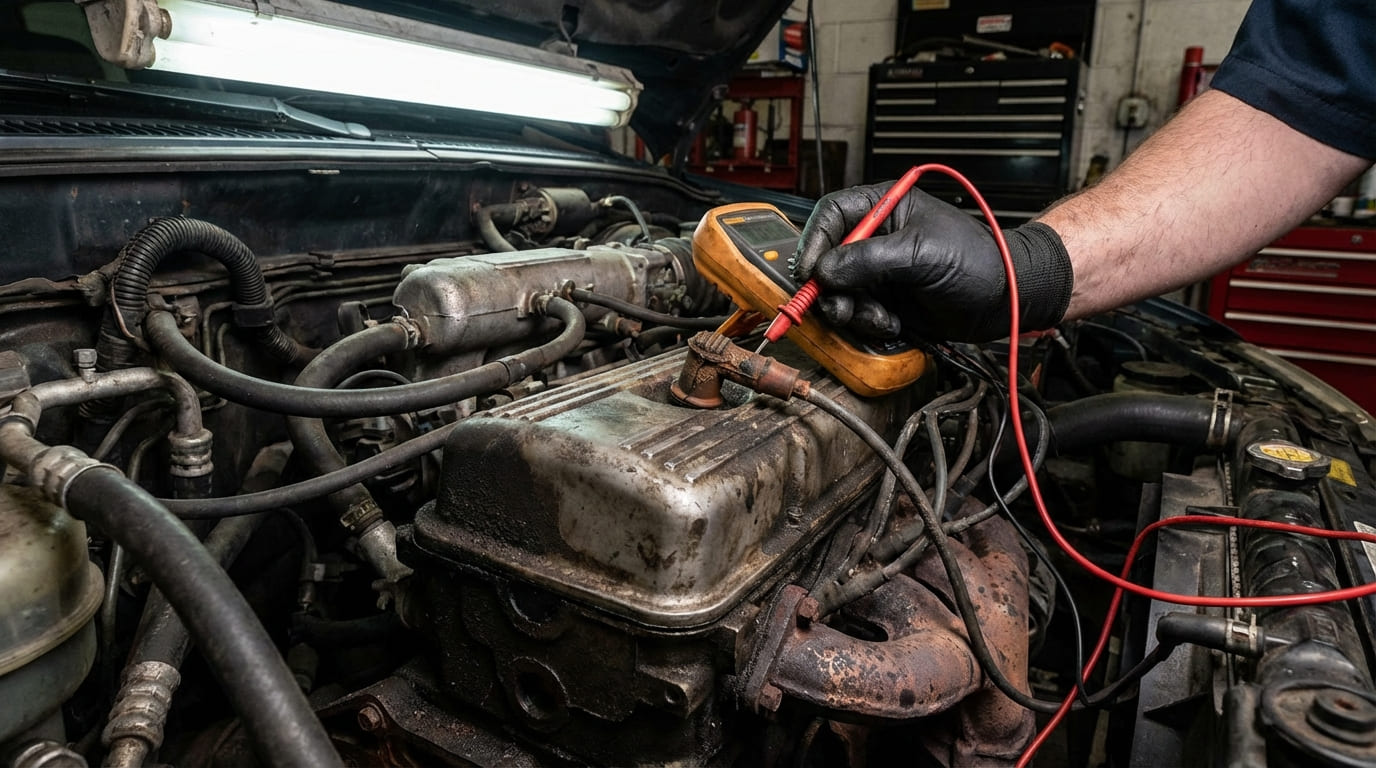
First, check the oil dipstick for a milky, mayonnaise-like substance—this indicates coolant in oil. Then, perform a chemical block test (combustion leak tester). It detects hydrocarbons in the coolant: a blue fluid turning yellow or green confirms exhaust gases are entering the cooling system.
Follow up with a leak-down test. Over 10% leakage on a cylinder suggests a problem. Pair this with a borescope inspection to look for carbon tracking or cracks. Compression tests help but aren’t definitive—some engines run fine with uneven compression.
In my shop, we never condemn a head gasket without a block test and leak-down. Too many mechanics replace gaskets only to find warped heads or cracked blocks later. Save time and money—test before tearing down.
Ineffective Heat Transfer
Even with full coolant, heat must move efficiently. If it doesn’t, the engine overheats. These are the most common heat transfer failures—with diagnostics you can do yourself.
Radiator Core Restriction
Debris like bugs, leaves, or bent fins block airflow. Internally, scale or sludge clogs coolant tubes. To check, use an infrared thermometer: measure the inlet and outlet tanks at operating temperature. A healthy system shows a 10–20°F drop. Less than 10°F suggests flow restriction.
For internal blockage, consider a reverse flush or chemical clean. If that fails, replace the radiator. Cost: $150–$400 for parts, plus labor if you’re not DIYing.
Thermostat Malfunction
A stuck-closed thermostat blocks flow. But a thermostat that opens too late or partially is just as bad. Always verify the OEM temperature rating—replacing a 195°F unit with a 205°F one can cause chronic overheating under load.
Test a removed thermostat in a pot of water with a thermometer. It should begin opening at its rated temperature and be fully open within 10°F above. If sluggish or stuck, replace it. Cost: $20–$50 for the part.
Water Pump Impeller Issues
Plastic impellers erode or slip on the shaft, especially after running dry during a coolant refill. To check flow, remove the radiator cap (only when cold!) and rev the engine slightly. You should see a strong surge of coolant. No movement? Pump is likely faulty.
On front-wheel-drive models, improper bleeding after a flush can cause cavitation and impeller damage. Always follow the manufacturer’s bleed procedure—or use a vacuum fill tool.
Cooling Fan System Failure
Electric fans rely on relays, sensors, and wiring. Start by commanding the fan on with an OBD2 scanner (if supported). If it doesn’t run, check the fuse, relay, and power at the motor.
For viscous fan clutches, test engagement when the engine is hot. There should be noticeable drag. If the fan spins freely when hot, the clutch is failed. Replacement cost: $80–$150.
Coolant Air Entrapment
Air pockets block flow and cause localized overheating. Symptoms: gurgling noises, temperature swings, coolant surging in the reservoir.
Many modern systems require vacuum filling. Gravity filling often leaves air in high points like heater cores. If you’ve recently serviced the coolant and overheating started, bleed the system properly. Some vehicles have bleed screws—open them while filling.
Degraded Coolant Quality
Coolant degrades over time. Old coolant loses corrosion inhibitors and can become acidic, leading to internal corrosion and sludge. Test pH with strips—should be 8.0–10.0. Use a refractometer to check freeze/boil protection.
Mixing incompatible coolants (OAT with IAT) can form gel. Always flush the system and use OEM-specified coolant. Cost: $100–$150 for a full flush and refill.
Radiator Cap Malfunction
A weak cap lowers the boiling point. A 16 psi cap raises the boiling point of 50/50 coolant to ~265°F. At 10 psi, it drops to 240°F—dangerous under load.
Test the cap with a pressure tester. Also check the vacuum valve—it allows coolant to return from the reservoir. If stuck, the system can’t recover coolant, leading to low levels and overheating. Replace caps every 5 years or with every major coolant service. Cost: $15–$30.
Excessive Heat Generation
Sometimes the cooling system is fine—the engine is just making too much heat. These issues are often overlooked but easy to diagnose with a scan tool.
Lean Fuel Mixture
A lean mixture burns hotter. Common causes: vacuum leaks, clogged fuel injectors, low fuel pressure, or a failing MAF sensor.
Check long-term fuel trims on a scan tool. If over +10%, the engine is adding fuel to compensate for lean. Use a smoke machine to find vacuum leaks—common spots: intake manifold gaskets, PCV hoses, brake booster.
I once traced a chronic overheat to a cracked brake booster. It didn’t set a code, but the lean condition spiked combustion temps. Always test fuel trims—they tell the real story.
Ignition Timing Retardation
Retarded timing means combustion finishes late, dumping heat into the cylinder walls and exhaust. Causes: faulty crank or cam sensors, wiring issues, or ECU problems.
Use a scan tool to verify ignition timing at idle and under load. Compare to factory specs. If consistently retarded, check sensor signals and wiring. A timing light can help on older engines.
Pre-Ignition or Detonation
Knock isn’t just noise—it’s uncontrolled combustion that spikes temperatures. Causes: carbon buildup, low-octane fuel, hot spark plugs, or excessive compression.
Monitor knock sensor data on your scanner. Frequent correction events mean the engine is fighting knock. Use a borescope to inspect for carbon deposits. Always use the octane rating specified in the owner’s manual.
Exhaust System Restriction
A clogged catalytic converter increases back pressure, trapping heat in the engine. Test by removing the upstream O2 sensor and installing a back pressure gauge. At 2500 RPM, pressure should stay below 2.5 psi. Higher? The exhaust is restricted.
Cost to replace a cat: $500–$2,000. But don’t replace it without testing—many cats fail due to underlying issues like chronic rich conditions or oil consumption.
Excessive Engine Load
Towing, climbing hills, or sustained high RPMs increase heat. If overheating only happens under load, check your driving conditions.
Solution: Downshift earlier, reduce load, or install auxiliary cooling. For frequent towing, consider an auxiliary transmission cooler—it reduces heat transfer to the radiator.
Lubrication System Failure
Oil removes about 40% of engine heat. If oil volume, quality, or flow drops, temperatures rise.
Insufficient Oil Volume
Check the dipstick on level ground after the engine has sat. A bent dipstick or low oil level can be missed. External leaks from valve covers, oil cooler lines, or the oil filter housing are common.
Internal consumption—blue smoke on startup—points to worn valve guides or piston rings. Confirm with a compression and leak-down test.
Degraded Oil Quality
Old or contaminated oil loses thermal efficiency. Sludge in oil cooler lines restricts flow. Fuel dilution (from short trips or blow-by) thins the oil, reducing its cooling ability.
Change oil per manufacturer intervals. For high-stress use, shorten the interval. Oil analysis kits ($25–$40) can reveal hidden issues.
Oil Pump Malfunction
Low oil pressure reduces flow and cooling. Test with a mechanical gauge—don’t rely on the dashboard warning light or electronic readings.
Specs vary, but most engines need 10–15 psi at idle and 40+ psi at 2000 RPM. If pressure is low, rule out incorrect viscosity and low level first. Oil pump replacement requires pan removal—$500+ in labor.
External Factors and Ancillary Systems
Overheating isn’t always the engine’s fault. These often-overlooked issues can be the real culprit.
Airflow Obstruction
Plastic bags, snow, or aftermarket accessories can block the radiator. After off-roading, check for mud packed between the radiator and condenser. Even a light bar mounted too close can reduce airflow by 50%.
Solution: Clean the front of the radiator regularly. Ensure aftermarket parts don’t interfere with airflow.
Dragging Brakes
A stuck caliper generates heat that radiates into the engine bay. After a drive, check rotor temperature with an IR thermometer. All rotors should be within 50°F of ambient. One hot rotor? Inspect the caliper for seized pins or slides.
I once found a seized caliper slide pin causing a false overheat reading. The ECU’s coolant temp sensor was near the hot brake line—heat soak skewed the data. Always check brake drag before replacing cooling parts.
Transmission Overheating
Automatic transmissions use a cooler in the radiator. If the trans fluid is low, degraded, or the cooler is clogged, heat transfers to the coolant.
Monitor trans temp via OBD2. Over 250°F is a concern. Check cooler lines for kinks—common after oil changes or undercarriage work.
AC System Over-pressurization
An overcharged AC system or clogged condenser forces the compressor to work harder, increasing engine load. Check high-side pressure with a manifold gauge. Over 300 psi on a 90°F day suggests overcharge or poor airflow.
Solution: Recharge to spec and clean the condenser. Never “top off” AC refrigerant without measuring pressures.
| Symptom | Most Likely Causes | Less Common but Possible | Diagnostic Priority |
|---|---|---|---|
| Overheats at idle, cools at speed | Fan failure, air lock, thermostat | Water pump cavitation, low coolant | Check fan operation, bleed system, test thermostat |
| Overheats under load | Radiator blockage, coolant degradation, exhaust restriction | Lean mixture, ignition timing, excessive load | Inspect radiator flow, check back pressure, scan fuel trims |
| Overheats after coolant service | Air lock, incorrect mixture | Head gasket breach (if disturbed) | Bleed system properly, verify mix ratio |
| Gradual temperature rise over time | Scale buildup, degraded coolant, thermostat wear | Oil cooler restriction, EGR cooler leak | Flush system, test coolant, inspect thermostat |
Situation: A 2012 SUV came in with overheating only on highway drives. Coolant level was fine, no leaks, fan worked.
Initial Assumption: We suspected a failing water pump—common on that model.
Deep Dive: After replacing the pump with no fix, I did a back pressure test. It was over 3 psi at 2500 RPM. Removed the pre-cat and found a melted substrate.
Nuanced Lesson Learned: Not every overheat is a cooling system issue — exhaust flow matters, and symptoms can mimic coolant problems. Always verify back pressure before tearing into the water pump.
Situation: A customer replaced a head gasket twice. Still overheating, with white smoke.
Initial Assumption: Another bad gasket — maybe the bolts weren’t torqued right.
Deep Dive: I checked deck flatness with a precision straightedge. Found 0.008″ warpage across the block — beyond spec. The block had been overheated once and never checked.
Nuanced Lesson Learned: Replacing a gasket without verifying surface flatness is often a waste. Most cast iron blocks allow 0.002″–0.003″ max; aluminum heads are even stricter. Always measure before assembly.
Situation: A van overheated after an oil change. Mechanic replaced thermostat and water pump.
Initial Assumption: Cooling system fault.
Discovery: I noticed the oil level was way over full. Crankcase was pressurized. Turns out the PCV valve was clogged — blow-by couldn’t escape, pushed oil up into the intake, caused hydro-lock symptoms.
Nuanced Lesson Learned: Overfilling oil or a blocked PCV system can mimic mechanical failure. Always check fundamentals first — oil level, ventilation, basic flow.
Best Practices: Cooling System Service
- ✅ Recommended: Clean coolant hose threads with a tap before installing clamps—prevents leaks and ensures proper fit. Dirty threads can distort soft housings.
- ✅ Recommended: Use OEM-specified coolant and mix ratio—aftermarket “universal” coolants can react poorly with aluminum or seals.
- ✅ Recommended: Perform a vacuum fill when available—it eliminates air locks better than gravity filling.
- ⚠️ Avoid: Reusing torque-to-yield (TTY) head bolts—they stretch permanently. I’ve seen warped heads from reused bolts, even if torque specs were met.
- ⚠️ Avoid: Mixing old and new coolant—degraded inhibitors can compromise the entire system.
- ⚠️ Avoid: Assuming the radiator cap is good because it looks clean—test it every time you open the system.
Overheating is rarely a single-point failure. It’s usually a combination of small issues—a weak cap, degraded coolant, a slight vacuum leak—that combine under stress. The fix? Methodical testing, not guesswork. Always consult the factory service manual for specs. What works for one engine may destroy another. Respect the system, test everything, and you’ll keep your engine cool for miles to come.