In my 20 years as a shop foreman, few issues draw more frustration than coolant disappearing without a trace. No puddles, no obvious drips—just a consistently low reservoir. While some assume it’s “just evaporation,” real-world experience shows that sustained coolant loss without visible leaks usually points to something internal or subtle. The key isn’t jumping to conclusions, but methodically ruling out possibilities while understanding that multiple failure modes can mimic one another.
Internal Engine Coolant Consumption
When coolant vanishes but doesn’t puddle under the car, internal consumption becomes a primary suspect. The most common culprits involve combustion chamber intrusion or mixing with oil. Diagnosis requires testing—not guesswork.
Head Gasket Failure, Cracked Heads, and Block Leaks
A compromised head gasket or cracked cylinder head/block can allow coolant into the combustion chamber or oil passages. These failures often don’t cause external leaks but lead to steady coolant loss, white exhaust smoke, or oil contamination.
How to Check:
- Cylinder Leak-Down Test: Pressurize each cylinder at TDC. More than 10–15% loss with bubbles in the coolant reservoir indicates combustion-to-coolant leakage. Air escaping through the oil cap suggests a crankcase breach.
- Chemical Block Test: Use a combustion test kit with UV-sensitive fluid. Bubbles and color change (typically from blue to green/yellow) confirm exhaust gases in coolant. Perform with engine warm and thermostat open.
- Exhaust Gas Analysis: Some shops use hydrocarbon sniffers in the coolant reservoir. While confirmatory, this is secondary to the block test.
In my shop, we always run both a leak-down and block test when coolant loss is unexplained. One test can miss what the other catches—especially on engines with marginal gasket breaches.
Cost & Viability: Head gasket repair averages $1,200–$2,500 depending on engine complexity. Replacing a cracked head or block can exceed $3,000. If compression is stable and driving conditions are mild, some owners opt for sealants as a temporary fix—but I only recommend them for short-term use on older vehicles.
EGR Cooler and Intake Manifold Gasket Failures
On modern engines, especially V6s and turbos, coolant can leak internally via the EGR cooler or intake manifold gasket. These often burn off in the combustion chamber or exhaust, leaving no puddle.
How to Check:
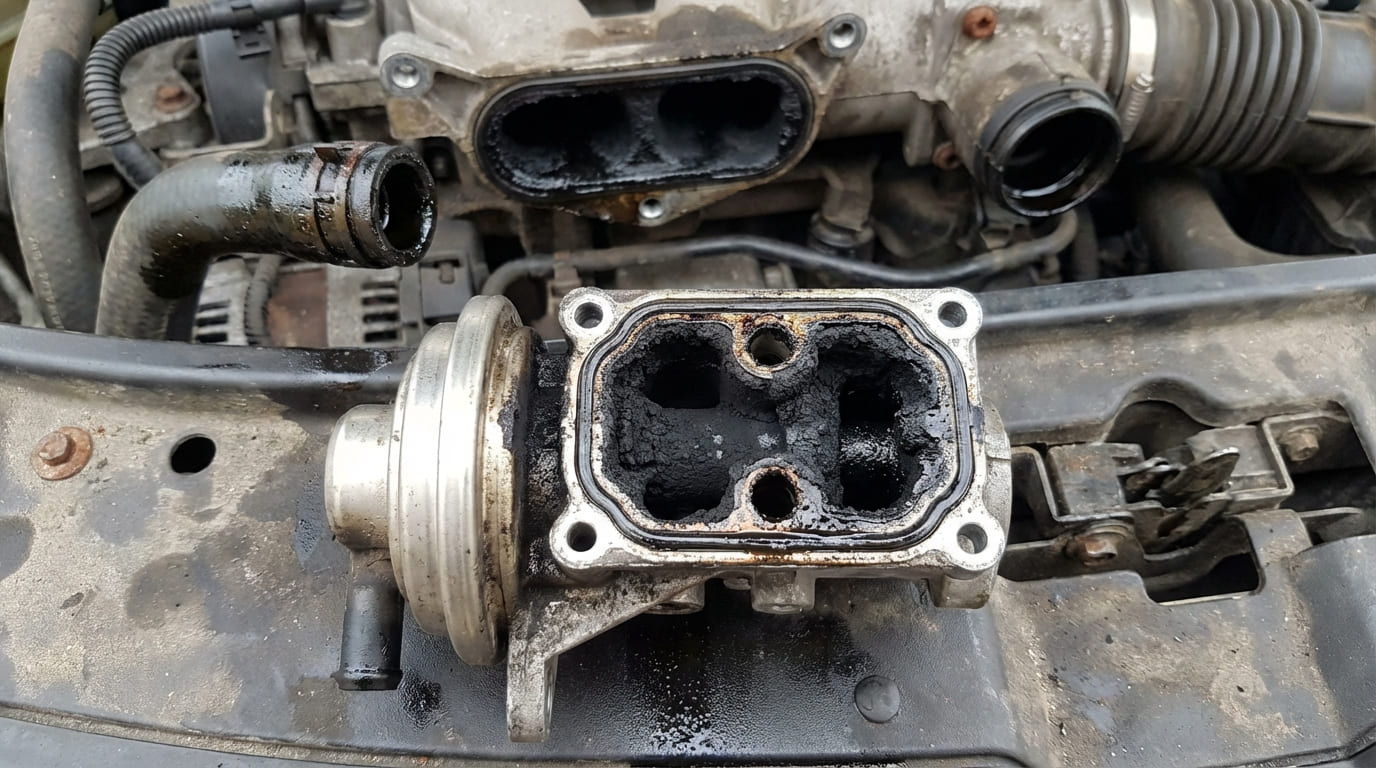
- EGR Cooler: Remove and pressure test in a water tank. Bubbling indicates failure. Look for green crust in exhaust passages. Replacement costs $400–$900; testing prevents unnecessary engine work.
- Intake Manifold Gasket: Check oil for glycol contamination via lab analysis. Elevated sodium/potassium levels are telltale. On plastic-manifold V6s (e.g., GM 3.1L/3.4L, Ford 3.8L), inspect for white residue in the intake valley.
I’ve saved customers thousands by testing the EGR cooler first. It fails silently and mimics head gasket symptoms exactly—don’t assume it’s the head until you rule out the cooler.
Evaporative and Hidden External Leaks
Some leaks are real but invisible because the coolant evaporates on contact with hot surfaces—exhaust manifolds, turbos, or heater lines. These often leave chalky residue or UV dye trails.
Common Evaporative Leak Points
How to Check:
- Radiator End Tanks/Core Fins: Add UV dye, drive 20–30 miles, then inspect with blacklight. Hairline cracks in plastic tanks or corroded fins glow under UV. Repair is rarely viable—replacement is usually needed ($100–$400).
- Heater Core: Check HVAC drain tube for residue and passenger floor for dampness. Pressure test system and monitor interior. A slow leak may only appear after hours. Replacement is labor-intensive ($500–$900).
- Water Pump Weep Hole: Look for a chalky trail near the pump shaft. Use an inspection mirror if visibility is poor. A weeping pump should be replaced immediately—don’t wait for bearing failure.
- Hoses, Thermostat Housing, Sensors: Inspect clamps, housing gaskets, and sensor threads. Clean threads with a tap before reassembly—debris causes micro-leaks. Replacing thermostat housing gaskets costs $10–$30, but labor can be $150+.
In my shop, we pressure test every cooling system after refill. A 15-minute test at 15 PSI catches 90% of small leaks before they become big problems.
System Overpressure and Coolant Expulsion
Coolant isn’t always leaking—it may be pushed out due to overpressure. This often happens through the overflow tank, especially if the radiator cap fails prematurely.
Key Causes and Checks
How to Check:
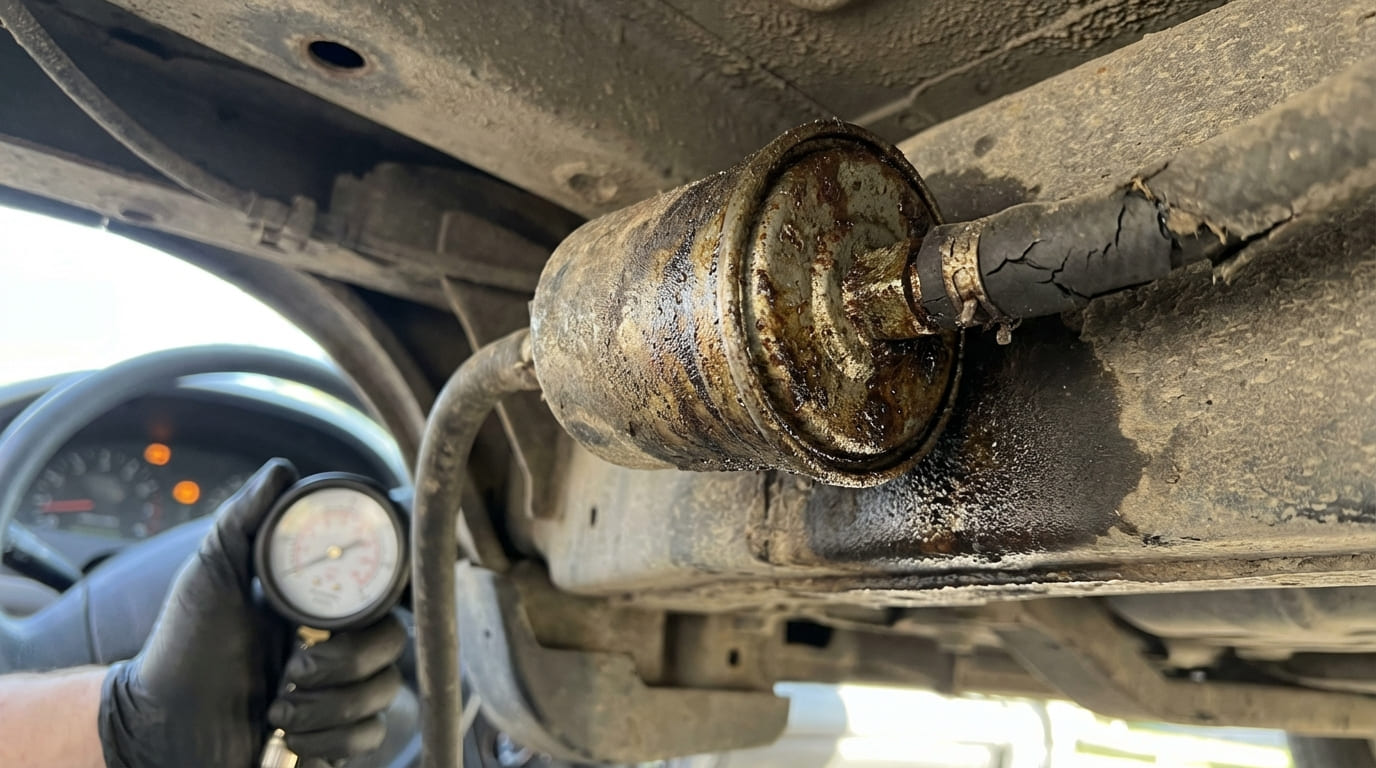
- Radiator Cap: Test with a hand pump and gauge. If it releases below spec (e.g., 10 PSI on a 15 PSI cap), replace it. Caps cost $15–$40 and are often the cheapest fix.
- Intermittent Overheating: Use an OBD2 scanner to monitor live coolant temperature. Spikes or slow thermostat response (e.g., opening at 210°F instead of 195°F) can cause expansion and venting. Check thermostat, radiator flow, fan operation, and air pockets.
I’ve diagnosed more coolant loss cases with a $30 OBD2 scanner than with any other tool. Small temp fluctuations tell you more than a dashboard gauge ever will.
Internal Fluid Cross-Contamination
Coolant can leak into oil or transmission fluid via internal coolers. These leaks are invisible externally but show up in fluid analysis.
How to Check:
- Transmission Fluid Cooler (in radiator): Check transmission fluid for pink, frothy appearance (coolant contamination). Coolant may look oily. Lab analysis confirms. Replacement radiator with integrated cooler: $200–$600.
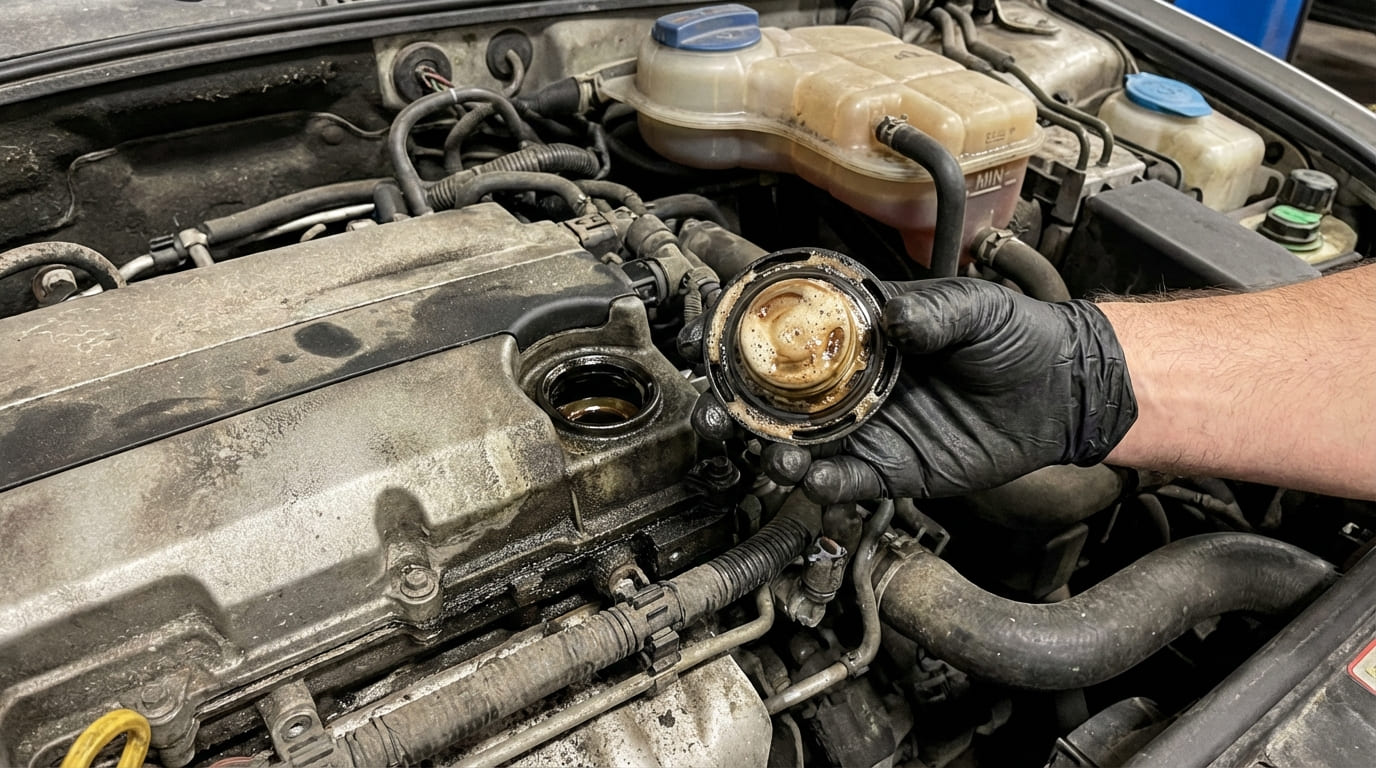
- Engine Oil Cooler: Check oil for milky appearance or lab-confirmed glycol. Pressure test cooler if accessible. Replacement or bypass: $200–$500.
Never ignore coolant in transmission fluid. I’ve seen complete transmission failures from just two weeks of unnoticed contamination. This is a “fix now” issue.
Diagnostic Decision Guide: Coolant Loss Scenarios
| Symptom | Most Likely Causes | Diagnostic Priority |
|---|---|---|
| White smoke at startup, no external leak | Head gasket, cracked head, EGR cooler leak | Chemical block test, EGR cooler pressure test, visual inspection |
| Coolant loss + sweet smell in cabin | Heater core leak | Inspect floor, HVAC drain, pressure test with interior monitoring |
| Coolant loss + oil contamination | Intake gasket, oil cooler leak, head gasket | Oil analysis, visual inspection, pressure test |
| Coolant loss + transmission fluid contamination | Radiator internal leak (trans cooler) | Transmission fluid analysis, radiator replacement |
| Pressure loss, no visible leak | Evaporative leak, faulty cap, internal crack | UV dye test, cap test, repeat pressure test hot/cold |
Best Practices: Recommended and Avoid
- ✅ Recommended: Use a cooling system pressure tester instead of relying on visual inspection alone. Most small leaks don’t drip until the system is pressurized.
- ✅ Recommended: Add UV dye and use a blacklight after a drive cycle. Residue patterns often reveal leak locations missed by the naked eye.
- ✅ Recommended: Clean threads with a tap before installing thermostat housing or sensor bolts. Debris can prevent proper sealing and cause micro-leaks.
- ⚠️ Avoid: Reusing torque-to-yield (TTY) head or manifold bolts unless the manufacturer explicitly allows it. In my experience, reused TTY bolts are a common cause of repeat failures.
- ⚠️ Avoid: Skipping the chemical block test when suspecting internal leaks. Compression and leak-down tests can miss small breaches.
- ⚠️ Avoid: Assuming a “clean” pressure test means no leak. Some cracks only open under thermal expansion—test hot and cold.
Real-World Case Studies
Situation: A 2012 V6 SUV came in with steady coolant loss—about a quart every two weeks. No external leaks, no smoke, oil looked clean.
Initial Assumption: I suspected a small radiator crack, maybe a hose end.
Deep Dive: Pressure test held fine cold, but after a test drive, I noticed faint white residue near the intake manifold. Removed the upper manifold and found a degraded gasket sealing a coolant passage.
Nuanced Lesson Learned: Not all intake gasket leaks are catastrophic. Some degrade slowly, allowing just enough seepage to burn off—making them invisible until disassembly.
Situation: Customer complained of coolant loss and a faint sweet smell when using the heater. No wet carpet, no drips.
Initial Assumption: Minor heater core leak, probably too small to see.
Deep Dive: Pressure test showed a slow drop. After two hours, a tiny damp spot appeared on the carpet—evaporation was keeping it dry during short drives.
Nuanced Lesson Learned: Evaporation rate depends on drive duration and cabin heat use. Short trips can mask a leak that becomes obvious over longer periods.
Situation: A turbocharged 4-cylinder lost coolant with no visible leaks. White smoke on startup, but only in the morning.
Initial Assumption: Head gasket failure seemed likely.
Deep Dive: Block test was negative. Removed the EGR cooler and found it bubbling during pressure test. The coolant was burning off in the exhaust overnight.
Nuanced Lesson Learned: EGR cooler leaks can mimic head gasket symptoms exactly. Always test the cooler directly before condemning the head gasket.
In my shop, we’ve learned that unexplained coolant loss is rarely a single-issue problem. It’s often a combination of small factors—slight evaporation, minor internal seepage, or intermittent overpressure—that add up over time. The most effective approach isn’t to chase the most dramatic failure, but to methodically eliminate possibilities using the right tools and a willingness to look beyond the obvious.
One thing remains constant: always consult the specific service manual for tolerances, torque specs, and testing procedures. What’s true for one engine may not apply to another—even within the same brand.