When an engine overheats but the radiator remains cold, the issue isn’t with heat dissipation—it’s with coolant flow. The radiator can’t cool what never reaches it. In over 20 years as a master mechanic, I’ve found this symptom almost always points to a blockage or failure in circulation, not a defective radiator. Below is a field-tested diagnostic sequence that avoids guesswork and expensive replacements.
Step-by-Step Diagnosis: Confirm and Isolate the Cause
1. Verify the Problem Accurately
Don’t trust the temperature gauge alone—many are inaccurate or slow to respond. Confirm both engine temperature and radiator condition with tools.
- Check engine temperature: Use an OBD2 scanner to read live Engine Coolant Temperature (ECT). Overheating typically starts above 220°F. Cross-check with an infrared thermometer on the thermostat housing or cylinder head.
- Check radiator temperature: Scan multiple points across the radiator core with an IR thermometer. If the upper radiator hose reads over 180°F but the core is below 100°F, flow is restricted.
- Inspect coolant level and condition: Do this when the engine is cold. Low coolant can cause air pockets. Coolant should be at the “COLD FULL” mark and appear clean—not brown, milky, or sludgy. Top off with the correct 50/50 mix if needed, then bleed the system.
In my shop, we always start with a pressure test. A 15 psi test checks for leaks and confirms the system holds pressure. If it doesn’t, fix the leak first—otherwise, you’ll keep introducing air.
2. Rule Out the Thermostat (Most Common Culprit)
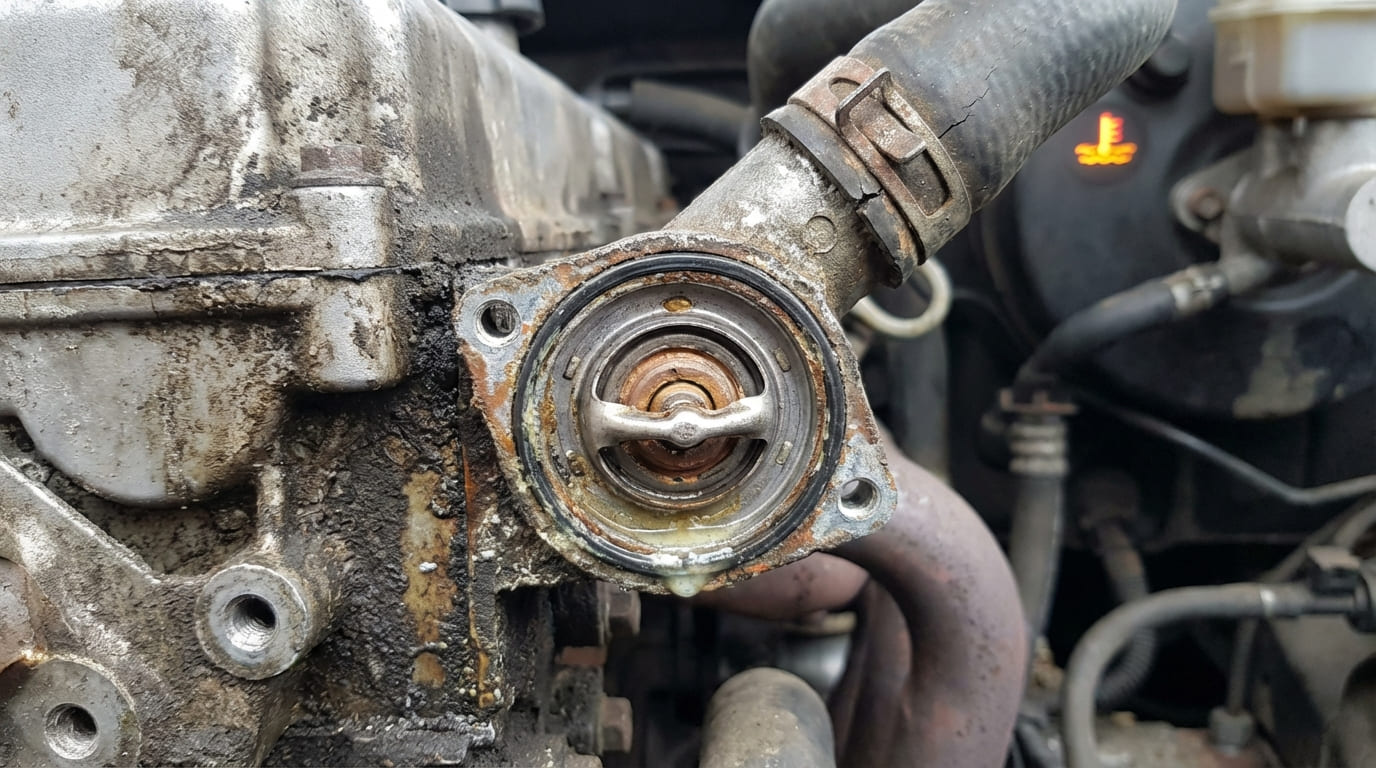
A thermostat stuck closed prevents hot coolant from reaching the radiator. It’s the #1 cause of this symptom, especially after coolant service or in high-mileage vehicles.
How to check:
- Remove the thermostat and test it in a pot of heated water with a thermometer. Most open between 192–200°F. Watch for full lift within 10–15°F of the rated temperature.
- Inspect installation: The spring-loaded end must face the engine. Backward installation blocks flow completely.
Cost & repair: Replacement thermostats cost $15–$40. Always replace the housing gasket or use RTV sealant as specified. Reusing old gaskets risks leaks.
I once diagnosed a 2014 Toyota Camry that had a new radiator and water pump—but still overheated. The thermostat was installed backward. Lesson: even pros skip basics under time pressure. Always verify orientation.
3. Bleed Air from the Cooling System
Air pockets—especially in V6, transverse, or turbocharged engines—can block flow and mimic pump or radiator failure.
How to check:
- Look for gurgling in the cabin vents or coolant reservoir.
- Observe the overflow tank while the engine warms up. Bubbles may indicate air being purged—or a head gasket issue (see below).
How to bleed:
- Elevate the front of the vehicle so the radiator is the highest point.
- Open bleed screws if equipped (common on BMW, Audi, and some Fords).
- Use a vacuum fill tool for sealed systems (recommended for European cars).
- Some models (e.g., Chrysler, GM) require a scan tool to activate “bleed mode” for the electric water pump.
Never skip the proper procedure—air will re-enter the system and cause repeat overheating.
4. Test the Water Pump
A failed water pump won’t circulate coolant, even if the thermostat opens.
How to check:
- With the engine cold and cap off, start the engine and watch the coolant in the radiator neck or thermostat housing. No visible flow when hot indicates pump failure.
- Inspect for impeller damage: Aluminum or plastic impellers can corrode or detach from the shaft, especially with incorrect coolant.
- Check for wobble or noise: A loose pulley or bearing noise suggests mechanical failure.
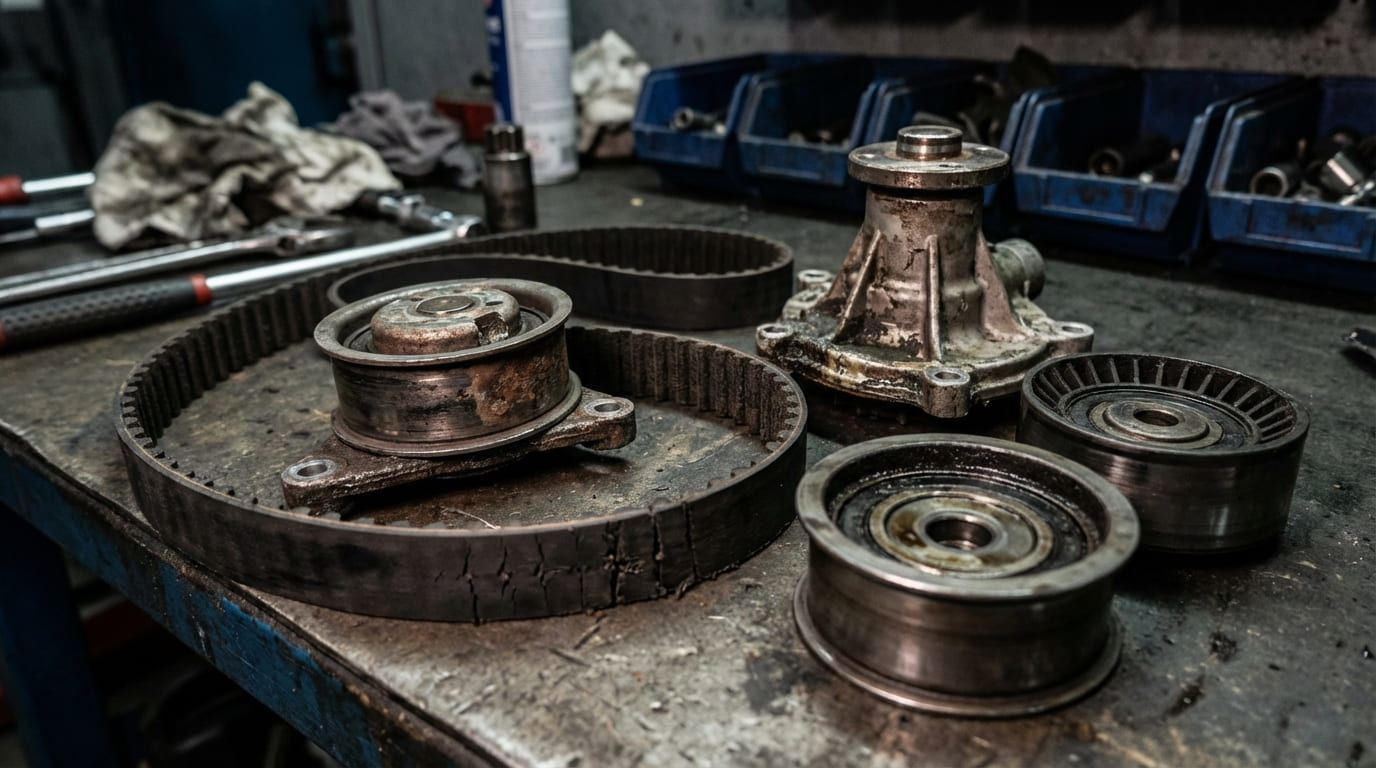
Cost & repair: Water pumps range from $50–$150. On timing belt-driven engines, replace the pump when doing the belt (labor is already there). Electric pumps may require programming with a scan tool.
A 2008 Honda Accord came in with zero flow. The thermostat was good, no leaks. We pulled the water pump—impeller blades were gone, just a spinning hub. Root cause? Non-Honda coolant. Always use manufacturer-specified mix—coolant chemistry directly affects aluminum and plastic components.
5. Inspect for Radiator and Hose Blockages
Even a clean-looking radiator can have internal clogs from scale, sludge, or debris.
How to check:
- Compare upper and lower radiator hose temperatures. Upper hose hot, lower hose cold? Likely clogged radiator or stuck thermostat.
- Scan the radiator core with an IR thermometer. Cold spots indicate blocked tubes.
- Remove and flush the radiator—if debris comes out, replacement is safer than risking re-clogging.
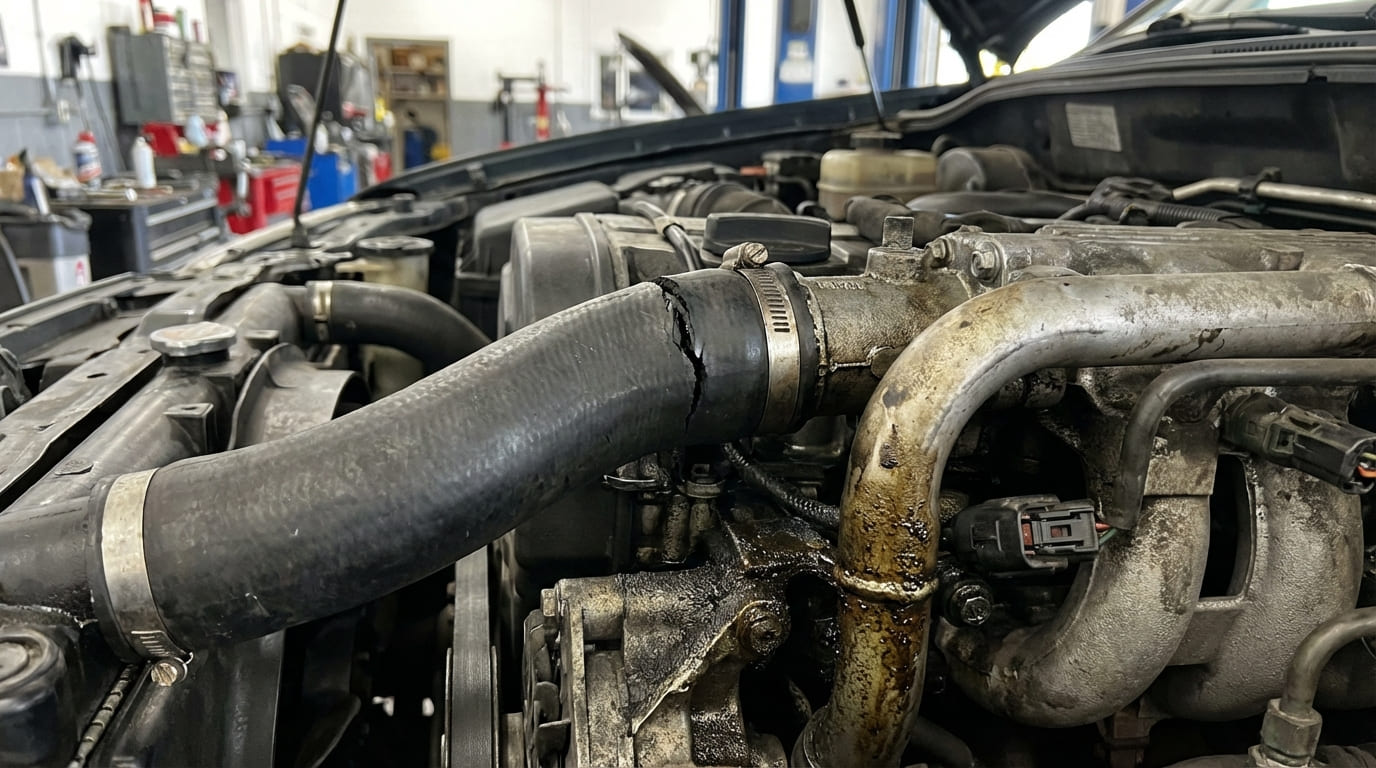
Collapsed lower hose: Common on older vehicles. The inner liner delaminates and collapses under suction when the pump runs. Pinch the lower hose while the engine is hot and running—if it feels soft or squishy, replace it. Use a reinforced hose or install a spring liner.
Cost: Radiators cost $150–$500 depending on vehicle. Replacement is often more reliable than flushing.
6. Investigate Less Common Causes
If flow checks out but overheating persists, consider these rare but serious issues.
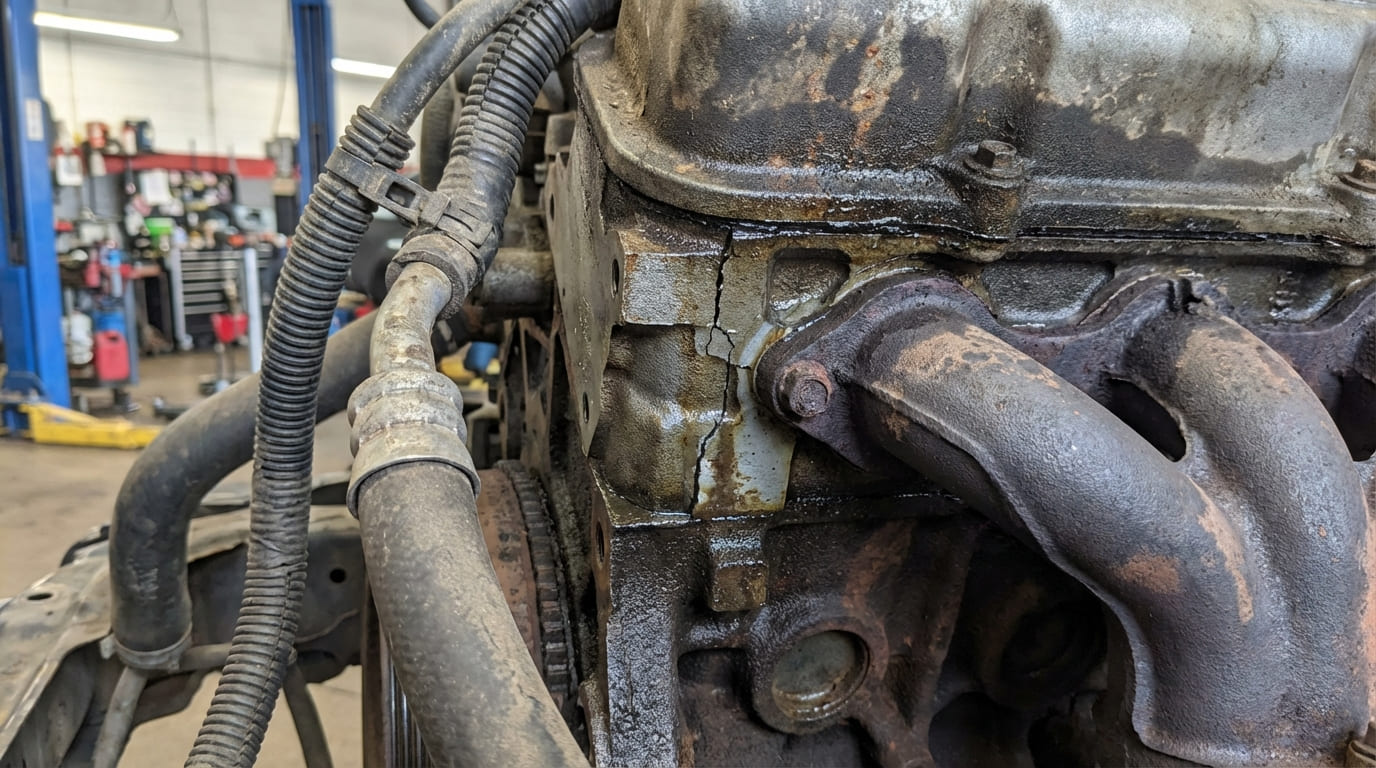
- Head gasket failure: Combustion gases entering the coolant can create backpressure that disrupts flow. Test with a block tester (chemical sniffer) for hydrocarbons in the coolant. Bubbles in the overflow tank when hot—but not during warm-up—are a red flag.
- Internal engine blockage: Corrosion, casting sand, or debris in coolant passages. Requires disassembly. Only suspect this after ruling out all other causes.
A 2016 Ford F-150 with 8-year-old coolant had aluminum sludge clogging the radiator inlet. Customer flushed twice but missed the root cause—OAT coolant breakdown. Lesson: coolant lifespan isn’t just time—it’s heat cycles and contamination. Always inspect chemical condition, not just level.
Diagnostic Comparison Table
| Scenario | Most Likely Cause | Less Likely, But Possible | Diagnostic Confidence Level |
|---|---|---|---|
| Engine hot, radiator cold, upper hose cool | Air pocket, low coolant | Thermostat not opening, pump failure | High (with confirmation) |
| Engine hot, upper hose hot, lower hose cold | Thermostat stuck closed, clogged radiator | Severe air lock, collapsed lower hose | High |
| Engine hot, hoses warm, radiator cool | Poor circulation (pump, air, restriction) | Head gasket, internal blockage | Moderate (requires deeper testing) |
| Overheating after recent coolant work | Air pocket, incorrect thermostat install | Wrong coolant mix, kinked hose | High |
Best Practices for Cooling System Service
Follow these rules to prevent comebacks and extend system life.
- ✅ Clean thermostat housing threads with a tap before reinstalling—ensures accurate torque and prevents leaks.
- ✅ Bench-test every new thermostat—even OEM units can be defective or mislabeled.
- ✅ Use only manufacturer-specified coolant type and mix ratio. Mixing OAT, HOAT, and IAT can cause gel formation.
- ⚠️ Never reuse torque-to-yield (TTY) bolts unless explicitly allowed. They lose clamping force after stretching.
- ⚠️ Don’t assume flow by hose heat—always verify radiator core temperature with an IR gun.
- ⚠️ Avoid “universal” coolant flushes—some can loosen debris and cause clogs downstream.
Bottom line: A cold radiator during overheating means hot coolant isn’t reaching it. Start simple—thermostat, air, coolant level—before moving to pumps, radiators, or head gaskets. The fix is usually fast and affordable if you follow a logical path.