Primary Causes of Oil Pan Leaks
Oil Pan Gasket Failure
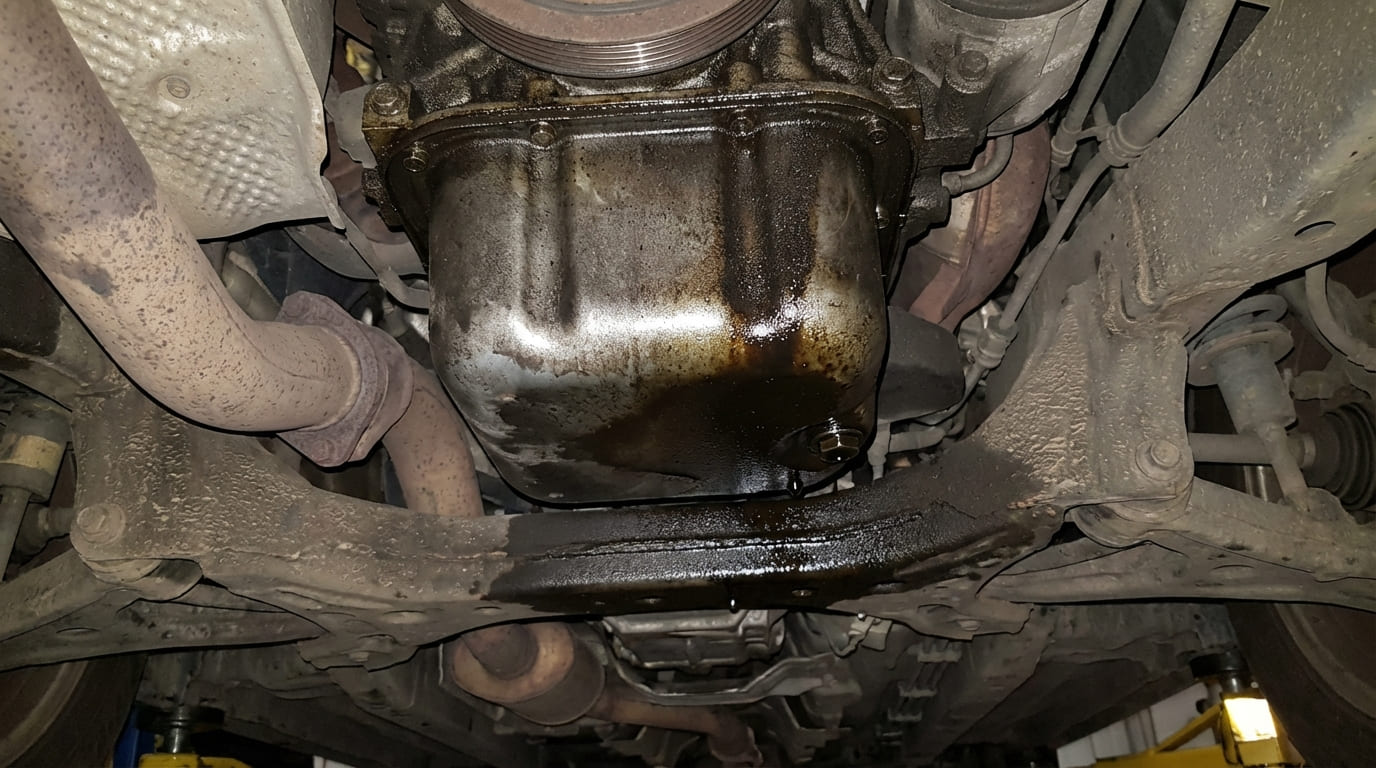
The oil pan gasket is the most common source of leaks. Over time, heat cycles and oil exposure cause gaskets to harden, shrink, or swell—losing their ability to seal. Cork gaskets become brittle; rubber and silicone types degrade from chemical exposure. Improper installation is just as frequent: uneven or incorrect torque, wrong bolt sequence, or dirt on mating surfaces can all create gaps.
How to Check: Clean the area thoroughly and inspect for oil seepage along the entire pan seam. Use a UV dye test if the leak path isn’t obvious. Fluorescence running the full perimeter confirms gasket failure.
Repair vs Replace: Gasket replacement is usually cost-effective. DIY kits range from $15–$40. Labor at a shop runs $150–$400 depending on accessibility. If the pan requires subframe removal, professional repair is recommended.
In my shop, we always replace the gasket and clean both surfaces with a plastic scraper and brake cleaner. Never use a metal tool—it can nick the block deck and cause a new leak.
Oil Pan Damage
Impact from road debris, speed bumps, or parking curbs can crack or dent the pan. Aluminum pans are prone to cracking; steel ones may develop hairline fractures after bending. Corrosion causes pinholes in older vehicles, especially in salty climates. Rarely, casting porosity in new pans leads to weeping.
How to Check: Inspect the pan body, especially front and rear edges. If UV dye fluoresces mid-pan—not along the seam—the pan itself is leaking.
Repair vs Replace: Minor dents without cracks don’t need fixing. Cracks in aluminum can sometimes be TIG welded with proper pre- and post-heat treatment. Steel pans can be MIG welded. For plastic or composite pans, replacement is the only option. Cost: $80–$250 for a new pan; welding adds $100–$200.
Welding an oil pan off the engine is the only way to do it right. On-car welding risks fire and incomplete penetration. Always pressure-test a repaired pan with compressed air and soapy water.
Drain Plug and Washer Issues
A missing, flattened, or reused washer is a top preventable cause. Over-tightening strips aluminum threads or distorts the pan; under-tightening allows vibration to loosen the plug. Some threads are metric with precise torque specs—guessing leads to failure.
How to Check: Inspect around the plug. Oil pooling here with no seam leakage points to the drain plug. Use a calibrated torque wrench to verify tightness.
Repair vs Replace: A new washer costs less than $5. Replace the plug if threads are damaged. For stripped threads, use a Heli-Coil insert (repair kit: $30–$60) or oversized plug. Full pan replacement ($80–$250) is needed if repair isn’t viable.
I always install a new copper or steel washer and torque to spec—never hand-tight. On aluminum pans, I use 18–22 ft-lbs; steel pans can handle 25–35 ft-lbs. Check your manual.
Oil Level or Pressure Sensor Seal Failure
Vehicles with electronic oil level sensors often leak from a degraded or twisted O-ring. Oil runs down the block and pools at the pan’s lowest point, mimicking a gasket leak. Oil pressure sensors can also leak from cracked bodies or failed thread seals.
How to Check: Look for oil at the sensor base, not the pan seam. UV dye will highlight seepage around the sensor. Wipe it clean and watch for reappearing wetness.
Repair vs Replace: Replacing the O-ring costs $5–$15 and takes 10 minutes. Lubricate the new seal with oil before installation. Sensor replacement: $30–$100.
Always twist the sensor slightly as you remove it—this breaks the old seal. When reinstalling, hand-tighten first, then give it a quarter-turn with a wrench.
Secondary Causes That Mimic Oil Pan Leaks
Oil flows downhill and can travel far from its source. Always trace the highest point of wetness. What looks like a pan leak may originate above.
Common Misdiagnosed Sources
Front crankshaft seal leaks drip onto the timing cover and run to the pan’s front. Rear main seal leaks trail down the bellhousing and pool at the pan’s rear. Valve cover gaskets leak down the block sides. Remote oil filter housings, timing cover gaskets, and oil pressure sensors can all leak down to the pan rail.
Oil doesn’t flow upward. If you see wetness high on the block, the pan isn’t the source. Clean the engine, run it, and watch where the oil first appears.
Step-by-Step Diagnostic Procedure
1. Clean the Engine
Start with a degreased engine. Use an engine-safe cleaner and soft brush. Avoid high-pressure water near sensors. Dry with compressed air. A clean engine prevents misdiagnosis.
2. Visual Inspection
Use a bright LED light and mirror. Look for the highest point of oil residue. Check airflow patterns—engine fans can blow oil rearward, distorting the leak’s apparent origin.
3. UV Dye Test
Add OEM-approved UV dye to the oil. Run the engine to operating temperature under load. Inspect in low light with UV flashlight and filtered glasses. The fluorescent trail reveals the exact source.
I add dye during an oil change and drive 50 miles before inspecting. Short runs don’t circulate the dye fully.
4. Oil Pressure Test (Engine Off)
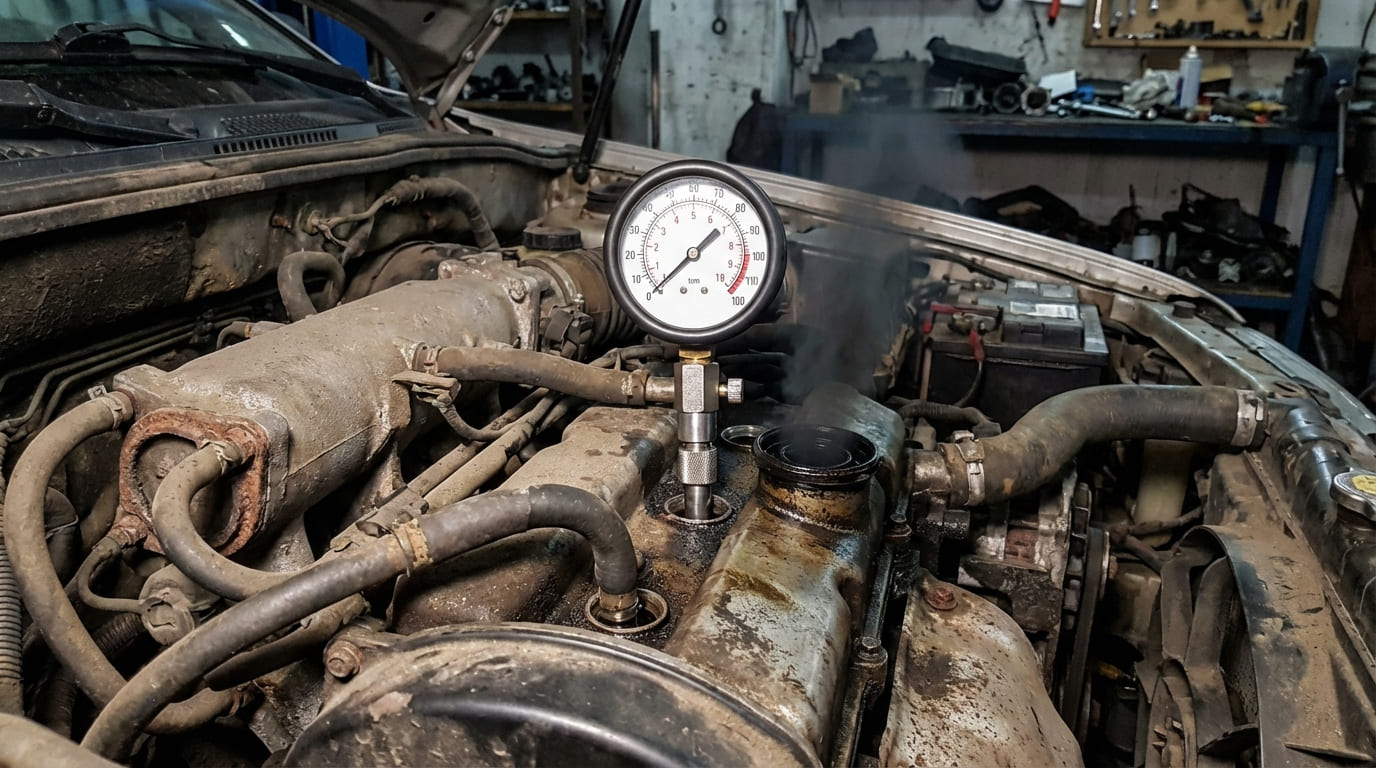
Use a hand-operated oil pressure tester to pressurize the system without running the engine. This isolates leaks under pressure—especially useful for rear main or front seal issues.
5. Road Test and Re-inspection
After repair, drive the vehicle under real conditions: idle, acceleration, highway. Re-inspect with UV light to confirm the fix.
Best Practices Checklist
- ✅ Clean bolt threads with a tap before reinstalling—corrosion or sludge affects torque.
- ✅ Use a calibrated torque wrench and follow OEM sequence—uneven clamping causes leaks.
- ✅ Replace all seals and gaskets when the pan is off—labor is the cost driver, not parts.
- ⚠️ Never reuse torque-to-yield (stretch) bolts unless the manufacturer allows it.
- ⚠️ Avoid excessive RTV silicone—most gaskets don’t need it, and loose chunks can clog oil passages.
- ⚠️ Never skip engine cleaning before diagnosis—it’s the #1 cause of misdiagnosis.
Leak Symptoms and Likely Causes
| Observed Symptom | Most Likely Cause(s) | Less Common But Possible Causes |
|---|---|---|
| Oil along entire pan seam | Oil pan gasket failure, improper torque | Warped pan, block deck irregularity |
| Oil at front of pan near timing cover | Front crankshaft seal, timing cover gasket | Oil pan front rail crack, water pump weep hole (if coolant present) |
| Oil pooling at rear of pan | Rear main seal, bellhousing seal | Oil pan rear seal notch crack, transmission input shaft seal |
| Oil around drain plug | Missing/worn washer, over-torqued plug | Stripped pan threads, pan distortion |
| Oil near oil filter housing | Filter gasket, housing O-ring | Oil pressure sensor, block porosity (rare) |
Situation: A 2012 sedan came in with oil pooling under the front of the engine. The owner had replaced the oil pan gasket twice.
Discovery: UV dye revealed fluorescence near the harmonic balancer. The front crankshaft seal housing had a hairline crack.
Lesson: Oil collects at the lowest point, not the source. Always trace upward.
Situation: A truck with a leak that worsened after oil changes.
Discovery: The steel washer was missing. The plug was bottoming out without compression.
Lesson: Always use a new washer. A flattened one won’t seal, even at correct torque.
Situation: Oil seepage near the oil level sensor.
Discovery: UV dye showed leakage at the sensor base. The O-ring had twisted during installation.
Lesson: Don’t ignore small seals. They can leak just like big gaskets.
Oil leaks are rarely catastrophic—they’re the result of wear, improper service, or overlooked details. The fix isn’t always under the pan. Focus on methodical cleaning, tracing, and verification. Always consult the factory service manual for torque specs, gasket type, and sealant requirements. What works on one engine may destroy the seal on another.