Over two decades in the shop, I’ve seen more rear main seal leaks than I can count. What often starts as a simple drip turns into a full-blown transmission pull job—and sometimes, the replacement seal fails again shortly after. In my experience, the root cause isn’t always the seal itself. More often than not, it’s a combination of factors that, if overlooked, can turn a straightforward repair into a recurring headache. This guide breaks down exactly what causes these failures, how to diagnose them properly, and what to do—both during and after the repair—to prevent comebacks.
How to Confirm a Rear Main Seal Leak
Before tearing into the engine or transmission, you must confirm the leak source. Many other components leak in the same area and can mimic a rear main failure.
Visual Inspection and Differentiation
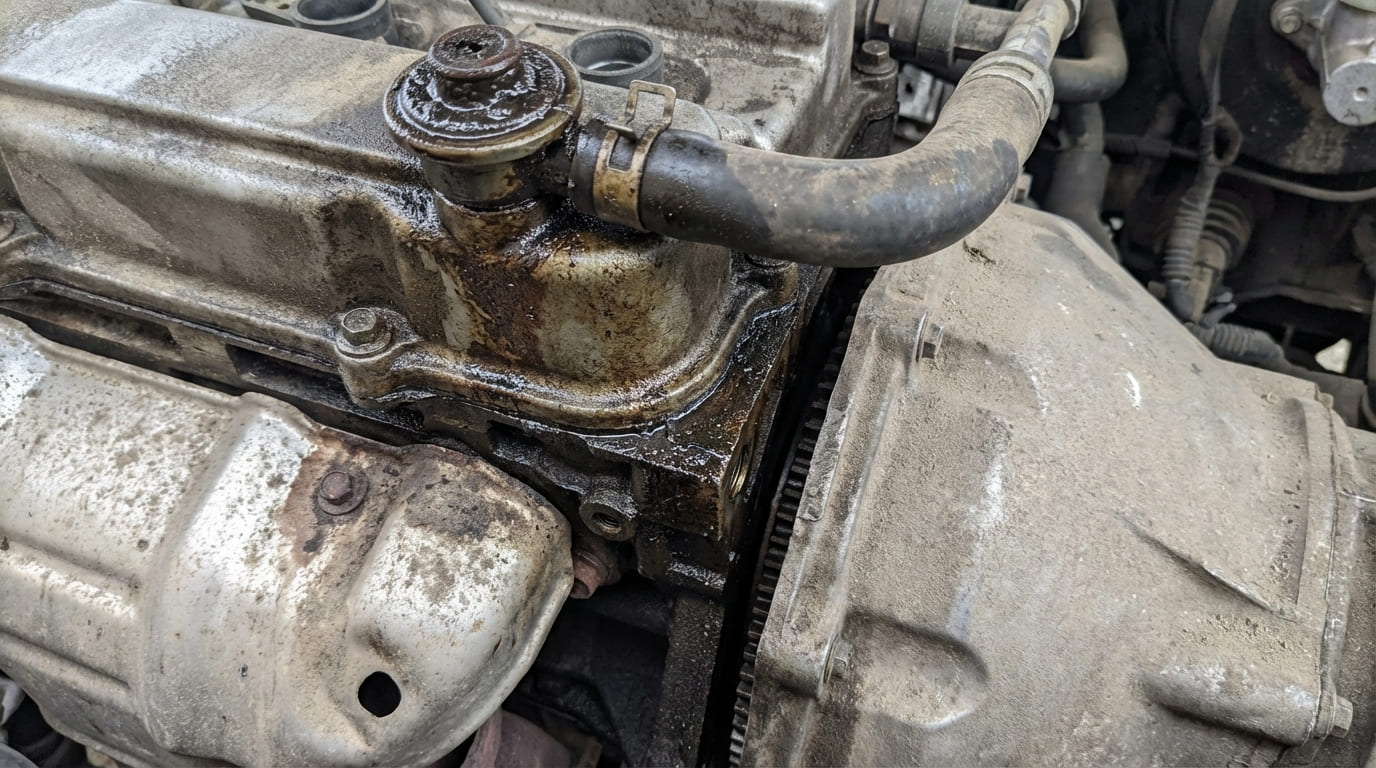
Start with a clean engine and dry bellhousing. Run the engine, then inspect for fresh oil pooling at the bottom of the bellhousing seam. A true rear main leak typically appears centered at the engine-transmission junction. But don’t jump to conclusions—oil from a bad oil pan gasket can run rearward and pool in the same spot.
Trace the oil’s path upward. Valve cover leaks run down the block’s sides. Camshaft seals leave residue near the top rear of the head. Oil pressure sensor or filter leaks may spray upward before dripping down. Transmission input shaft seals leak red fluid—but some modern ATF blends are amber or brown, making visual ID tricky.
If the fluid is black and traces directly to the crankshaft centerline at the bellhousing, the rear main is suspect.
UV Dye Test for Positive Confirmation
When the source is unclear, use UV dye. Add engine oil dye (not transmission dye) and run the engine for 15–30 minutes. Use a UV light to inspect the bellhousing. A fluorescent trail at the main seal location confirms engine oil leakage.
This method is especially useful on vehicles with dual fluid systems. I’ve seen misdiagnosed leaks cost customers a transmission rebuild when the real issue was a $20 rear main seal.
Smoke Test to Check for Pressure or Leaks
A smoke test helps identify both leak paths and crankcase pressure issues. Introduce low-pressure smoke through the oil fill cap or PCV port. If smoke pours from the bellhousing joint, you have either a bad seal, warped rear cover, or excessive crankcase pressure.
Important: Smoke follows the path of least resistance. A puff at the rear main area doesn’t automatically mean the seal is bad—it could be high pressure from a clogged PCV system. Always test pressure separately.
Primary Causes of Rear Main Seal Failure
Once confirmed, it’s time to determine why the seal failed. Replacing it without addressing the root cause leads to repeat jobs.
Seal Degradation and Wear
Rubber and PTFE seals degrade with age, heat, and contamination. High-mileage engines with irregular oil changes are prone to hardening and cracking. Stop-and-go driving accelerates heat cycling, which breaks down seal materials.
Fuel dilution (from short trips) thins oil and washes away protective films. Coolant in oil (from a failing head gasket) creates sludge and attacks rubber. Both shorten seal life.
In manual transmission vehicles, clutch dust can migrate forward into the bellhousing. Mixed with oil, it acts like fine sandpaper on the seal lip. I’ve pulled seals with visible scoring matching the texture of worn clutch material.
Improper Installation
A new seal can fail in minutes if installed wrong. Common mistakes:
- Pinching the seal during flywheel or flexplate installation—especially if the crank is rotated before the seal is fully seated.
- Misalignment of two-piece or rope seals. The upper and lower halves must meet flush without gaps.
- Dry installation. Always lubricate the seal lip with engine oil or OEM-recommended assembly lube. A dry start causes immediate scuffing.
- Hammering the seal in. This distorts the housing or seal. Use a proper installation tool—most manufacturers provide specs for driver size.
Cost to replace: $800–$2,000 depending on drivetrain (RWD vs. AWD) and labor access. If you’re paying for labor, ensure the shop checks all related components—otherwise, you’ll pay again.
Crankcase Pressure Problems
Excessive crankcase pressure is the silent killer of rear main seals. The PCV system is designed to vent this pressure, but when it’s blocked, oil gets forced out at the weakest point—the rear main.
Common causes:
- Clogged PCV valve or hose.
- Collapsed breather hose (common in high-mileage engines).
- Excessive blow-by from worn piston rings or cylinder wear.
How to check: Use a manometer to measure crankcase pressure at idle. Most OEMs specify less than 1–2 inH₂O. Readings over 3 inH₂O indicate a problem. I’ve seen engines with 5+ inH₂O—no seal can survive that.
In my shop, we always test crankcase pressure before replacing a rear main seal. A $15 PCV valve is cheaper than a transmission drop. If pressure is high, fix the source—even if it means a ring job down the line.
Crankshaft and Engine Block Issues
The crankshaft’s rear sealing surface must be smooth and concentric. Even minor grooves or scratches can channel oil past the seal. Use a dial indicator to check runout—anything over 0.002″ can cause premature failure.
On the block side, warped rear main caps or aluminum rear covers are common—especially in modern engines. Heat cycling and improper torque can warp the surface. Check flatness with a straight edge and feeler gauge. Most specs allow no more than 0.002″–0.004″ of warp.
Casting porosity or micro-cracks near the main bore can also allow oil seepage. These are rare but possible—especially in older cast-iron blocks or repaired engines.
Oil and Lubrication Factors
Oil viscosity matters, but less than most think. Thinner oils (like 0W-20) may seep more easily past a worn seal under high heat. But thick oils (10W-40 or higher) can increase crankcase pressure by slowing ventilation flow.
Overfilling the oil pan raises the oil level, increasing splash on the crank and seal. Check the dipstick—never overfill.
Aftermarket additives with aggressive detergents or seal swellers can degrade rubber seals. I don’t recommend them on high-mileage engines unless you’re prepared for leaks.
Diagnostic Decision Guide
| Symptom / Observation | Most Likely Causes | Less Common but Possible Causes | Diagnostic Next Step |
|---|---|---|---|
| Oil pooling at bottom of bellhousing | Rear main seal wear, PCV restriction | Oil pan gasket leak, transmission input seal | UV dye test, trace oil path upward |
| Smoke from bellhousing during pressure test | Seal misalignment, high crankcase pressure | Cracked block, warped rear cover | Check PCV flow, inspect cover flatness |
| Recurrent leak after seal replacement | Crankshaft surface damage, improper install | Blow-by, incorrect seal type | Inspect crank runout, verify ring wear |
| Leak only under hard acceleration | High crankcase pressure, oil surge | Seal dislodgement, vacuum imbalance | Monitor PCV under load, check breather |
Best Practices: What to Do (and Not Do)
- ✅ Recommended: Clean the block and rear cover sealing surfaces thoroughly with a plastic scraper and solvent. Metal shavings or old RTV can prevent a proper seal.
- ✅ Recommended: Use a thread chaser or bottoming tap on rear cover bolt holes—especially in aluminum. Oil can wick through dirty threads.
- ✅ Recommended: Lubricate the new seal lip with engine oil or OEM assembly lube. Prevents dry start damage.
- ✅ Recommended: Measure crankshaft runout with a dial indicator. Even slight misalignment kills seals.
- ⚠️ Avoid: Reusing torque-to-yield (TTY) bolts unless the manufacturer allows it. Clamping force degrades after first use.
- ⚠️ Avoid: Over-torquing rear cover bolts. Aluminum housings distort easily—stick to spec.
- ⚠️ Avoid: Skipping PCV system inspection. Replace the valve and check hoses. It’s cheap insurance.
Real-World Lessons from the Shop
Situation: A 2012 V8 pickup had a fresh rear main leak—three weeks after replacement. The shop used a quality one-piece seal and proper tools.
Discovery: No damage to seal or crank. But the oil slinger behind the harmonic balancer was missing. Without it, oil was flung forward and migrated rearward through the engine.
Lesson: Always inspect upstream oil control parts. A missing slinger or worn front seal can overload the rear system.
Situation: A high-mileage sedan leaked every 10,000 miles after each seal replacement. No crank damage.
Discovery: Crankcase pressure test showed 4.5 inH₂O. Intake breather hose was collapsed internally. PCV valve was clean, but flow was restricted.
Lesson: Chronic low-level blow-by + poor breathing = slow seal degradation. Fix the system, not just the seal.
Situation: A stroker V8 leaked within 500 miles. High-performance PTFE seal, perfect installation.
Discovery: Block was decked, but rear main bore wasn’t align-honed. Crank journal was offset, causing uneven seal loading.
Lesson: Precision builds need precision alignment. A perfect seal can’t fix a misbored block.
In my shop, I’ve learned that rear main seal failure is rarely about the seal alone. It’s usually a symptom of a deeper issue—pressure, alignment, contamination, or installation error. Before replacing it, diagnose the whole system. The repair isn’t complete until you know why it failed. And always consult the factory service manual—modern engines have specific procedures and torque specs that can’t be guessed.