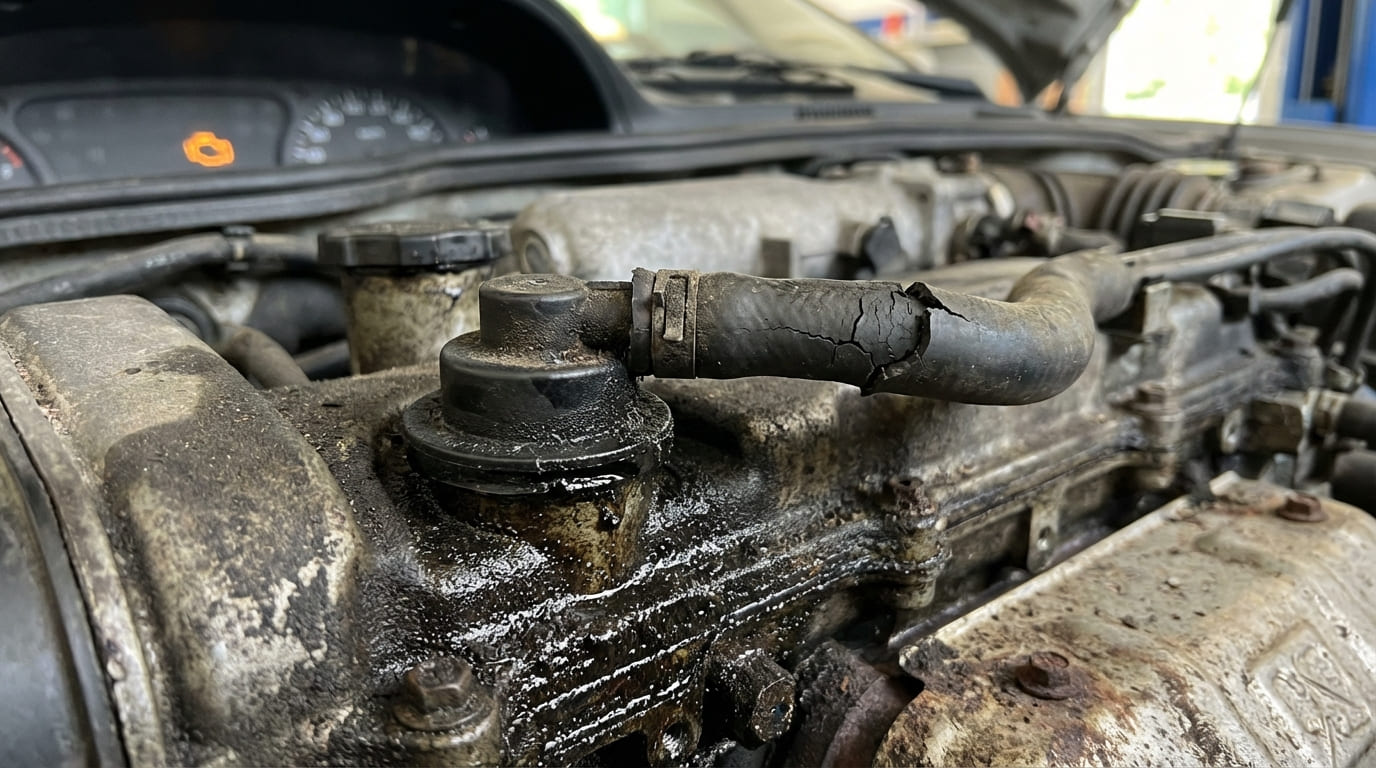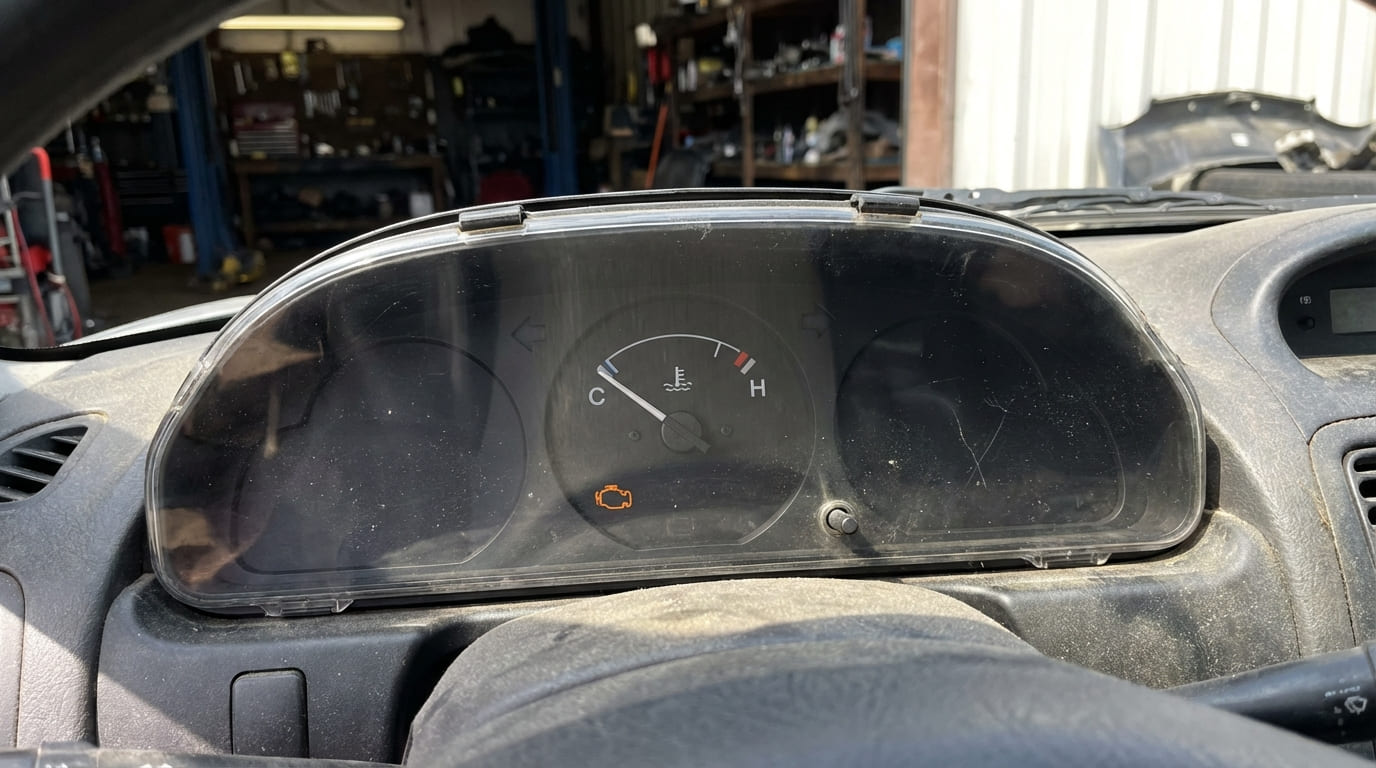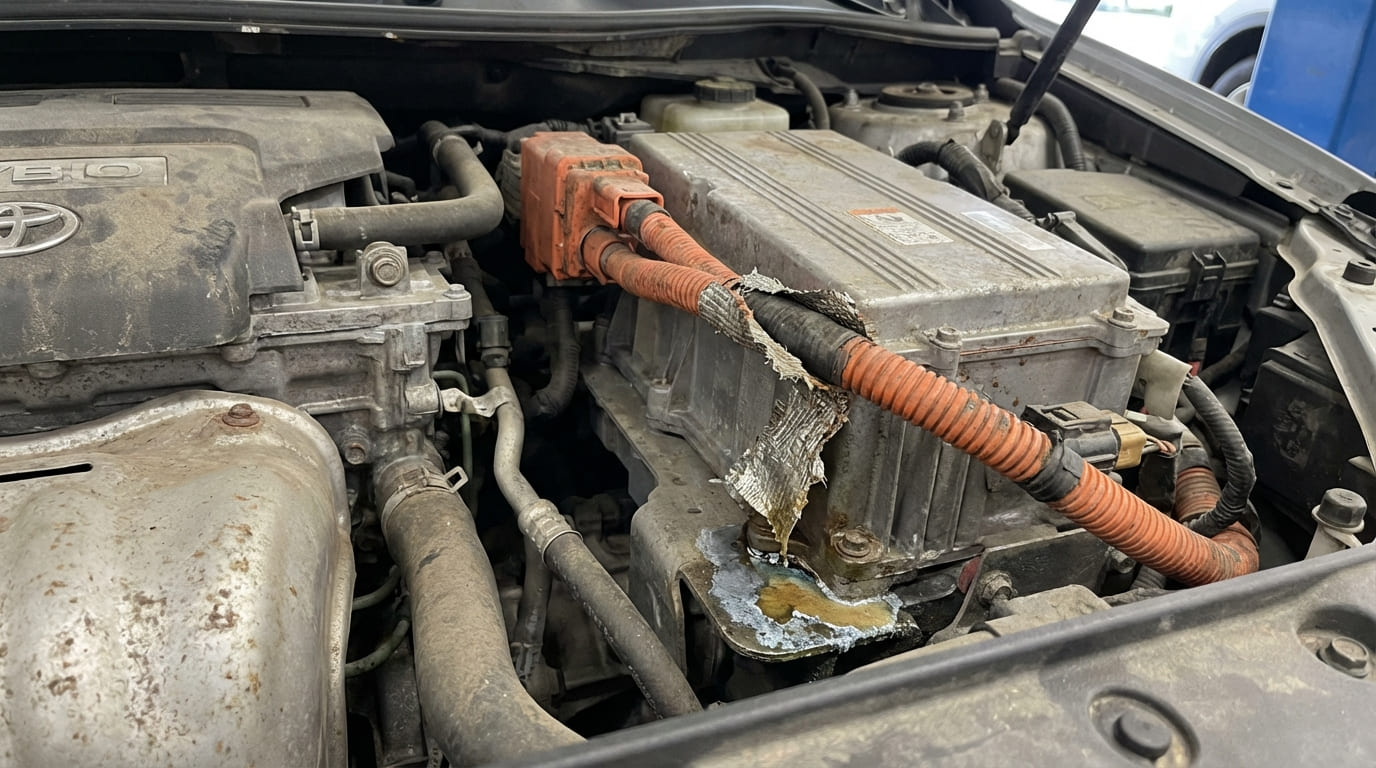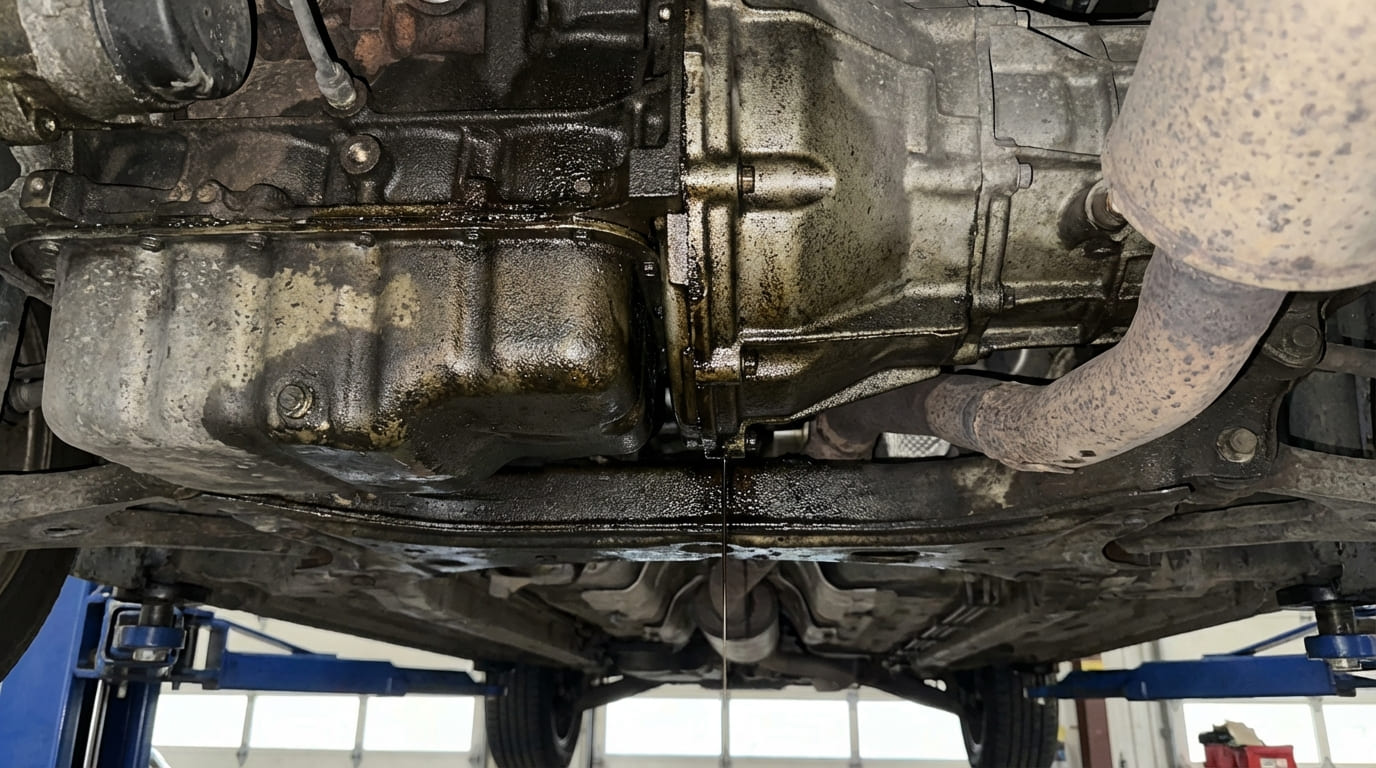
In my shop, this question comes up more than you might think. A lot of folks see that telltale spot under the back of the engine and wonder if they can “limp it along” for a few weeks or months. Based on two decades of teardowns, comebacks, and emergency tow-ins, I can say this: driving with a leaking rear main seal isn’t an automatic death sentence for the engine—but it’s a gamble with real stakes. Let’s break down what I look for, what I’ve seen go wrong, and how I advise both my techs and customers.
Can You Drive with a Leaking Rear Main Seal?
The short answer: it depends on the severity. A minor seep may not cause immediate damage, but it introduces risks that compound over time. Ignoring it can turn a $600 repair into a $4,000 engine rebuild. The key is knowing when to monitor and when to act.
Immediate Risks of Driving with a Leak
- Oil starvation: Even a moderate leak can drop oil levels enough to starve main bearings. On engines I’ve torn down with spun bearings, over half had a history of unaddressed oil leaks.
- Fire hazard: Oil dripping onto a hot exhaust manifold (which can exceed 600°F under load) can ignite. I’ve seen this happen in garages with oil-soaked cardboard or dry grass underneath.
- Clutch contamination (manual transmissions): Engine oil on the clutch disc causes slippage and chatter. Once contaminated, the clutch usually needs replacement.
- Catalytic converter damage: Burning oil from chronic leaks fouls O2 sensors and melts catalytic substrates. Replacement costs $1,000–$2,500.
- Environmental and legal issues: Persistent drips can fail emissions or safety inspections in states like California and New York.
Long-Term Consequences
Even slow leaks accelerate wear. Low oil levels increase stress on the valvetrain and bottom end. I’ve measured bearing clearances double the factory spec on engines with 10,000 miles of unchecked seepage. Also, oil pooling in the bellhousing can hydro-lock the flywheel, causing vibration or starter damage.
In my shop, we never let a car leave with a known rear main leak unless the owner understands the risks. We document the drip rate and oil consumption. If it’s losing more than a quart every 1,500 miles, we push for immediate repair.
How to Confirm It’s the Rear Main Seal
Many leaks mimic a rear main failure. Rule out simpler sources first—about 30% of suspected RMS leaks turn out to be something else.
Step-by-Step Diagnosis
- Wipe the entire rear engine and transmission area clean. Focus on the bellhousing seam, oil pan rear, and transmission input shaft.
- Let the engine cool completely. Run it for 10–15 minutes, then re-inspect immediately.
- If oil reappears at the crankshaft-to-bellhousing junction, it’s likely the rear main.
- For confirmation, add UV dye to the oil and use a black light after a test drive. A glow around the crank snout confirms the source.
Common Misdiagnoses
- Valve cover gasket: Oil runs down from the top rear of the engine, especially on V6/V8s with rear-mounted spark plugs.
- Oil pan rear seal: On Hondas, GMs, and some Fords, a separate gasket between the pan and rear main cap can leak in the same spot.
- Transmission input shaft seal: Leaks ATF, which is red or brown and slicker than engine oil. Wipe and check on white paper—ATF spreads more.
- PCV system overpressure: A clogged PCV valve increases crankcase pressure, forcing oil past a healthy seal. Check for a hissing sound when opening the oil cap.
Assessing Severity: When to Worry
Drip rate and oil consumption tell you how urgent the repair is.
| Severity | Drip Rate | Oil Loss | Action |
|---|---|---|---|
| Minor | One drop every 10–20 min | Less than 1 qt per 3,000 miles | Monitor monthly; plan repair in 3–6 months |
| Moderate | One drop every 1–5 min | 1 qt per 1,000–1,500 miles | Repair within 60 days; check oil every 500 miles |
| Severe | Constant weep or stream | 1 qt per 500 miles or less | Stop driving. Tow to shop. Risk of engine failure. |
Oil Level Monitoring Protocol
If you must drive temporarily:
- Check the dipstick daily, using the OEM stick only.
- Top off with the correct oil type and viscosity.
- Never let the level drop below the “low” mark.
I tell customers: if you’re checking oil more than once a week, you’re gambling. The cost of a tow and rebuild isn’t worth the risk.
Temporary Fixes and Their Limits
These are stopgaps, not solutions.
Seal Swelling Additives
These can work on minor seeps in older engines with hardened rubber seals. But they fail on:
- Torn or inverted seals
- Worn crankshaft journals
- Two-piece rope seals
And they can swell other seals, creating new leaks. I’ve seen valve cover gaskets blow out after additive use. Use only if repair is delayed and the leak is minor.
Topping Off Oil
This only prevents oil starvation. It does nothing for fire risk, clutch damage, or environmental impact. At best, it buys time.
Permanent Repair: What’s Involved
Fixing a rear main seal isn’t a simple gasket swap. It’s labor-intensive and requires precision.
Scope of Work
On most RWD vehicles, you must pull the transmission. On FWD or AWD transaxles, engine removal may be needed. Labor: 4–8 hours. Cost: $600–$1,500 depending on vehicle.
Types of Rear Main Seals
- Lip seals: Found on most modern engines. Must be installed with an OEM-recommended tool to prevent cocking.
- Rope seals: Common on older engines (e.g., pre-1990s Ford, GM). Require proper packing and end gap alignment—usually 1/8 inch staggered.
Critical Installation Tips
- Inspect the crankshaft journal for grooves or ridges. Even light wear can doom a new seal.
- Polish the journal with a non-abrasive pad. Never use sandpaper.
- Lubricate the seal lip with assembly lube or engine oil before installation.
- Use OEM or high-grade aftermarket seals. Cheap lip seals can invert within 500 miles.
In my shop, we always replace the transmission input shaft seal while we’re in there. It’s 20 minutes of extra labor and prevents a come-back leak.
Parts and Cost Breakdown
| Component | OEM Cost | Aftermarket Cost |
|---|---|---|
| Rear main seal | $35–$80 | $15–$40 |
| Transmission input shaft seal | $20–$50 | $10–$25 |
| Flywheel resurface | $80–$150 | N/A |
| UV dye kit | $15–$25 | $10–$20 |
Verification After Repair
- Start the engine and let it reach operating temperature.
- Inspect the bellhousing with a flashlight. No seepage after 15 minutes is a good sign.
- Test drive, then let the vehicle sit overnight.
- Re-inspect cold—thermal cycling can reveal hidden leaks.
- For certainty, add UV dye and recheck with a black light.
Recommended and Avoid List
- ✅ Clean the crankshaft journal with a Scotch-Brite pad to remove micro-burrs.
- ✅ Lubricate the new seal lip before installation.
- ✅ Use OEM or high-quality aftermarket seals.
- ⚠️ Avoid hammering the seal in—use a proper installer tool.
- ⚠️ Avoid reusing torque-to-yield bolts on the flywheel or bellhousing.
- ⚠️ Avoid skipping crankshaft inspection—wear here kills new seals fast.
Diagnostic Scenarios and Next Steps
| Symptom | Most Likely Cause | Less Common Causes | Diagnostic Next Step |
|---|---|---|---|
| Oil drip at bellhousing, UV glow at crank | Rear main seal failure | Oil pan rear seal, bedplate gasket | Disassemble and trace leak path |
| Oil on transmission input, no crank glow | Transmission input shaft seal | Cross-contamination from engine leak | Check fluid type and source direction |
| Oil level drops, no visible leak | Burning oil (rings/valve seals) | Slow RMS weep into bellhousing | Inspect inside bellhousing with bore scope |
| Clutch slippage + oil smell | Engine oil contamination of clutch disc | Hydraulic issue, release bearing | Inspect clutch during transmission removal |
Real-World Lessons from the Shop
Situation: 2008 Silverado with 140k miles, moderate drip, topping off oil every 1,000 miles for six months.
Findings: Crankshaft journal groove and cavitating oil pump due to debris from low oil.
Lesson: The leak was a symptom, not the root cause. Always check oil history and secondary damage.
Situation: 2012 Accord with “new” RMS leak after timing belt job.
Findings: Over-torqued oil pan bolt cracked the sealing surface. RMS was dry.
Lesson: Recent work can mislead. Check fastener patterns and sealing surfaces.
Situation: BMW 335i with repeated RMS leaks.
Findings: Crankshaft journal had 0.004″ taper—within tolerance but enough to defeat proper seal seating.
Lesson: Precision matters. Measure with a micrometer, not just visual inspection.
There’s no universal answer to how long you can drive with a rear main leak—only context. I’ve seen vehicles run for years with a seep, and others fail in weeks. The key is consistent monitoring, honest assessment of the drip rate, and understanding that every drop increases the odds of something worse down the road. When in doubt, pull the dipstick, clean the area, and track the pattern. And always, always consult the specific service data for your engine—what’s acceptable on one platform might be a red flag on another.