Understanding the difference between an exhaust manifold and headers isn’t just about terminology—it’s about function, performance, and real-world drivability. For car owners and DIYers, this choice impacts power, emissions, noise, and even legality. Let’s break down what sets them apart, how to diagnose related issues, and whether upgrading makes sense for your vehicle.
Exhaust Manifold: The Factory Workhorse
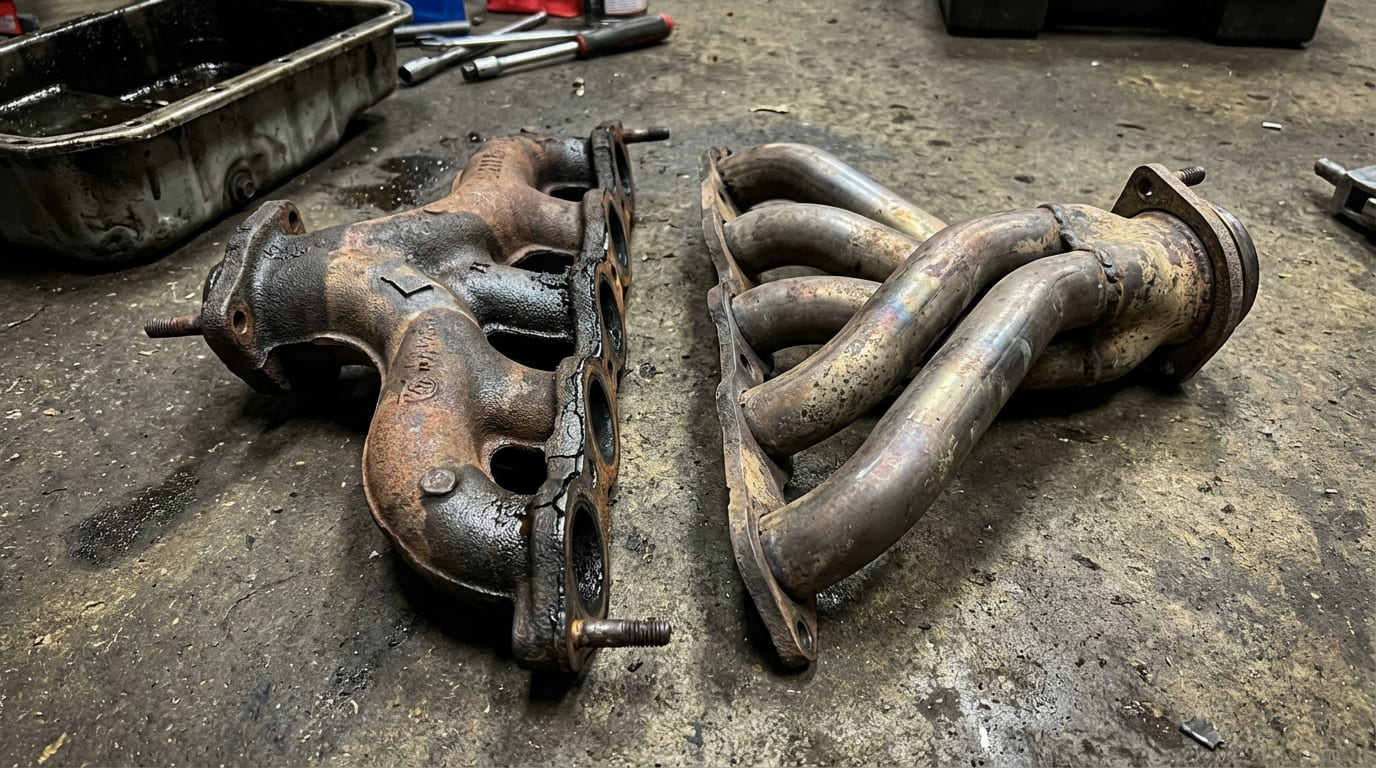
The exhaust manifold is the stock component that collects exhaust gases from the engine’s cylinders and routes them into the exhaust system. It’s designed for reliability, emissions compliance, and compact fitment—not performance.
How to Check Your Manifold Condition
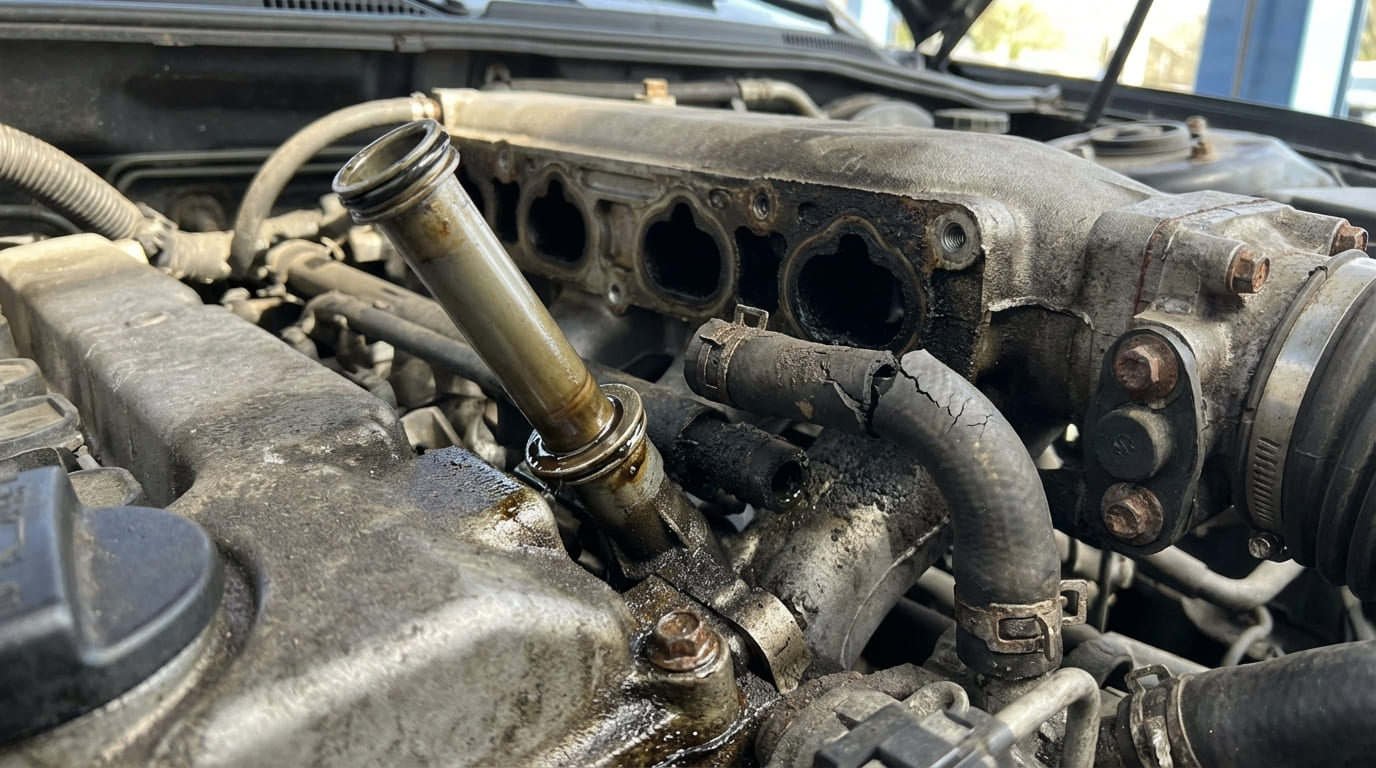
Look for visible cracks, rust-through spots, or black soot around flange joints—signs of exhaust leaks. Listen for ticking or hissing noises at startup, especially when cold. Use a stethoscope or long screwdriver to pinpoint the source. An infrared thermometer can detect temperature differences indicating a leak.
Check OBD2 codes: P0420 (catalyst efficiency) or P0300 (random misfire) can stem from backpressure issues due to a cracked or clogged manifold.
Design and Practical Reality
- Material: Cast iron or cast stainless steel—durable but heavy.
- Runners: Uneven lengths and rough interiors create turbulence and backpressure.
- Collector: Basic merge point; no tuning for pulse scavenging.
- Weight: Typically 30–50 lbs, depending on engine size.
Manifolds are built to last. Most don’t fail unless cracked from thermal stress or corrosion. Repair is rarely feasible—replacement is standard.
In my shop, we always inspect the heat shield and mounting bolts when replacing a manifold. Loose bolts or missing shields often lead to premature failure from vibration and overheating.
Headers: Engineered for Flow and Power
Headers replace the stock manifold to improve exhaust scavenging—the process where outgoing exhaust pulses help pull the next charge out of the cylinder. This boosts volumetric efficiency and horsepower, especially at higher RPMs.
How to Diagnose Header Fitment and Performance Issues
After installation, check for:
- Exhaust leaks at flanges (listen for ticking or use soapy water to find bubbles).
- Check engine light (CEL) related to lean codes (P0171/P0174) or O2 sensor errors.
- Rough idle or hesitation—often due to increased scavenging affecting vacuum.
Use a wideband O2 sensor to monitor AFR (air-fuel ratio). If the mixture runs lean post-install, tuning is required.
Types and Real-World Trade-Offs
Headers come in several configurations, each with pros and cons:
| Type | Horsepower Gain (Typical) | Cost Range | Installation Notes |
|---|---|---|---|
| Shorty Headers | 5–10 hp | $150–$400 | Fits in stock location; often bolt-on with factory downpipe. |
| Mid-Length Headers | 10–15 hp | $250–$600 | May require downpipe modification; better mid-range gains. |
| Long Tube Headers | 15–25+ hp | $400–$1,200 | Needs custom exhaust; O2 sensor relocation; often not smog legal. |
| Tri-Y Headers | 10–20 hp (broader torque) | $300–$800 | Great for street V8s; improves low-to-mid range response. |
Material matters: Stainless steel headers resist rust but cost more. Mild steel is affordable but prone to corrosion—especially if the car sees salt or frequent short trips.
Always dry-fit long tube headers before final assembly. I’ve seen starters, steering linkages, and crossmembers cause clearance issues. One bolt in the wrong place can mean hours of rework—or a return.
Manifold vs. Headers: Side-by-Side Comparison
| Factor | Exhaust Manifold | Headers |
|---|---|---|
| Manufacturing & Cost | Cast in high volume; $100–$400 OEM replacement | Fabricated; $150–$1,200+ depending on type and material |
| Flow Efficiency | Restrictive; increases backpressure | High flow; reduces backpressure and improves scavenging |
| Heat Management | Retains heat; slower to cool | Dissipates heat faster; can raise underhood temps |
| Weight | Heavier (30–50 lbs) | Lighter (15–35 lbs), especially stainless |
| Sound | Muted, stock-like | Louder, more aggressive tone |
| Emissions Compliance | OEM legal; often includes catalytic converter | May fail smog; long tubes usually not CARB-approved |
| Installation | Direct bolt-on; simple | May require O2 extensions, tuning, exhaust mods |
| Durability | Very durable; cracks rare | Welds or tubes can crack; gasket leaks more common |
Should You Upgrade? Practical Decision Guide
Performance and Tuning: The Hidden Cost
Headers can increase horsepower—but only if the rest of the system allows it. A restrictive catalytic converter downstream can nullify gains. On modern fuel-injected engines, reduced backpressure can cause lean conditions. A tune is often mandatory, not optional.
Cost breakdown for a typical header install:
- Headers: $300–$800
- Installation: $200–$500 (if not DIY)
- Tuning: $200–$600
- O2 sensor extensions, gaskets, studs: $50–$100
Total: $750–$2,000. Ask: Is the power gain worth it?
In my shop, we always recommend a baseline and post-install dyno test. I’ve seen stock engines gain under 5 hp with headers due to a choked cat. The real gains start when you open up the whole system.
Legal and Daily Driving Considerations
In California and other CARB-regulated states, long tube headers are generally not street legal unless they carry an EO (Executive Order) number. Shorty headers are more likely to be compliant. Always verify before buying.
Daily drivers in cold climates may suffer from slower cabin heat with headers due to faster heat loss. Long tubes can also make oil changes harder due to clearance issues.
Installation Tips You Won’t Want to Skip
- ✅ Always use new header gaskets and quality exhaust studs (ARP recommended). Reusing old gaskets is the #1 cause of leaks.
- ✅ Clean the cylinder head exhaust ports thoroughly. Carbon buildup prevents flat sealing—use a gasket scraper and wire brush.
- ✅ Torque bolts in stages, starting from the center. Re-torque after 2–3 heat cycles to prevent loosening.
- ⚠️ Never over-tighten bolts into aluminum heads. Use a torque wrench—typically 15–25 ft-lbs depending on size.
- ⚠️ Avoid standard exhaust clamps on header-to-pipe connections. Use flange gaskets and proper bolts.
- ⚠️ Check clearance before final install. Long tubes can hit starters, crossmembers, or steering components.
Situation: A customer installed long tube headers on a modern V6 truck and got a P0171 (lean code).
Fix: The ECU wasn’t tuned for lower backpressure. We corrected fuel trims with a custom tune and relocated the primary O2 sensor properly.
Takeaway: Headers change engine behavior. If the car runs lean or throws codes, tuning is likely required—not just bolt-ons.
Situation: A classic car with Tri-Y headers developed a rough idle.
Fix: Improved scavenging reduced idle vacuum, leaning the mixture. We re-jetted the carb and adjusted timing.
Takeaway: Even carbureted engines need tuning after exhaust changes. Don’t assume bolt-on = plug-and-play.
Situation: A Honda with shorty headers developed ticking and power loss.
Fix: Carbon on the head’s exhaust deck prevented full contact. Cleaning and resurfacing fixed the leak.
Takeaway: Surface prep is critical. A $5 gasket won’t seal a dirty surface.
Headers can be a smart upgrade—but only when matched to your goals, budget, and vehicle’s setup. For most daily drivers, a high-flow catalytic converter or performance manifold may offer better value. For performance builds, headers are a proven path to gains—when installed and tuned correctly.