Over two decades in the shop, I’ve seen countless owners baffled by dropping oil levels with no smoke or leaks. The truth? The oil isn’t vanishing—it’s being burned, migrating internally, or the loss isn’t real. This guide cuts straight to the actionable diagnostics, repair logic, and field-tested tips that separate guesses from fixes.
Internal Oil Consumption: Burning Without a Trace
When oil disappears without external signs, combustion-related causes are top suspects. These don’t always produce visible smoke—especially under normal driving conditions.
Piston Ring Wear or Valve/PCV Issues
Worn piston rings allow oil to enter the combustion chamber and burn with fuel. Unlike dramatic smoke shows, this often happens subtly over time. However, don’t assume rings are at fault—always rule out PCV system issues first, which mimic ring failure.
How to Check:
- Cylinder Leak-Down Test: With the engine warm and piston at TDC (compression stroke), apply 100 PSI of air through the spark plug hole. More than 10–12% leakage suggests a problem. Air escaping through the oil filler or dipstick tube points to ring or cylinder wall issues.
- Compression Test: Modern engines should read 150–200 PSI when warm, with no more than 10–15% variation between cylinders. Low readings support ring wear but can also stem from valves or carbon buildup—so use this alongside leak-down testing.
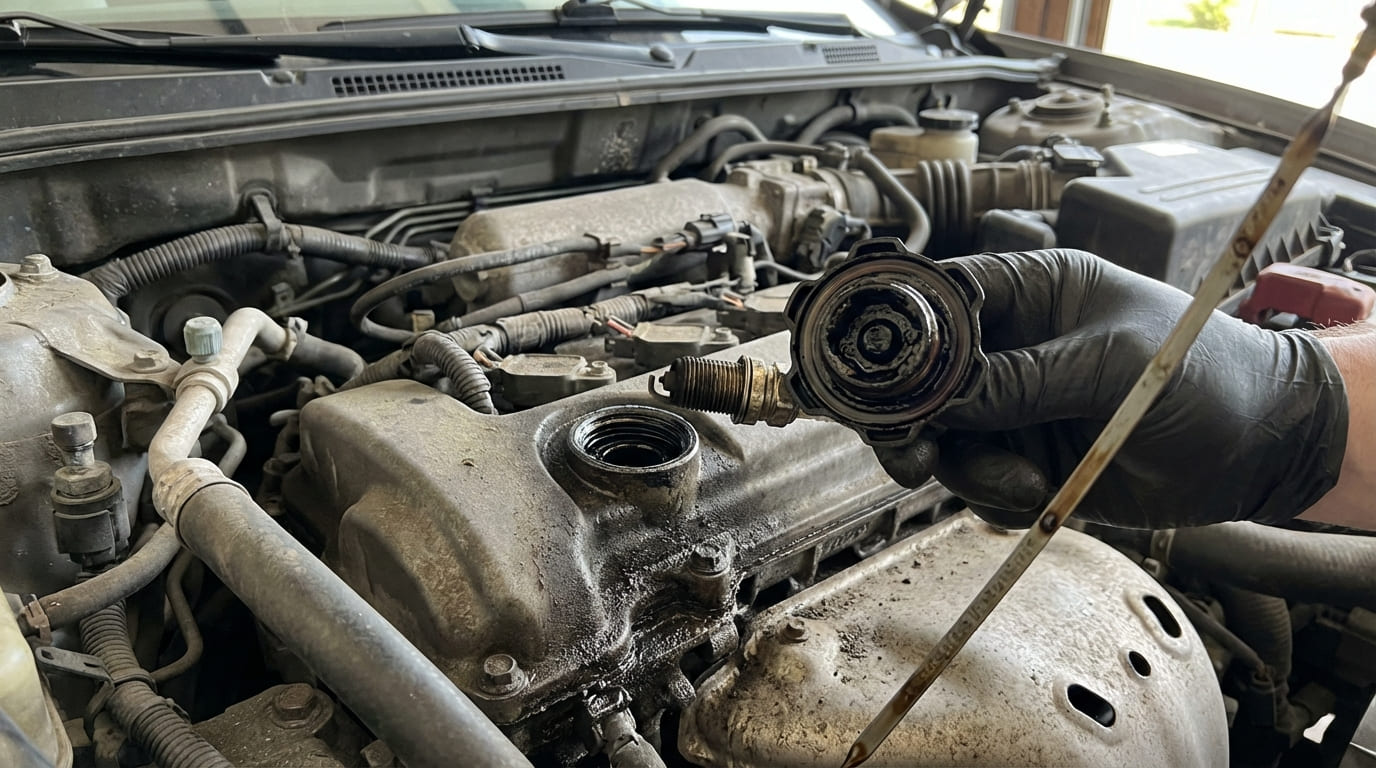
- PCV System Check: Remove the oil filler cap while the engine runs. Mild pulsing is normal. Strong pressure blowing out indicates excessive blow-by—either from worn rings or a blocked PCV system.
- Oil Analysis: Lab testing for elevated iron (Fe), chromium (Cr), and nickel (Ni) can confirm internal wear. Compare results over time—trends matter more than single data points.
In my shop, we never condemn rings without a leak-down test. I’ve saved customers thousands by finding clogged PCV systems instead of jumping to engine rebuilds.
Valve Stem Seal Failure
Failing seals often go unnoticed until oil consumption rises. The classic sign isn’t constant smoke, but a puff during deceleration when intake vacuum pulls oil past worn guides.
How to Check:
- Deceleration Test: Drive at 3,500–4,000 RPM in a lower gear, then release the throttle completely. After a few seconds of engine braking, sharply accelerate. A brief blue-gray smoke puff confirms oil ingress via valve guides.
- Borescope Inspection: Insert a borescope through the spark plug hole. Look for oil residue on exhaust valves or carbon buildup on pistons. Even with good compression numbers, visible oil pooling points to seal failure.
On older DOHC engines, stem seal wear is common after 120k miles. Replacing them without removing the head is possible on some models—but only if the guides aren’t worn. Always inspect both.
PCV System Malfunction
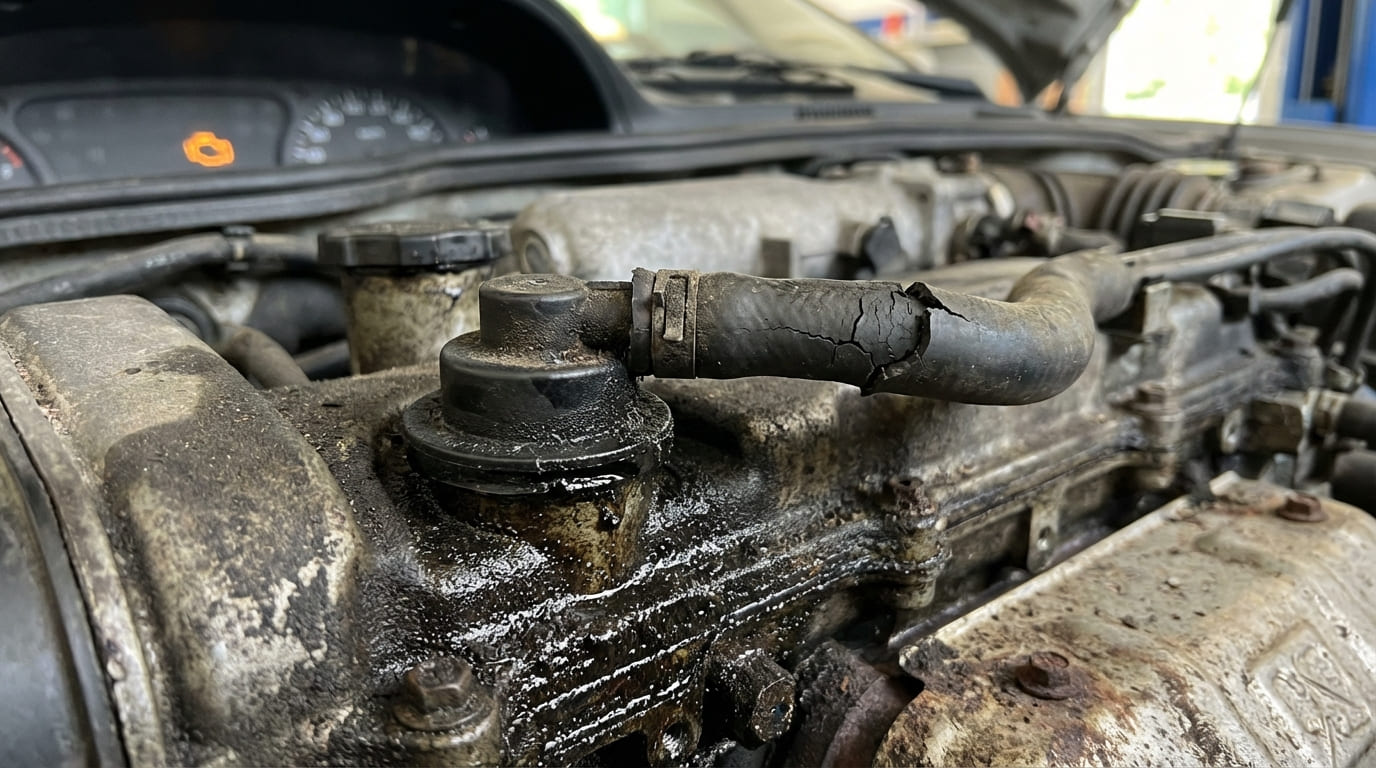
A stuck or clogged PCV valve creates positive crankcase pressure, forcing oil into the intake where it burns. This is especially common in engines used for short trips or with extended oil change intervals.
How to Check:
- PCV Valve Test: Pull the valve while the engine runs. Place your finger over the end—it should pull strong vacuum. Shake it: if it doesn’t rattle, it’s likely stuck closed.
- Hose and Passage Inspection: Disconnect hoses and blow compressed air through them. Resistance or sludge means blockage. On modern engines, the PCV system may be integrated into the valve cover—replacement costs $200–$600 depending on engine design.
Never assume a new PCV valve fixes the issue. I’ve found OEM-spec replacements failing out of the box. Always verify flow with a vacuum gauge or airflow test.
Turbocharger Seal Failure (Turbocharged Engines)
Failing turbo seals can draw oil into the intake (compressor side) or exhaust (turbine side). The oil burns off, leaving no visible residue.
How to Check:
- Inspect Charge Pipes and Intercooler: Remove intake components. Wipe the inside—if the rag comes back oily or there’s pooling, the compressor seal is leaking.
- Check Oil Return Line: Kinks or blockages prevent oil from draining back to the sump, causing backup and seal failure.
- Shaft Play Inspection: With intake and exhaust disconnected, check radial and axial play using a dial indicator. More than 0.005” radial or any axial movement usually means replacement is needed.
Cost & Viability: Rebuilding a turbo runs $300–$600; full replacement is $800–$2,000. If the engine has high mileage and other wear signs, consider a remanufactured unit.
Internal Oil Migration: Oil Going Elsewhere
Sometimes oil doesn’t burn—it moves into another system and disappears from the sump.
Oil Cooler or Heat Exchanger Failure
In diesel and performance engines, oil coolers share space with coolant passages. If internal seals fail, oil can migrate into the cooling system.
How to Check:
- Visual Coolant Inspection: Shine a flashlight into the coolant reservoir. An oily film or “mayonnaise” gunk (emulsified oil and coolant) suggests internal mixing.
- Coolant Pressure Test: Pressurize the system to OEM spec (typically 15 PSI). A drop may indicate a leak, but some failures only occur under operating pressure and temperature.
- Lab Analysis: Coolant tests can detect trace oil even when invisible to the eye.
Repair vs Replace: Oil cooler cores are rarely serviceable. Replacement costs $400–$1,200 depending on accessibility. Integrated units (like in some EGR coolers) require major disassembly.
Vacuum Pump Seal Failure
Engines with hydraulic brake boosters often have an engine-driven vacuum pump lubricated by engine oil. Failed internal seals can pull oil into vacuum lines and burn it in the intake.
How to Check:
- Inspect Vacuum Lines: Disconnect the line at the brake booster. If it’s wet or oily inside, the vacuum pump is likely the source.
- Check Pump Housing: Look for oil pooling around the pump or signs of leakage at mounting points.
Master Tip: Don’t replace the brake booster first—many are replaced unnecessarily. Confirm the vacuum pump is the source before swapping parts.
Apparent Oil Loss: It Might Not Be Losing Oil
Sometimes, the oil isn’t gone—it’s a measurement error or chemical illusion.
Incorrect Dipstick Reading
Checking oil too soon after shutdown gives false low readings. Oil needs time to drain back to the sump.
How to Check:
- Park on level ground.
- Wait 5–10 minutes after shutdown (per most manufacturer specs).
- Wipe, reinsert, and check the dipstick properly.
I’ve resolved “oil consumption” complaints just by showing customers how to check the oil correctly. Always follow the OEM procedure—some require hot checks, others cold.
Oil Dilution by Fuel or Coolant
Fuel dilution—common in direct-injection engines with short trips—can make oil levels appear stable or even rise, masking actual oil burn. Lab analysis detects fuel content.
How to Check:
- Send an oil sample for analysis. Fuel dilution over 2–3% is concerning; over 5% requires immediate attention.
- Smell the oil: strong gasoline odor is a red flag.
Diluted oil burns off more easily, creating a cycle where oil seems consumed, but the level doesn’t drop due to fuel replacement.
Overfilled Crankcase
Overfilling by even a quart causes oil foaming, increased crankcase pressure, and oil ingestion via the PCV system.
Fix: Drain and refill to exact manufacturer specification. Use the correct dipstick—some engines had revisions, and using the wrong one leads to overfilling.
Rare: Block Porosity (Cast Iron Blocks)
In rare cases, microscopic casting flaws allow oil to seep into internal voids or blind coolant passages. No external leak, no coolant contamination.
How to Check:
- Perform a UV dye test before teardown. Dye added to oil may appear in coolant if there’s a path.
- Rule out all other causes first—this is a last-resort diagnosis.
Reality Check: I’ve replaced only two blocks for this in 20+ years. It’s rare—don’t chase it early.
Diagnostic Decision Table: Oil Loss Scenarios and Likely Causes
| Observation | Possible Causes (in order of likelihood) | Recommended Diagnostic Step |
|---|---|---|
| Oil level drops, no smoke, no leaks | 1. PCV system restriction, 2. Slight ring wear, 3. Valve stem seal seepage | Leak-down test + PCV function check |
| Blue smoke on deceleration | 1. Valve stem seals, 2. Guide wear, 3. Turbo compressor seal (if equipped) | Deceleration test + borescope |
| Oil in coolant, no coolant in oil | 1. Oil cooler failure, 2. Head gasket (less common), 3. Cracked oil gallery | Coolant pressure test + oil analysis |
| Oil in vacuum lines | 1. Vacuum pump seal, 2. Turbo seal (if vacuum system fed post-turbo) | Inspect vacuum lines + pump function |
| Oil level appears low but no actual loss | 1. Incorrect dipstick procedure, 2. Oil dilution masking consumption | Verify fill level + oil analysis |
Situation: A 2012 turbocharged sedan came in with a quart of oil every 1,500 miles. No smoke, no leaks, PCV valve was new. The owner had already replaced the turbo, but the problem persisted.
Discovery: I ran a leak-down test—cylinders were within spec. But during the borescope, I noticed oil pooling around the intake valves. Further inspection revealed a collapsed PCV hose hidden under the intake manifold, restricting flow and creating positive pressure that pushed oil into the intake.
Nuanced Lesson Learned: Don’t assume a new part is a good part. The aftermarket PCV hose looked fine externally but had failed internally. Always verify system flow, not just component replacement.
Situation: A diesel pickup had steady oil loss, but coolant was clean, no smoke, and compression was strong. The customer had already replaced valve stem seals with no improvement.
Discovery: An oil analysis showed high silicon (Si), which pointed to coolant contamination. A pressure test found nothing, but a dye test revealed a hairline crack in the oil cooler housing inside the EGR cooler assembly—an integrated unit that’s hard to access.
Nuanced Lesson Learned: Not all oil-to-coolant leaks cause visible mixing. Differential pressure and flow rates can keep the two fluids from visibly combining, even when cross-contamination is occurring.
Situation: A high-mileage V8 was “burning oil,” but the customer insisted it wasn’t smoking. Leak-down test showed 15% loss on two adjacent cylinders.
Discovery: I pulled the heads and found the deck surface had 0.004” warpage—just at the edge of spec, but enough to compromise ring seal. Cylinder bore taper was also out of spec. It wasn’t just rings; it was a combination of block distortion and bore wear.
Nuanced Lesson Learned: Ring leakage isn’t always due to the rings themselves. Deck flatness, bore geometry, and honing finish all affect seal integrity. Measure the whole system, not just one component.
Best Practices: What to Do (and Not Do)
- ✅ Recommended: Perform a cylinder leak-down test before condemning piston rings. It isolates leakage paths better than compression testing alone.
- ✅ Recommended: Clean threads with a bottoming tap before installing head or main cap bolts. Oil trapped in dirty threads can cause false torque readings.
- ✅ Recommended: Use OEM or equivalent PCV valves. Aftermarket units sometimes have different flow rates that disrupt crankcase ventilation.
- ⚠️ Avoid: Reusing torque-to-yield (TTY) head bolts unless the manufacturer explicitly allows it. Stretch is not always visible, and reused bolts can lead to head gasket failure.
- ⚠️ Avoid: Assuming blue smoke always means valve seals. Intake manifold gasket leaks on some V6 engines can draw oil into the plenum and mimic the same symptom.
- ⚠️ Avoid: Skipping oil analysis on high-mileage engines. It’s one of the most cost-effective windows into internal wear.
Oil loss without obvious symptoms demands methodical testing—not assumptions. Always verify with multiple diagnostics, consult factory specs, and remember: the real culprit often hides in plain sight, masked by overlapping systems and overlooked details.