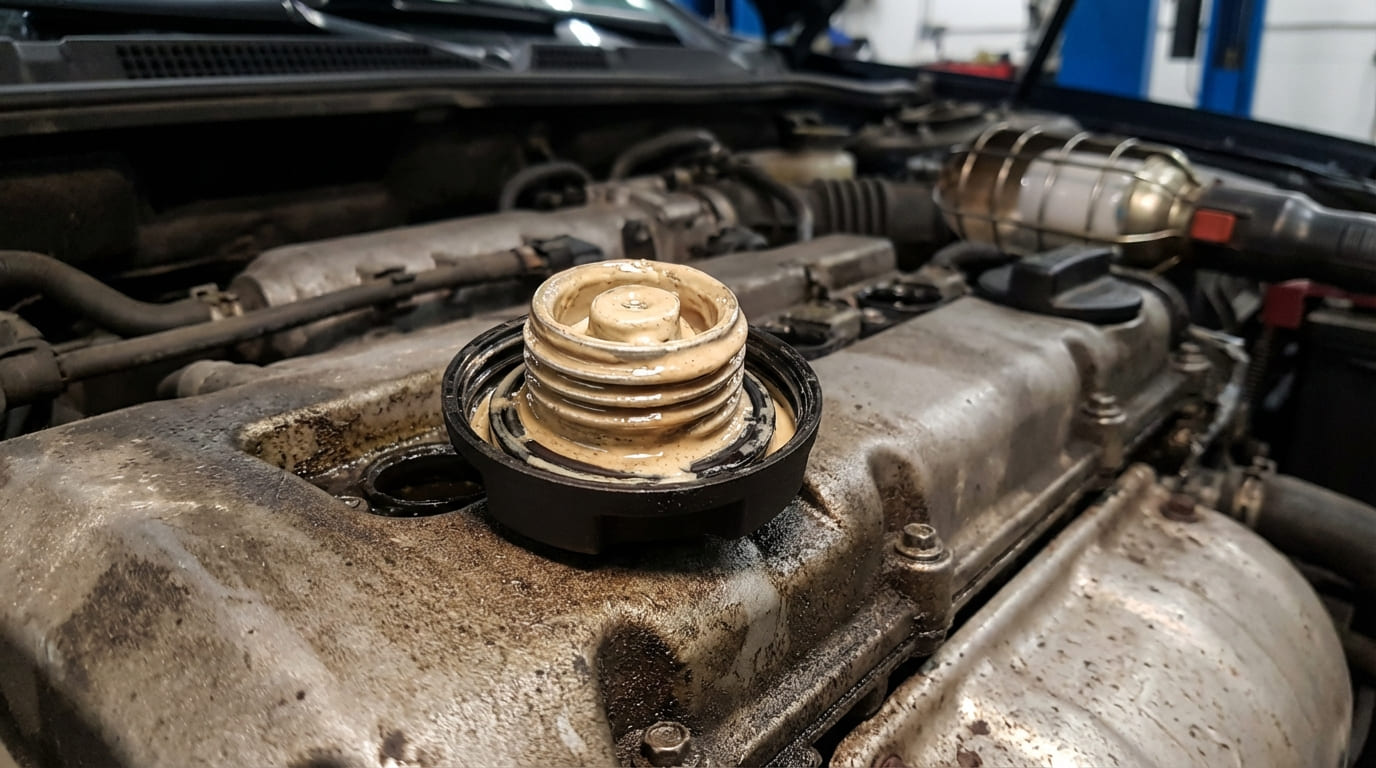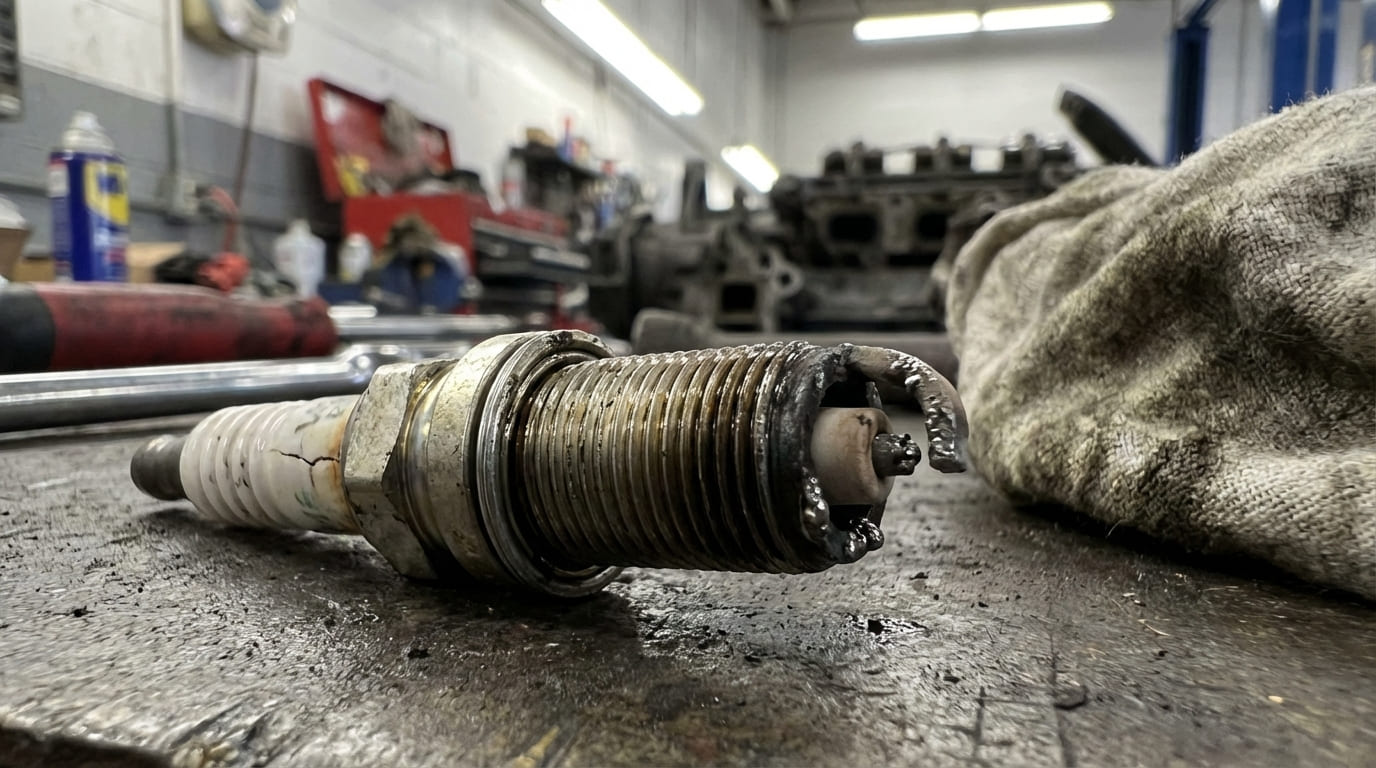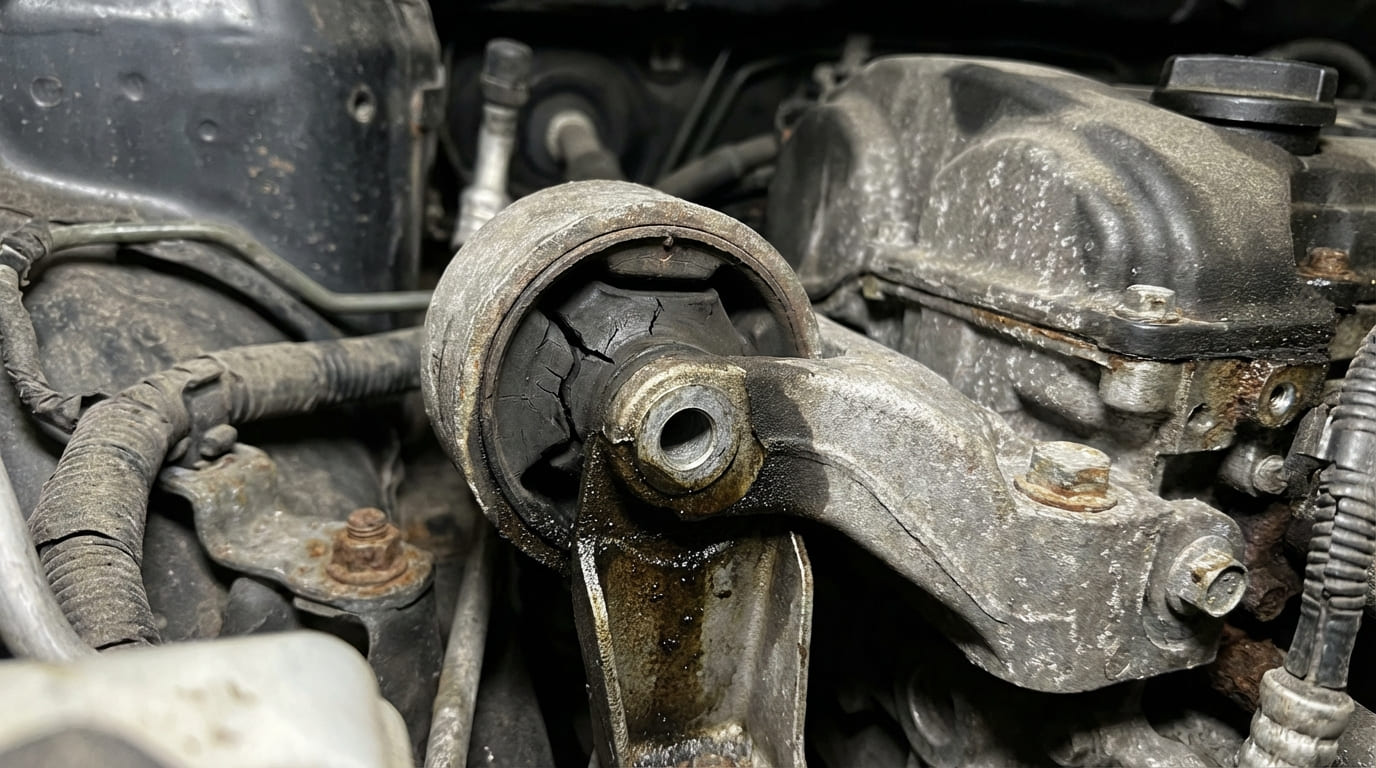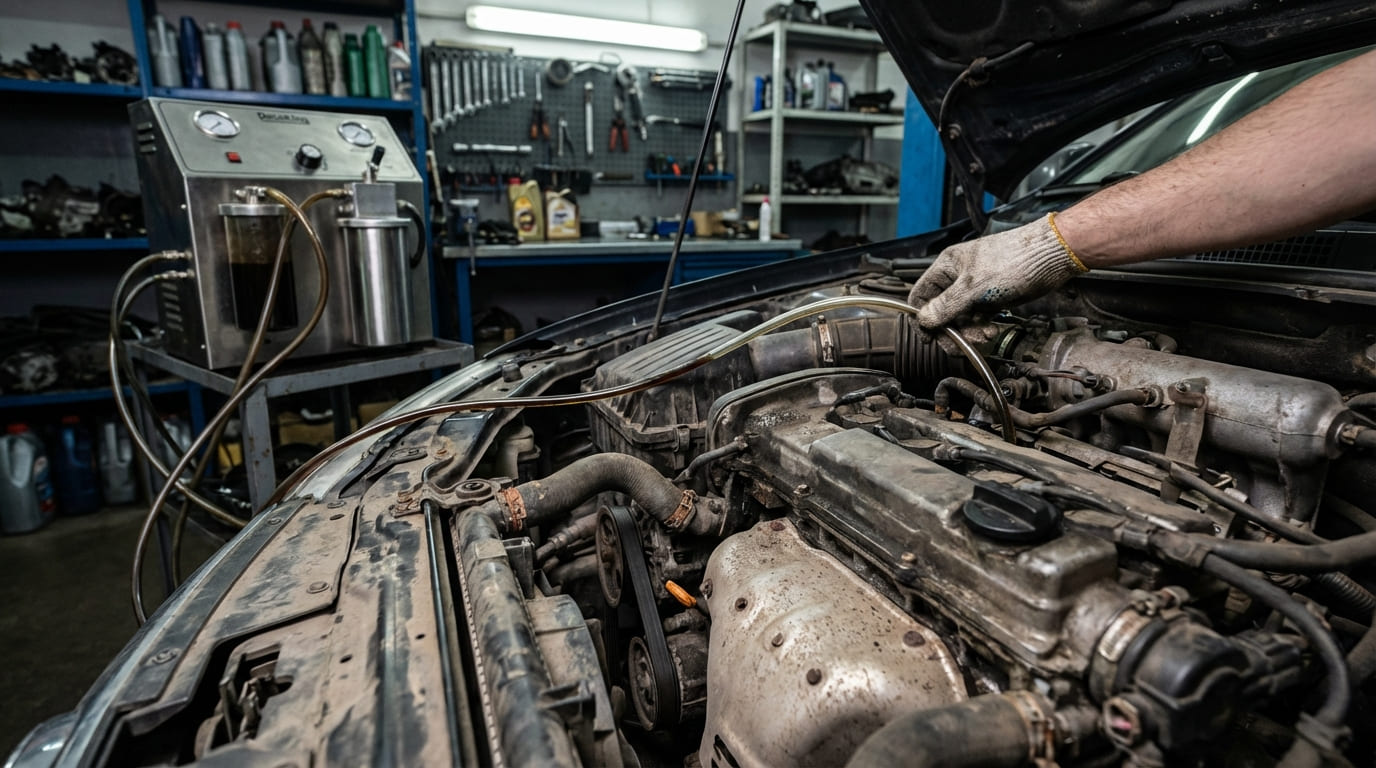
Engine decoking restores performance by removing carbon deposits that disrupt airflow, combustion, and valve operation—especially in direct-injected engines. This guide walks you through real-world diagnostics, proven decoking methods, and critical post-service steps. If your engine hesitates, misfires, or drinks fuel, and you’re considering decoking, this is how to do it right—or know when to walk away.
How to Confirm Carbon Buildup Before Decoking
Never assume carbon is the culprit. Many symptoms mimic vacuum leaks, sensor faults, or mechanical wear. Confirming carbon first saves time, money, and unnecessary labor. Here’s how to verify it with tools you can access.
Step-by-Step Diagnosis: Is It Carbon?
Start with a systematic approach. Use this sequence to isolate carbon-related issues from other common failures.
Check for Classic Symptoms
Carbon buildup typically causes:
- Intermittent misfires under load (especially acceleration)
- Rough idle or hesitation when accelerating from stop
- Gradual power loss over time
- Increased fuel consumption without drivetrain issues
- Check Engine Light with P030x (misfire) or P040x (EGR flow) codes
But these also appear with vacuum leaks, bad coils, or clogged fuel injectors. So move quickly to objective testing.
Use an OBD2 Scanner to Analyze Fuel Trims
High Long Term Fuel Trim (LTFT) at idle and under load suggests a lean condition. On GDI engines, restricted airflow from carboned-up intake valves is a common cause.
Look for:
- LTFT +10% or higher at idle
- LTFT that doesn’t drop significantly under load
But rule out other causes first: test the MAF sensor output and perform a smoke test for vacuum leaks. A dirty MAF or torn boot will mimic carbon symptoms.
Perform Compression and Leak-Down Tests
Compression variance over 15% between cylinders hints at sealing issues. But leak-down testing is more precise.
If air escapes through the intake manifold during leak-down, suspect intake valve carbon preventing full closure. However, worn valve guides or bent stems can cause the same—so visual confirmation is essential.
Borescope Inspection: The Only True Confirmation
No test beats a direct visual. Use a 6mm articulating borescope inserted through the spark plug hole (with plugs removed) or intake port (after manifold removal).
Look for:
- Thick, black, crusty deposits on the back of intake valves
- Buildup exceeding 1–2mm in thickness
- Restricted valve opening due to carbon bridging
Some carbon is normal—especially on high-mileage engines. The key is whether it’s interfering with valve motion or sealing.
In my shop, we always borescope before and after decoking. It’s the only way to prove the job worked. I’ve seen techs walnut blast engines with minimal deposits—wasting time and risking damage.
Engine Decoking Methods: Tools, Steps, and Trade-Offs
Three main methods exist: chemical cleaning, walnut blasting, and manual head removal. Each has a place depending on severity, tools available, and budget.
Chemical Decoking: For Mild Cases and DIYers
Best for light to moderate buildup. Low cost, minimal disassembly, but limited effectiveness on severe cases.
What you need:
- PEA-based cleaner (e.g., Techron Concentrate Plus)
- Intake cleaning kit (regulator, hose, funnel)
- Adjustable wrench, safety gear
Procedure:
- Disconnect intake air duct and clamp off throttle body.
- Connect cleaning kit to intake stream before throttle body.
- Start engine and hold at 1,500–2,000 RPM.
- Drip solvent slowly—don’t let engine stall.
- Run entire bottle (typically 12–15 oz).
- Let engine idle for 5 minutes post-injection, then shut off.
- Reconnect intake and road test.
Cost: $20–$50 for chemicals and rental kit.
Viability: Use as preventive maintenance every 5,000 miles. Not effective if valves are 50% blocked.
I’ve seen chemical cleaning restore fuel trims from +18% to +6% on a 2013 Mustang V6. But on a neglected Audi 2.0T with heavy deposits? No measurable improvement. Know your limits.
Walnut Blasting: Professional-Grade Intake Valve Cleaning
The gold standard for GDI engines with moderate to severe carbon. Requires intake manifold removal and blasting equipment.
What you need:
- Walnut shell media (fine grade)
- Air compressor (minimum 100 PSI)
- Blasting nozzle and hose kit
- Borescope, shop vac with hose extension
- Intake manifold gaskets (always replace)
Procedure:
- Remove intake manifold and set aside.
- Insert blasting nozzle into each intake port.
- Blast at 60–70 PSI—never exceed 80 PSI.
- Move nozzle in circular motion; avoid direct stem contact.
- Switch cylinders and repeat.
- Vacuum out all debris thoroughly—check under valve springs.
- Reinstall manifold with new gaskets.
Rotate crankshaft to close all intake valves (use timing marks).
Cost: $200–$600 at a shop. DIY cost: $150–$300 (media and tools).
Viability: Highly effective when done correctly. Risk of media entering combustion chamber if valves are open—always verify position.
In my shop, we always run the engine for 30 seconds post-reassembly with a catch can on the oil cap to evacuate any stray media. Prevents piston ring damage.
Manual Carbon Removal: Cylinder Head Off
For extreme buildup or when engine work is already planned. Most invasive, highest labor cost.
Only consider this if:
- Carbon is restricting valve lift
- Valve seals or guides need replacement
- Head warping or gasket failure is suspected
Procedure:
- Remove head using OEM torque sequence in reverse.
- Inspect head and block deck with straight edge and feeler gauge (warp >0.002″ requires machining).
- Disassemble valves or clean in place.
- Use plastic scrapers and brass brushes—never steel.
- Re-lap valves or resurface seats if sealing is questionable.
- Reassemble with new head gasket and TTY bolts.
Cost: $1,200–$2,500+ (labor-intensive).
Viability: Only justified for severe cases or concurrent repairs. Not a standalone decoking solution.
EGR System Cleaning: Often Overlooked, Always Critical
EGR passages clog quickly in turbocharged engines, causing hesitation and lean codes.
Procedure:
- Remove EGR valve and inspect pintle movement.
- Soak in carburetor cleaner and scrub with nylon brush.
- Probe passages with stiff wire or EGR cleaning tool.
- Use borescope to verify clear flow from manifold to valve.
Cost: $100–$300 if outsourced. DIY: $20 in cleaner.
Viability: Cleaning beats replacement unless valve is electrically failed. Some EGR coolers are non-serviceable—replace if internal blockage exists.
Best Practices: Do This, Not That
Small details make or break a decoking job. Follow these field-tested rules.
- ✅ Clean all threaded holes with a bottoming tap. Debris causes false torque readings—especially on TTY bolts.
- ✅ Use new gaskets and seals. Reused intake gaskets are the #1 cause of post-service vacuum leaks.
- ✅ Borescope before and after. Prove the job worked.
- ⚠️ Never reuse torque-to-yield (TTY) head bolts. They stretch permanently. Replacement cost is cheap insurance.
- ⚠️ Always reset engine adaptations after cleaning. Use a scan tool to clear fuel trims, idle, and cam timing adaptations.
- ⚠️ Never blast with a cold engine. Thermal contraction increases risk of media lodging in tight clearances.
What’s Really Causing the Problem? Diagnostic Table
| Symptom | Possible Causes (Ranked by Likelihood) | Verification Method |
|---|---|---|
| High LTFT (+15%) + Rough Idle | 1. Intake valve carbon (GDI)2. Vacuum leak3. Faulty MAF sensor | Borescope, smoke test, MAF voltage analysis |
| P0302 Misfire (Cylinder 2) | 1. Carbon-induced valve float2. Weak ignition coil3. Low compression (ring or valve issue) | Coil swap test, compression test, borescope |
| P0401 (Insufficient EGR Flow) | 1. Clogged EGR passages2. Failed EGR valve3. Blocked EGR cooler | Visual inspection, live data, physical cleaning |
| Loss of Power Under Load | 1. Severe intake valve restriction2. Clogged catalytic converter3. Fuel pump degradation | Backpressure test, fuel pressure test, borescope |
Situation: A 2014 F150 with 3.7L GDI came in with P0300 and hesitation. Fuel trims were +18% at idle.
Initial Assumption: Classic carbon buildup on intake valves.
Deep Dive: After walnut blasting, the misfire persisted. Borescope showed clean valves. Compression was even, but leak-down revealed 18% loss on cylinder 3 with air escaping the exhaust.
Nuanced Lesson Learned: Carbon wasn’t the issue—exhaust valve seat recession was. The high fuel trims were due to incomplete combustion, not airflow restriction. Always verify valve sealing post-cleaning.
Situation: VW Golf TSI with rough idle and P0171 (System Too Lean). Owner had used chemical cleaners twice.
Initial Assumption: Severe intake valve carbon.
Deep Dive: Walnut blasting revealed moderate deposits. But after cleaning, fuel trims remained high. Smoke test found a cracked intake manifold boot.
Nuanced Lesson Learned: Lean codes can stem from multiple sources. Carbon was present, but not the primary cause. Diagnose systemically, not symptomatically.
Situation: BMW N54 with misfires under boost. Walnut blasted—immediate improvement, but issue returned in 2,000 miles.
Initial Assumption: Incomplete cleaning.
Deep Dive: Re-inspection showed rapid re-coking. Oil consumption test revealed 1 qt per 1,000 miles. PCV system was clogged, pushing oil into the intake.
Nuanced Lesson Learned: Cleaning treats the symptom. Fixing the root cause—oil ingestion—prevents recurrence. Address PCV health and consider a catch can on high-mileage GDI engines.
Post-Decoking: Verification and Re-Learning
Cleaning is only half the job. The engine must relearn normal operating parameters.
Steps:
- Clear all DTCs with a quality scan tool.
- Perform a full drive cycle: idle 5 min, drive 20 min with varied throttle (city and highway).
- Recheck fuel trims. If LTFT remains above +5%, inspect for vacuum leaks or residual carbon.
Reset fuel trims, idle air control, and variable valve timing adaptations.
Never skip the road test. A 20-minute drive reveals issues a 10-minute idle never will.
Preventing Carbon Buildup: Real-World Tips
Decoking isn’t a one-time fix. Prevent recurrence with these proven steps.
- Use Top Tier gasoline—it contains better detergents.
- Run a PEA-based cleaner (e.g., Techron) every 3,000–5,000 miles on GDI engines.
- Avoid excessive short trips. Engines need sustained heat to burn off deposits.
- Replace PCV valve and hoses every 60,000 miles. A clogged system dumps oil into the intake.
- Install an oil catch can on turbocharged or high-mileage GDI engines. Cuts oil vapor feeding carbon formation.
I tell every customer: “You can clean the carbon today, but if your PCV is clogged or you never drive on the highway, you’ll be back in 12,000 miles.” Prevention beats repair every time.
Finally, always consult your vehicle’s service manual. Torque specs, TTY bolt replacement rules, and adaptation procedures vary widely. What works on a Ford might destroy a BMW. Respect the specs—because in the shop, experience guides, but the manual decides.