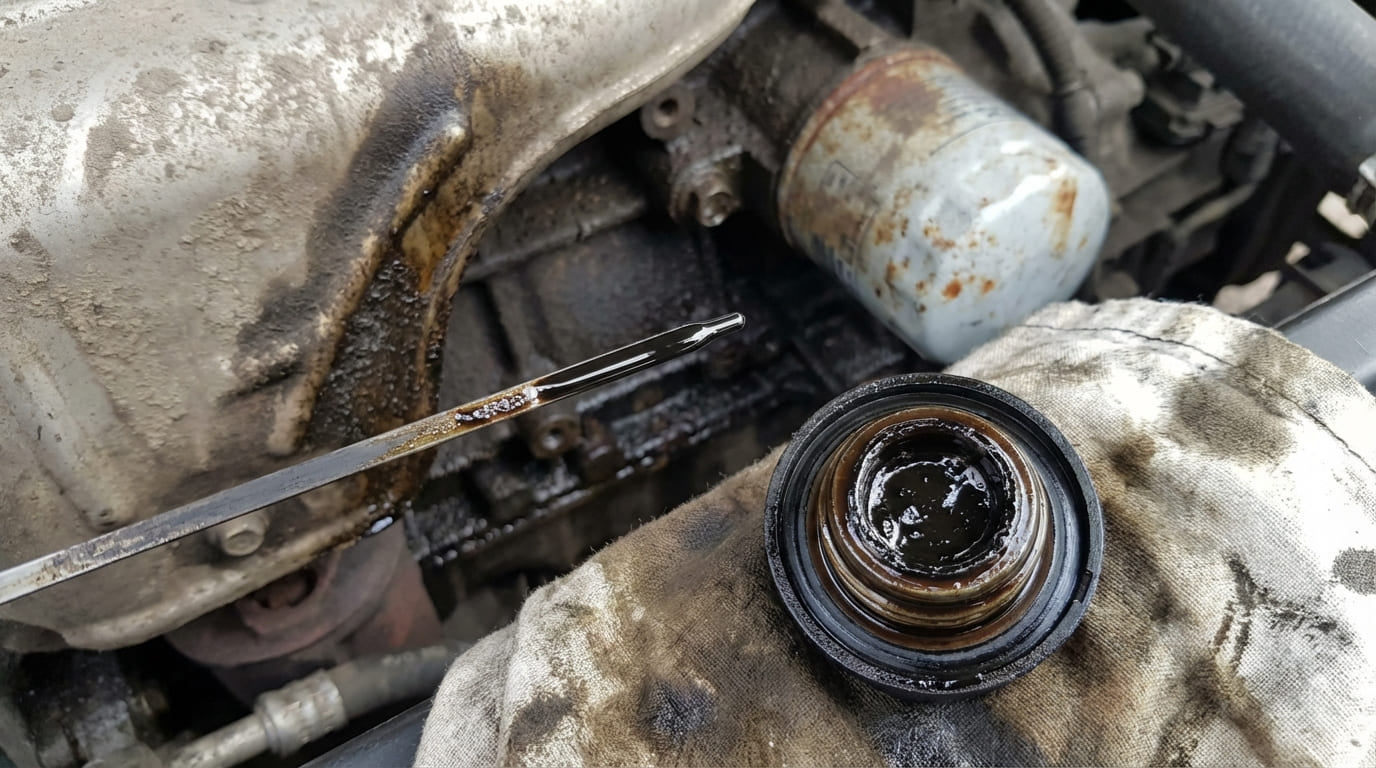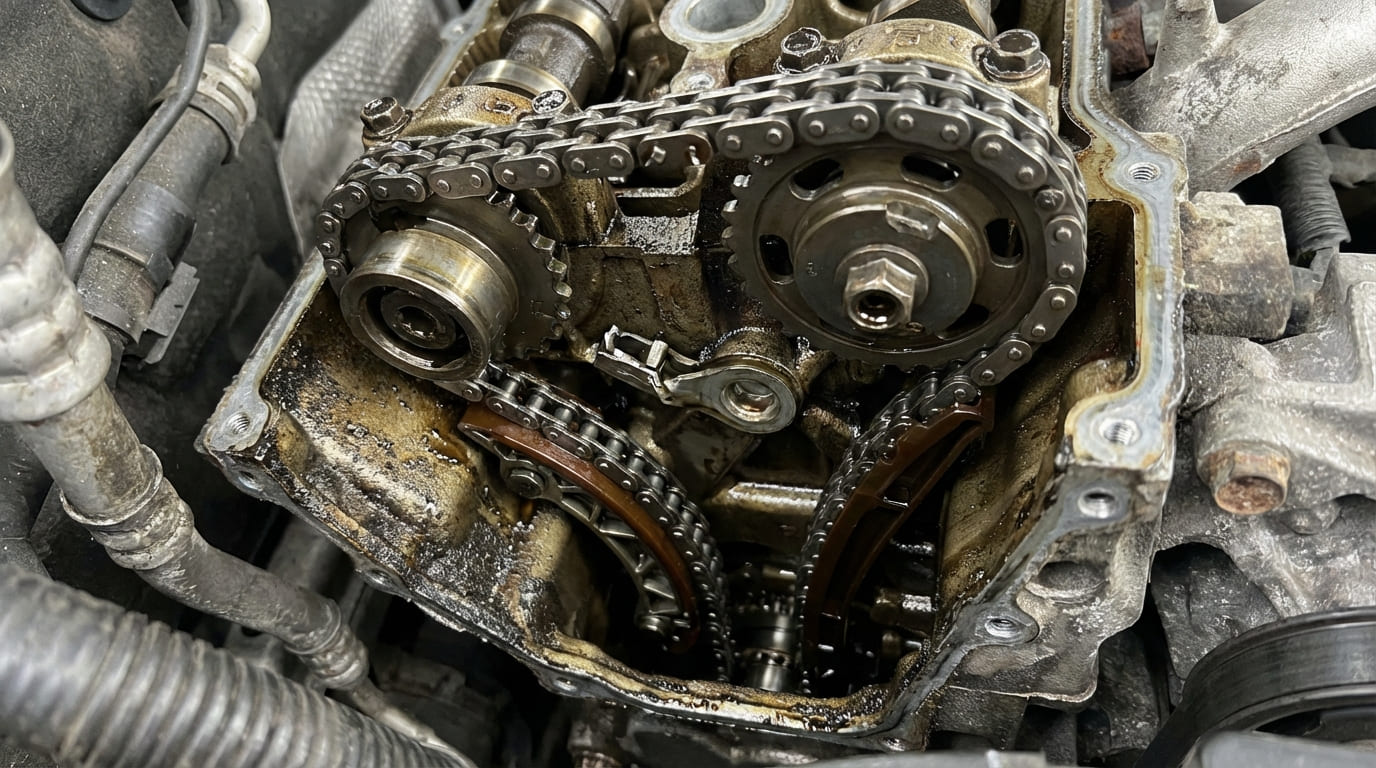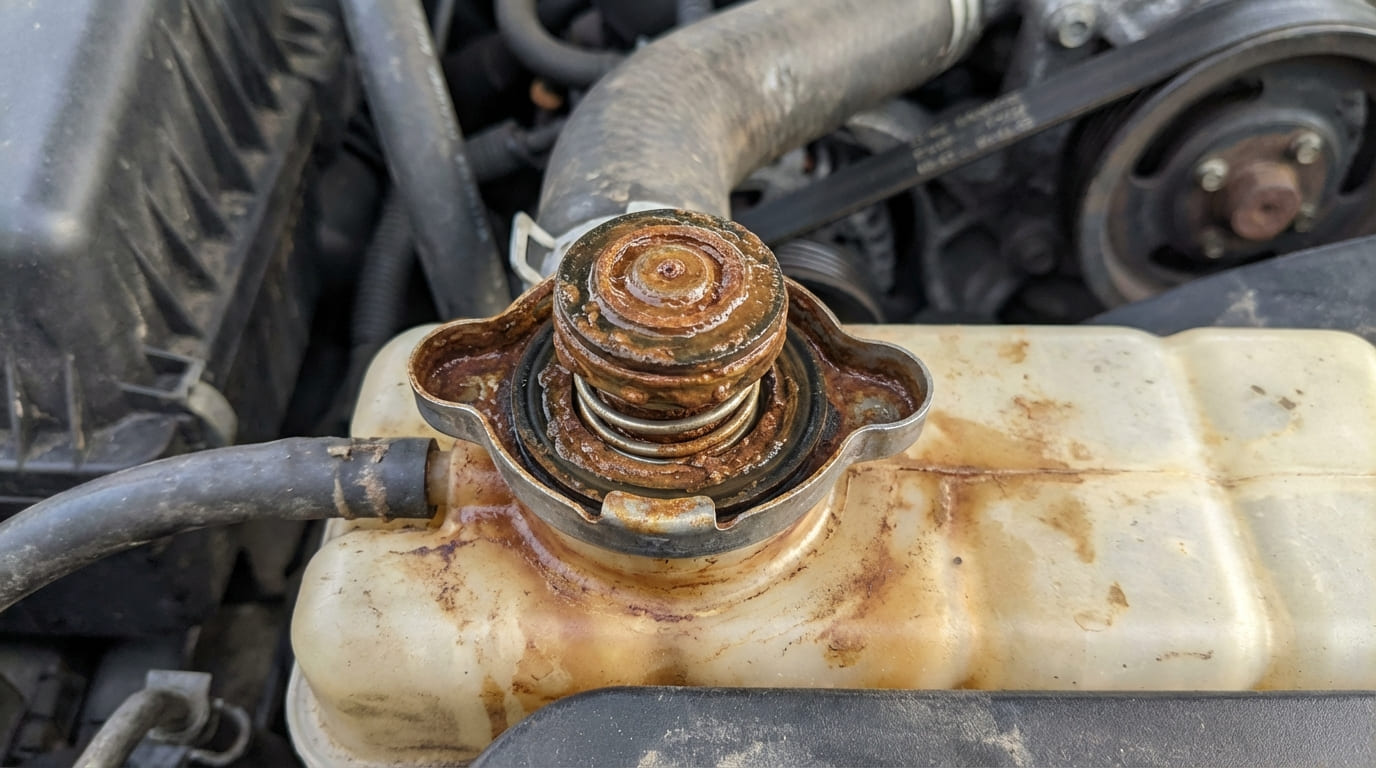
When oil starts showing up near the front of your engine, it’s easy to jump to conclusions. But diagnosing a front crankshaft seal leak accurately saves time, money, and repeated repairs. This guide cuts through the noise and gives you the real-world tools and checks to confirm the leak, rule out imposters, and decide your next move—whether you’re tackling it yourself or heading to a shop.
How to Spot a Front Crankshaft Seal Leak
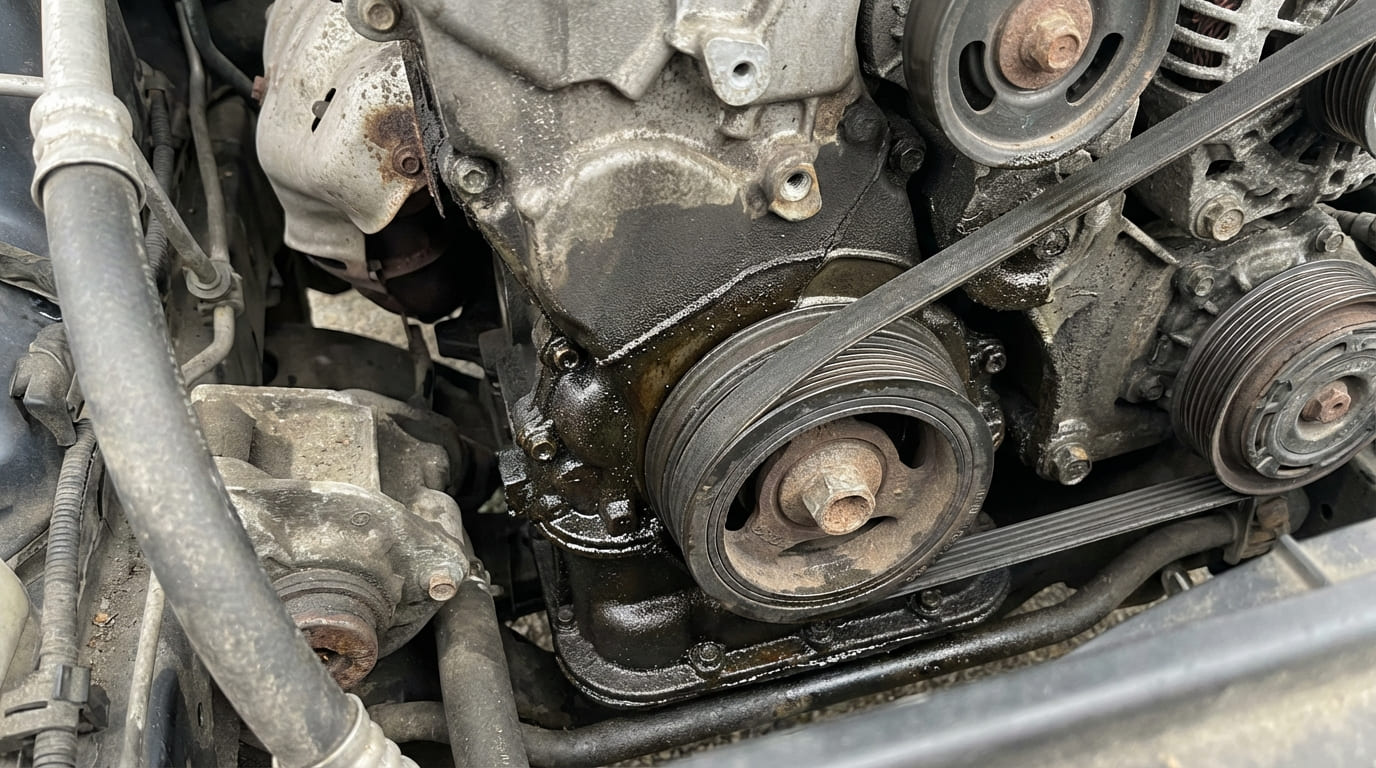
The front crankshaft seal sits behind the harmonic balancer (crankshaft pulley) and seals the front of the crankshaft where it exits the engine block. When it fails, oil escapes under pressure and rotation, creating telltale signs.
Key Visual and Operational Clues
Start with a clean engine if possible. Oil leaks are easier to trace when you’re not guessing through layers of grime. Look for these signs:
- Oil pooled behind the crankshaft pulley or harmonic balancer
- A radial, fan-shaped spray pattern on the pulley or timing cover—caused by crankshaft rotation flinging oil outward
- Dark, sludgy buildup on the inner spokes of the pulley or on the front timing cover
- Oil tracking down the timing cover, especially along seams or casting ridges
- Shiny, glazed serpentine belt or squealing on startup (oil reduces grip)
- Dripping oil on the splash shield or frame rail directly below the crank pulley
- Gradual drop in engine oil level with no other visible leaks
In my shop, we always remove the serpentine belt first. It blocks the view and traps oil, making diagnosis harder. A 15-minute belt removal pays off in accurate leak tracing.
Differentiating from Other Front-End Leaks
Many components live near the front seal. Misdiagnosis leads to wasted labor. Use this table to compare symptoms and narrow the culprit.
| Potential Leak Source | Typical Location | Clues & Likelihood |
|---|---|---|
| Front crankshaft seal | Centered behind crank pulley | Radial spray pattern; oil on backside of pulley. High likelihood if spray is present. |
| Timing cover gasket | Perimeter of cover, especially top and sides | Vertical streaks; may pool at bottom. Common on high-mileage engines. |
| Oil pan gasket (front) | Lower edge of oil pan near front | Oil drips down from pan rail. Can migrate forward and mimic seal leak. |
| Valve cover gasket | Top of engine, near cam cover | Oil runs down front of block from top. Degrease and recheck—very common misdiagnosis. |
| Oil pump seal (if external) | Side of block near timing cover | Leak offset from crank centerline. Less common, but possible on V6 engines. |
How to Confirm the Leak: Step-by-Step Diagnostics
Guessing leads to comebacks. Use these proven methods to verify the source.
1. Degrease and Recheck
Clean the entire front of the engine with a quality degreaser. Rinse with low pressure. Start the engine and let it run 10–15 minutes. Shut it off and inspect with a flashlight and mirror. Look for fresh oil seeping from the seal bore behind the pulley.
Never skip the degrease. I’ve seen valve cover leaks travel 12 inches down and fool seasoned techs. A clean engine tells the truth.
2. UV Dye Test (Best for Intermittent Leaks)
Add UV dye to the engine oil (available at auto parts stores). Drive 30–50 miles or run the engine 30 minutes. Use a UV light and yellow glasses to scan the front of the engine. A glowing trail starting at the crank seal bore confirms the leak.
Cost: $15–$25 for dye kit. Worth every dollar if the leak is elusive.
UV dye once saved a customer $800 in unnecessary seal replacement. The real leak was a cracked timing cover weeping from above.
3. Pressure Test (For Shops or Advanced DIYers)
Using a smoke machine on the crankcase can reveal leaks under pressure. While more common for rear main seals, it works for front leaks too. Be cautious—restricted PCV systems can cause false positives.
Repair vs. Replace: Cost and Complexity
Front crankshaft seal replacement isn’t the most complex job, but it’s not beginner-friendly. Here’s what to expect:
| Factor | DIY | Shop Repair |
|---|---|---|
| Parts Cost | $15–$40 (seal only) | $80–$150 (seal + labor prep) |
| Labor Time | 2–4 hours (experienced) | 3–5 hours |
| Special Tools Needed | Pulley puller, harmonic balancer installer, torque wrench | Same, plus alignment tools |
| Common Pitfalls | Seal misalignment, pulley runout, reused bolts | Timing cover warp, improper torque |
If the harmonic balancer is stuck, don’t hammer it. Use a proper puller. I’ve seen broken snouts on crankshafts from DIYers using brute force—$1,500 mistake.
Master Tips for a Lasting Repair
Replacing the seal is only half the battle. Avoid these common failure points:
- Clean the seal bore thoroughly. Dirt or old seal material causes leaks.
- Use a proper seal installer—never tap it in with a hammer. Peening ruins the lip.
- Check harmonic balancer for runout. Even 0.010″ wobble can destroy a new seal.
- Replace the crankshaft pulley bolt if it’s torque-to-yield (stretch bolt). Reusing it risks loosening.
- Torque timing cover bolts in sequence and to spec. Aluminum covers warp easily—max 7–10 ft-lbs on most.
- Inspect crankshaft for scoring or wear. A damaged shaft requires seal replacement and possibly crank service.
In my shop, we always measure pulley runout with a dial indicator. It takes 5 minutes and prevents 90% of repeat leaks.
What Happens If You Ignore It?
A small seep might seem harmless, but consequences add up:
- Gradual oil loss leading to low oil pressure and engine wear
- Serpentine belt failure from oil saturation—can strand you
- Timing belt contamination (on interference engines)—risk of catastrophic failure
- Fire risk in extreme cases (oil hitting hot exhaust)
Minor leak? Fix it now. Chronic drip? Prioritize the repair.
Final Checklist Before and After Repair
- ✅ Degrease engine and confirm leak origin
- ✅ Use UV dye if leak is intermittent
- ✅ Inspect harmonic balancer for damage or runout
- ✅ Replace crank pulley bolt if torque-to-yield
- ✅ Torque cover bolts in proper sequence
- ✅ Clean area post-repair and recheck after 20-mile drive
- ✅ Consider post-repair UV test for peace of mind
Service manuals are non-negotiable. Seal depth, torque specs, and alignment tools vary by model. I’ve seen $200 seals ruined because someone didn’t check the depth gauge.